23
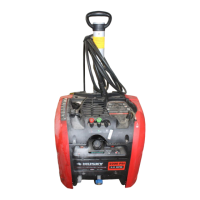
l By means of a suitable screwdriver unscrew the
four screws holding handle and cover: the two upper
screws are accessible from the holes in the body as
shown in figure (Fig. 14)
Fig. 14
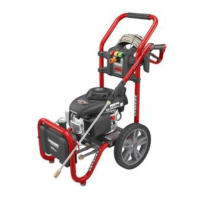
Fig. 15
l After removing the four fixing screws,first remove
the handle and then the cover. (Fig 15) This is a
sequence valid for removal only; during installation
proceed in the reverse order (first the cover,then
the handle).
l Por medio de un destornillador adecuado,
destornillar los cuatro tornillos que fijan el mango y
el cubierta; los dos tornillos superiores se pueden
alcanzar por medio de los agujeros presentes en la
estructura, así como indicado en la figura (Fig. 14)
l Una vez eliminado los cuatro tornillos de fijación,
quite ante todo el mango y luego la cubierta. ( Fig
15) Dicha secuencia es válida sólo durante la
remoción; durante la fase de instalación proceda
al revés ( antes la cubierta y luego el mango)
Fig. 16
l Introduzca una llave de cubo hexagonal apropiada (4
mm) a través de la apertura central en la tapa del
ventilador y en el alojamiento hexagonal en el eje motor.
l Haga girar varias veces a mano el eje motor en
sentido contrario (Fig.16)
l Saque la llave de cubo hexagonal
l Vuelva a montar el revestimiento de paneles
l Introduzca el enchufe del conector principal en la
caja de la tomacorriente
l Encienda el aparato con la pistola rociadora abierta
l Insert a suitable hexagon socket wrench (size 4
mm.) through the middle opening in the fan cover
and into the hexagon socket in the motor shaft.
l Turn the motor shaft clockwise by hand several
times (Fig. 16)
l Remove hexagon socket wrench
l Install cover
l Plug unit into electrical outlet
l Switch on machine with spray gun open.