5
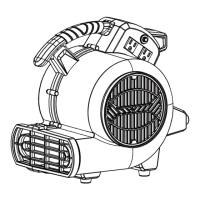
Operation
1
2
Air mover position operating
NOTE:
To reduce the risk of re or electric shock, do not
use this air mover with any solid-state speed control device.
HUSKYTOOLS.COM
Please contact 1-888-HD-HUSKY for further assistance.
□
□
□
□
□
□
□
□
□
Unpack air mover from carton.
To use the unit, place the unit in the area most suitable for
the application. Several factors need to be considered; the
unit must be placed close enough to an AC outlet to be
plugged in, there must be a minimum clearance of two feet
from either side of the unit to allow for proper air ow, and
the unit should not be placed where it can become a
tripping or safety hazard.
Place unit in the proper operating position for the applica-
tion. Refer to the operating positions section in this
manual.
To use multiple air movers, refer to the multiple air mover
instructions in this section.
Plug unit into the wall.
Turn unit on and select air speed by turning the switch,
located near the top handle, clockwise, then turn on the
timer knob on ON or off-3H.
When the drying job is completed, turn the unit off and
follow the directions for storage in this manual.
The unit comes with receptacles for the use with multiple
units. To use this feature, position the rst air mover
following the instructions listed above in this section. This
unit may be turned on while connecting multiple units.
Use only on a level and stable surface to prevent air mover
from falling and possibly causing injury or damage to unit.
Plug the second unit into one of the receptacles on the rst
unit. Place the second unit in the operation position and
the area most suitable for the application. The second unit
may be turned on at this time.
A third unit may be plugged into the remaining receptacles
on the rst unit or plugged into one of the receptacles in
the second unit. The third unit maybe turned on at his time.
If desired, follow the same steps to add more units (totally
not more than 6 units with the main unit include).
The receptacles on the unit are equipped with a circuit
protector that will shut off power to the unit should the
receptacles become overloaded. If this happens, move the
switch to the off position on the unit and any units
connected to it. Press the reset button located above the
receptacle; then turn the unit on and any units connected
to it.
□
□
□
□
□
□
□
□
□
□
□
□
□
□
□
□
□
□
□
□
□
□
□
□
□
□
□
□
□
□
□
□
□
□
□
□
□
□
□
□
□
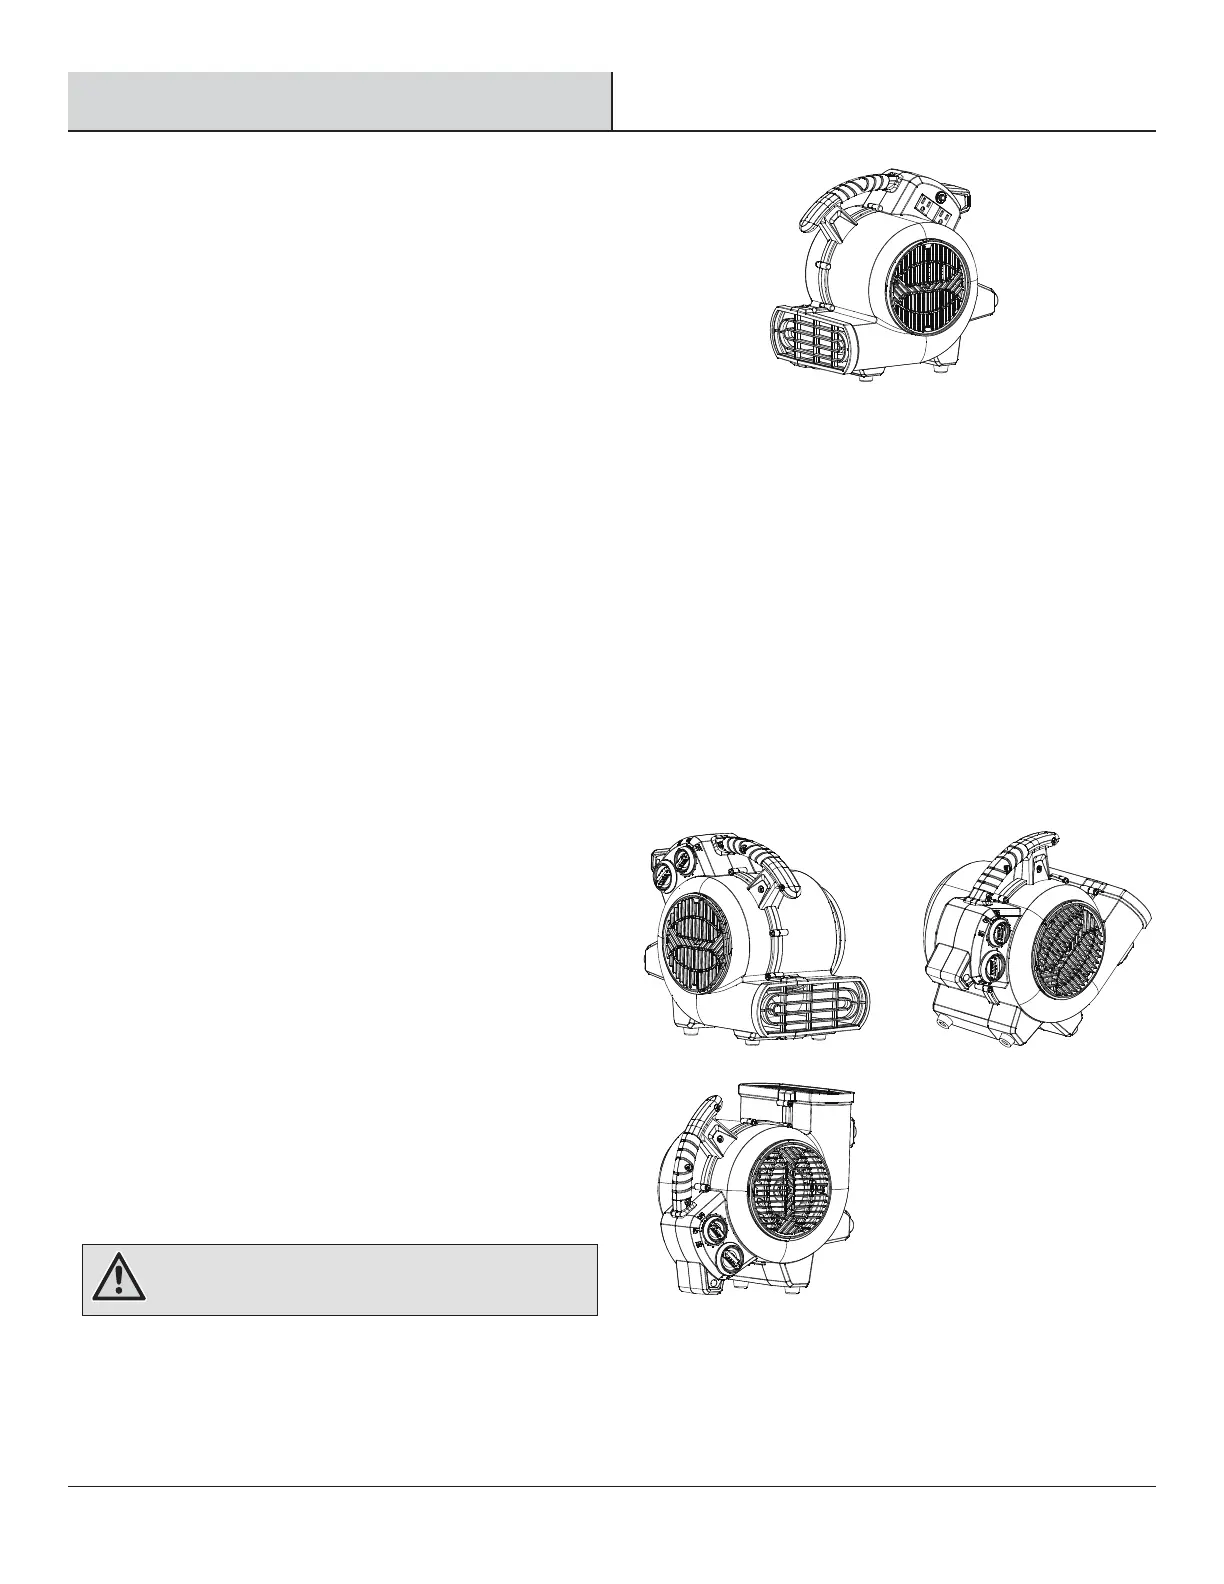
Follow these instructions
to operate the air mover:
Use the down position for applications such as drying wet
oors, shampooed carpets, etc. To use this position simply
place unit on its base (Figure1).
Use the angle position for applications such as drying plaster
on walls or drying wet furniture. To use this position, tilt unit
backwards so it rests on the support (Figure2).
Use the up position for applications such as drying paint on
the ceiling. To use this position, lay the unit on the back side
with the front grill pointing towards the ceiling (Figure3).
The air mover may be set in one of three operating positions.
Pick the position best suited for your application.
Figure1 Figure2
Figure3
 Loading...