12 13
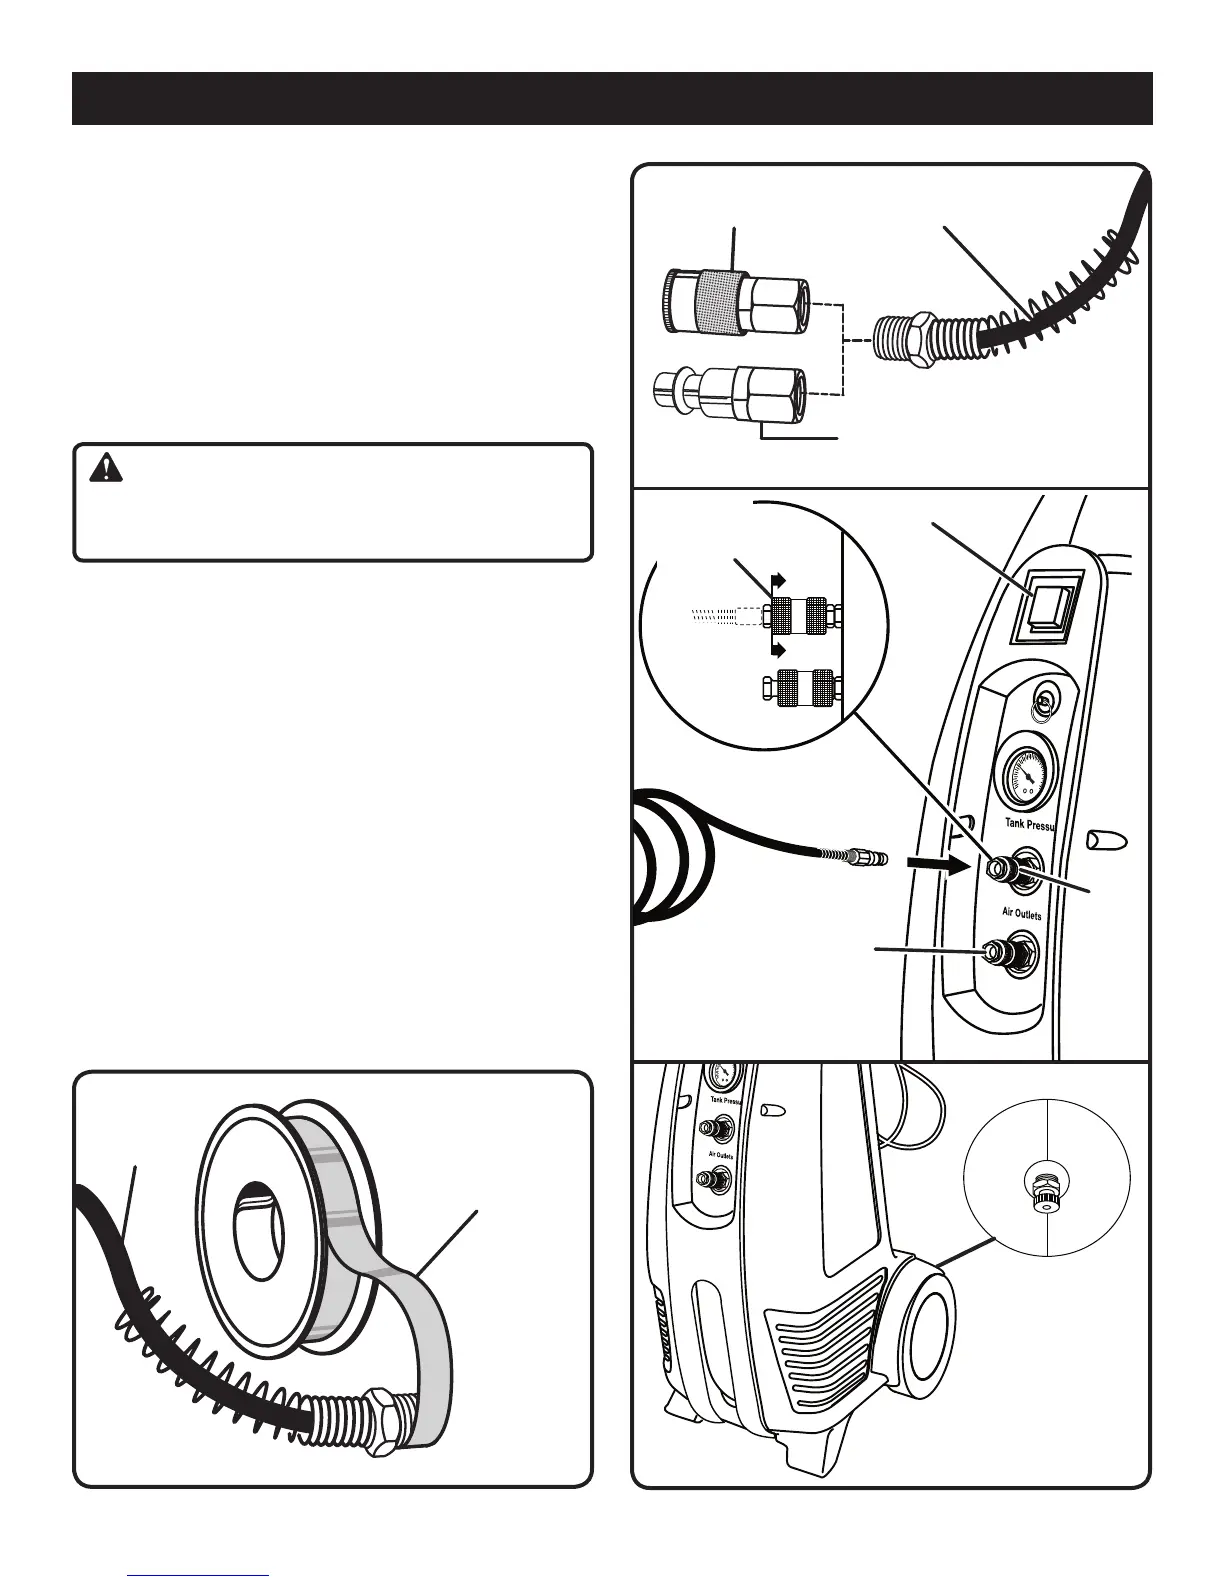
Fig. 3
Fig. 4
QUICK CONNECT
COUPLER
HOSE
ATTACHING HOSE TO COMPRESSOR
See Figures 3 - 5.
n Make sure the air compressor is off and unplugged.
n Apply seal thread tape to both ends of the coil hose.
n Insert one thread end of hose into open end of female
connector. Use wrenches to tighten securely.
NOTE: Be careful not to allow threads to become
cross-threaded.
n Attach quick coupler to other end of hose and tighten
securely.
WARNING:
Do not attach air chuck or other tool to the open end of
the hose until start-up has been completed.
n Firmly grasp the open end of the hose; hold facing
away from yourself and others.
n Insert the female connector end of the coil hose into
the desired air outlet on the air compressor. Push the
connector firmly until you hear it click into place.
n To disconnect the hose, push the external ring nut of
the quick coupler backward.
BREAKING IN THE PUMP
See Figures 5 - 6.
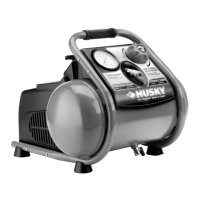
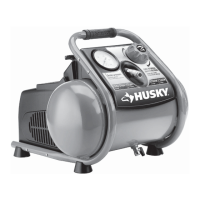
n Check and tighten all bolts, fittings, etc.
n Place the switch in the OFF position and plug in the
power cord.
n Open the drain valve completely.
n Turn the air compressor ON ( l ) and run the air com-
pressor for 10 minutes to break in pump parts.
n Place the switch in the OFF ( O )position.
n Close the drain valve.
ASSEMBLY
Fig. 6
Fig. 5
ON/OFF SWITCH
90 PSI
AIR
OUTLET
40 PSI
AIR OUTLET
RELEASED
PUSH TO
RELEASE
HOSE
DRAIN VALVE
LOCATED
AT BOTTOM
REAR OF AIR
COMPRESSOR
SEAL THREAD
TAPE
COIL
HOSE
1/4 NPT FEMALE
CONNECTOR FITTING


 To Next Page