Assembly (continued)
7
8.
9.
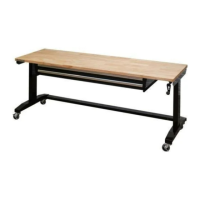
Square the workbench and then securely tighten all fasteners with a
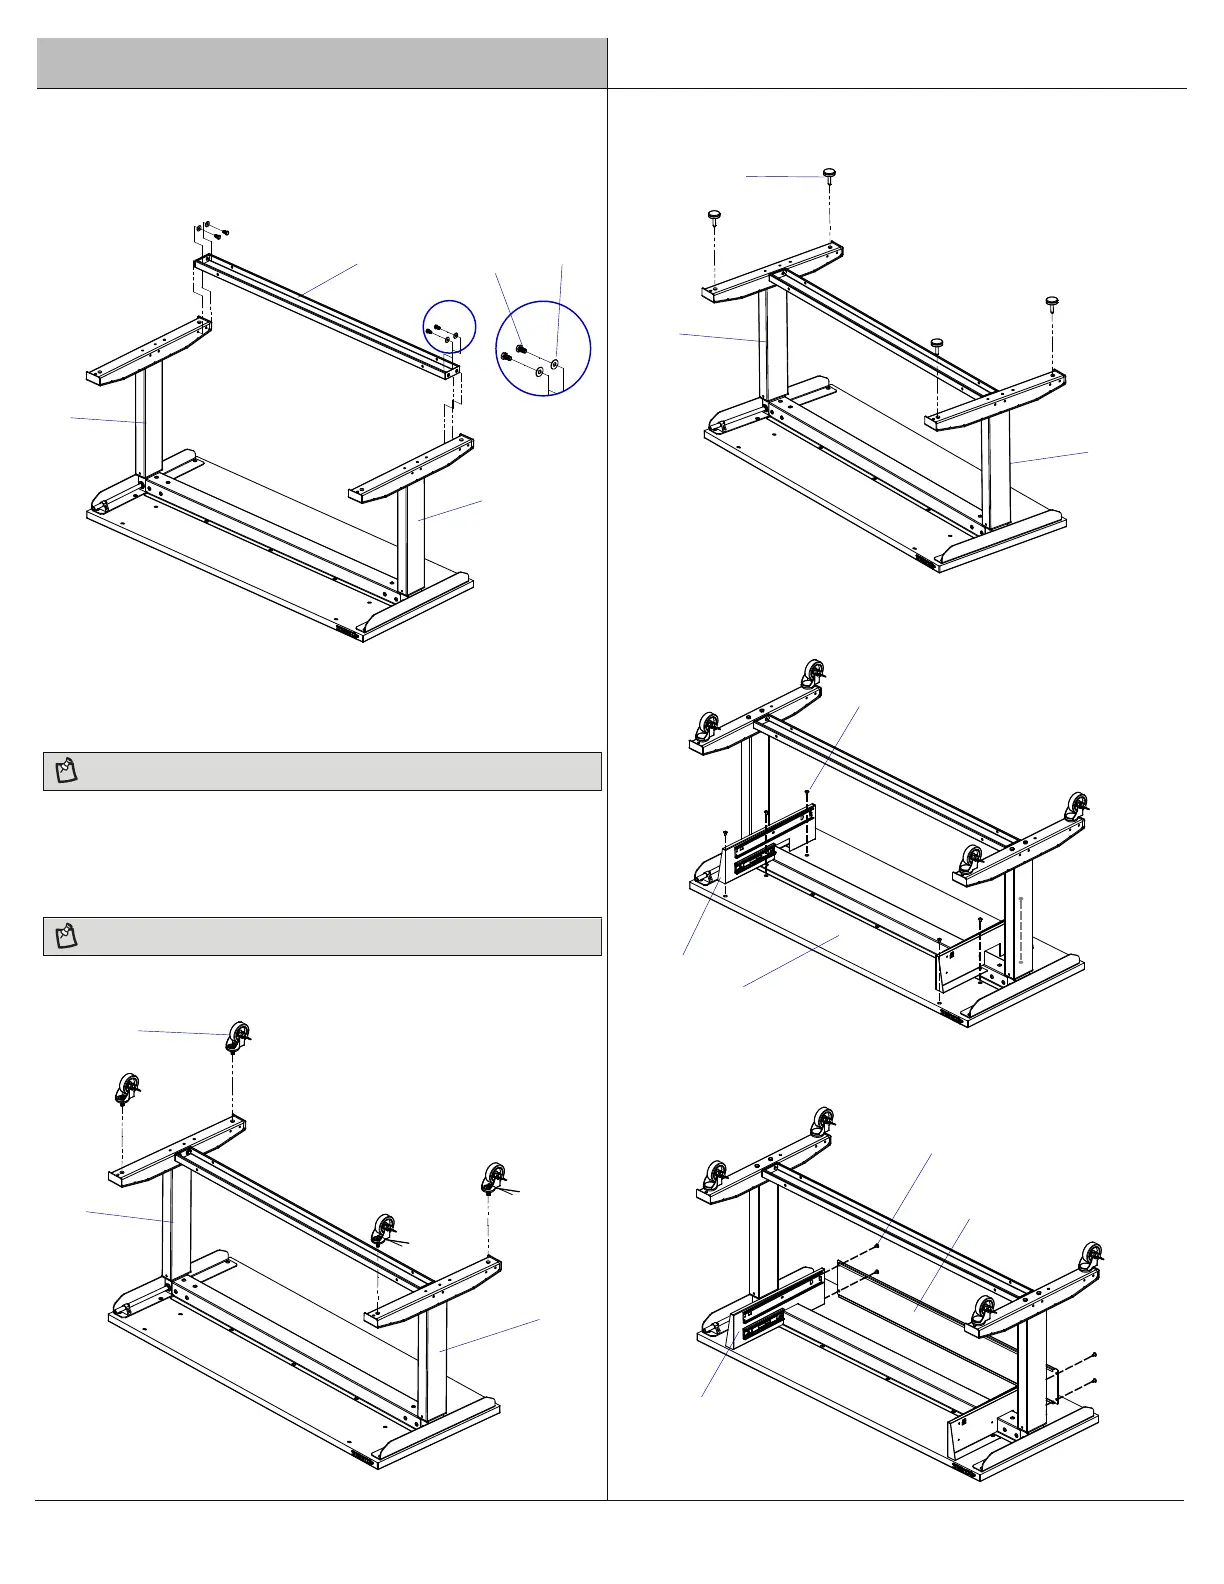
Screw the four leveling feet (D) or casters (I) all the way into the leg
assemblies to the maximum depth. Some adjustment may be
necessary after the workbench is in the desired location to properly
level and use the product.
10 mm and 13 mm wrench.
Note: Use caution to not overtighten.
Or
Caster installation
Leveling feet installation
Option 2: Attach the support rail (H) to the bottom of the leg (B) and
7b.
leg (E) using four M8x15L bolts (BB) and four M8 washers (CC).
Finger tighten only.
Note: Use caution to not overtighten.
Note: Leveling feet have been pre-assembled on the leg.
BB
CC
B
E
H
B
E
I
D
B
E
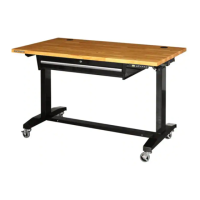
10.
Attach the drawer side panel (L) to the wood top (A) for two sides as
shown by using three screws (AA) for each side.
A
L
AA
11.
Attach the back panel (M) to the drawer side panels (L) by using two
screws (AA) for each side.
AA
L
M
HUSKYTOOLS.COM
Please contact 1-888-HD-HUSKY for further assistance.
 Loading...