Assembly
6
6
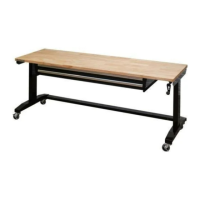
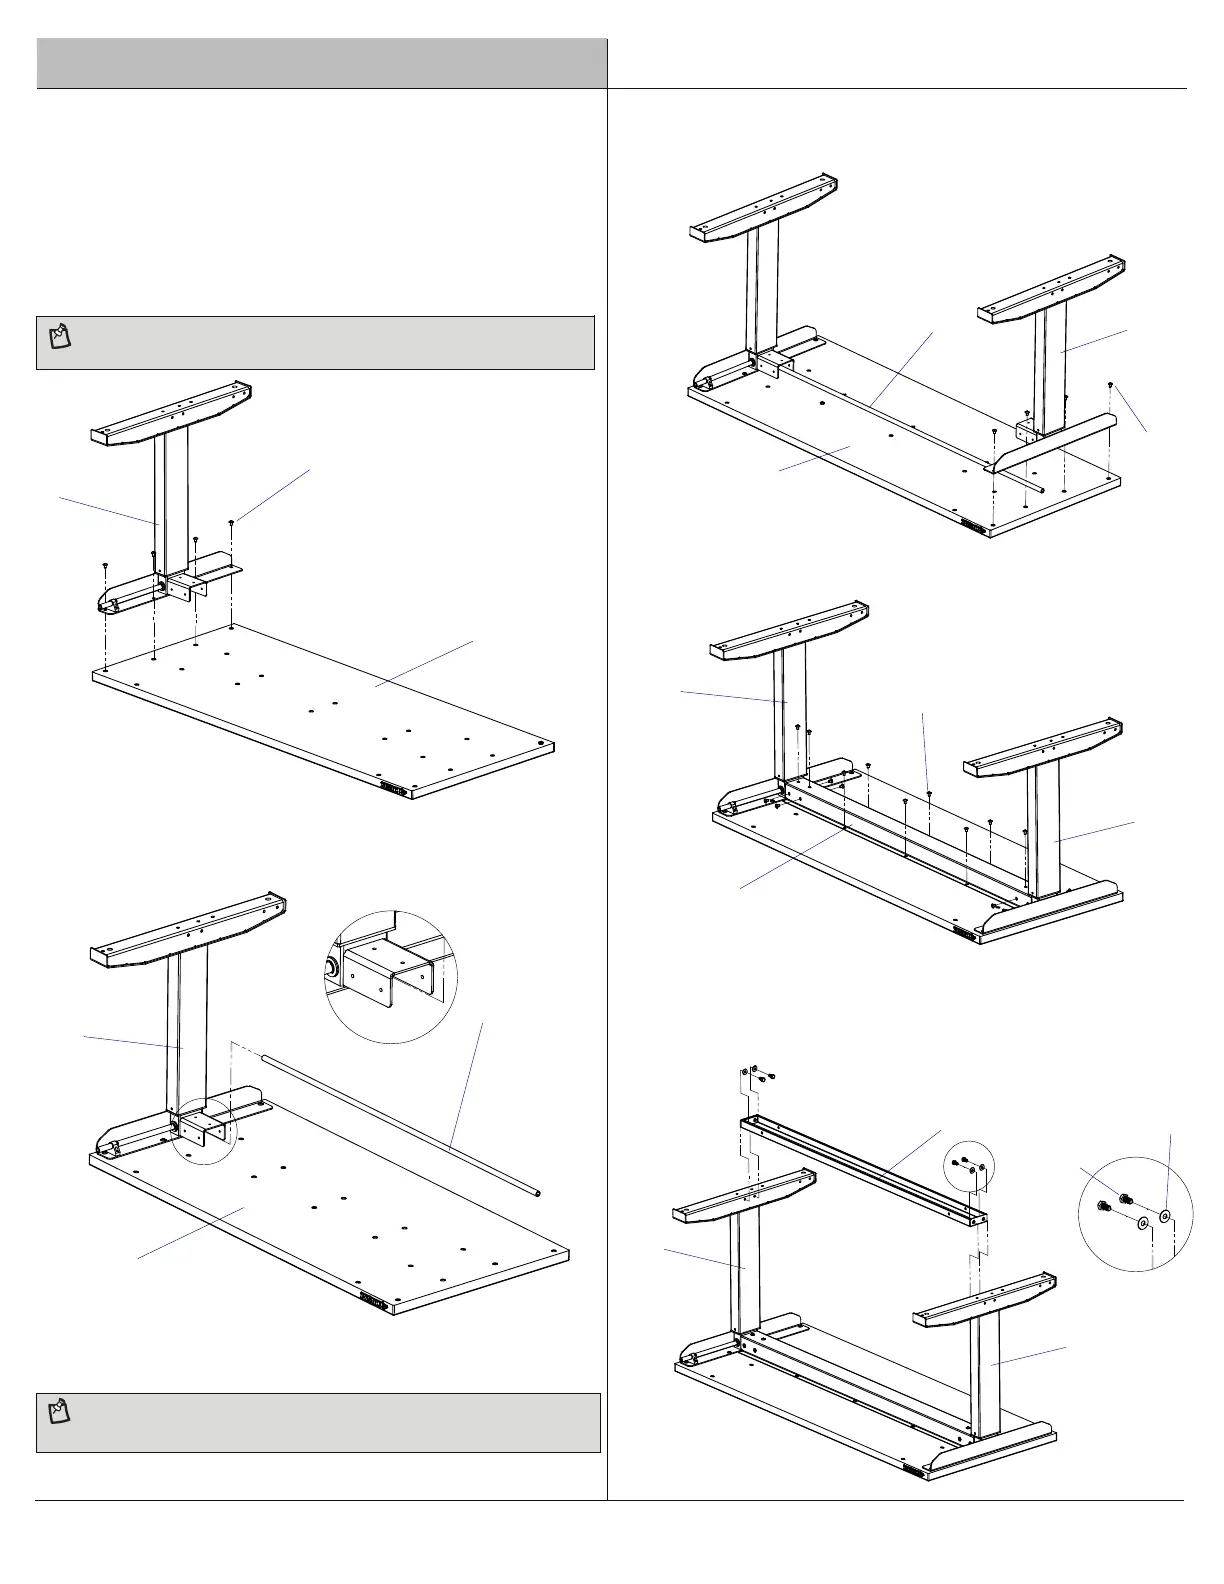
While unpacking the unit, you can leave the workbench wood top (A)
1.
inside the original packaging to prevent the top from being
scratched during assembly.
Determine the front and back of the top before starting. The front of
2.
the wood top (A) has the Husky badge on the edge.
Attach the right leg (B) to the wood top (A) as shown using four
3.
M6x15L screws (AA). Be sure that the rotating mechanism faces the
Attach the rotating rod (G) to the rotating mechanism in the leg (B).
4.
Option 1: Attach the support rail (H) to the bottom of the leg (B) and leg
7a.
Attach the top rail (F) to the wood top (A), leg (B), and leg (E) using
6.
eighteen M6x15L screws (AA). Do not overtighten the screws.
Note: Do not overtighten the screws into the wood top to avoid
damaging the wood top.
(E) using four M8x15L bolts (BB) and four M8 washers (CC). Finger
inside of work table.
Attach the left leg (E) to the wood top (A) using four M6x15L screws
5.
(AA). Finger tighten only. Be sure that the rotating rod (G) clicks into
the leg (E).
Note: Do not turn the rotating rod yet to ensure that the leg remains
at its lowest level.
tighten only. The support rail can attach in the middle or rear of the
legs. Attach it at your desired position. See step 7b for Option 2.
A
AA
B
Front
G
B
A
Front
Front
AA
E
G
A
AA
E
B
F
E
B
H
CC
BB
 Loading...