Do you have a question about the Husqvarna Viking Designer I and is the answer not in the manual?
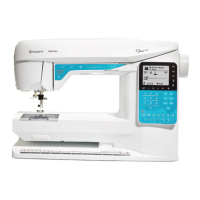
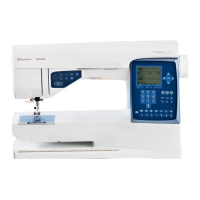
| Embroidery Capability | Yes |
|---|---|
| Needle Threader | Automatic |
| Bobbin Winding | Automatic |
| Presser Feet | Multiple included |
| Automatic Thread Cutter | Yes |
| Memory Function | Yes |
| USB Port | Yes |
| Foot Control | Yes |
| Display | Touch Screen |
| Maximum Embroidery Area | 360mm x 200mm |
| Speed Control | Adjustable |
| Warranty | 25 years |
| Type | Computerized Sewing and Embroidery Machine |
Details on Service Menu 1, 2, 3, touch panel calibration, and memory updates.
Step-by-step guide for removing the front cover.
Adjusting the play in the hook gear for optimal operation.
Setting the hook in relation to the feeding eccentric for correct timing.
Setting the basic position for the needle step motor.
Adjusting the needle's position relative to calibration stops.
Setting the needle's position relative to the presser foot.
Setting the optimal gap between the needle and the hook.
Setting the hook's timing in relation to the needle.
Adjusting the vertical height of the needle.
Setting the basic stitch length balance for the feed dog.
Pre-setting the step motor for the feed dog's movement.
Fine-tuning the stitch length balance for patterns and buttonholes.
Adjusting the thread tension of the bobbin case.
Adjusting upper thread tension for normal sewing operations.
Adjusting upper thread tension for embroidery operations.
Instructions for removing the circuit board and its wiring diagram.
Instructions for removing and reassembling the sewing head.