EasyManua.ls Logo

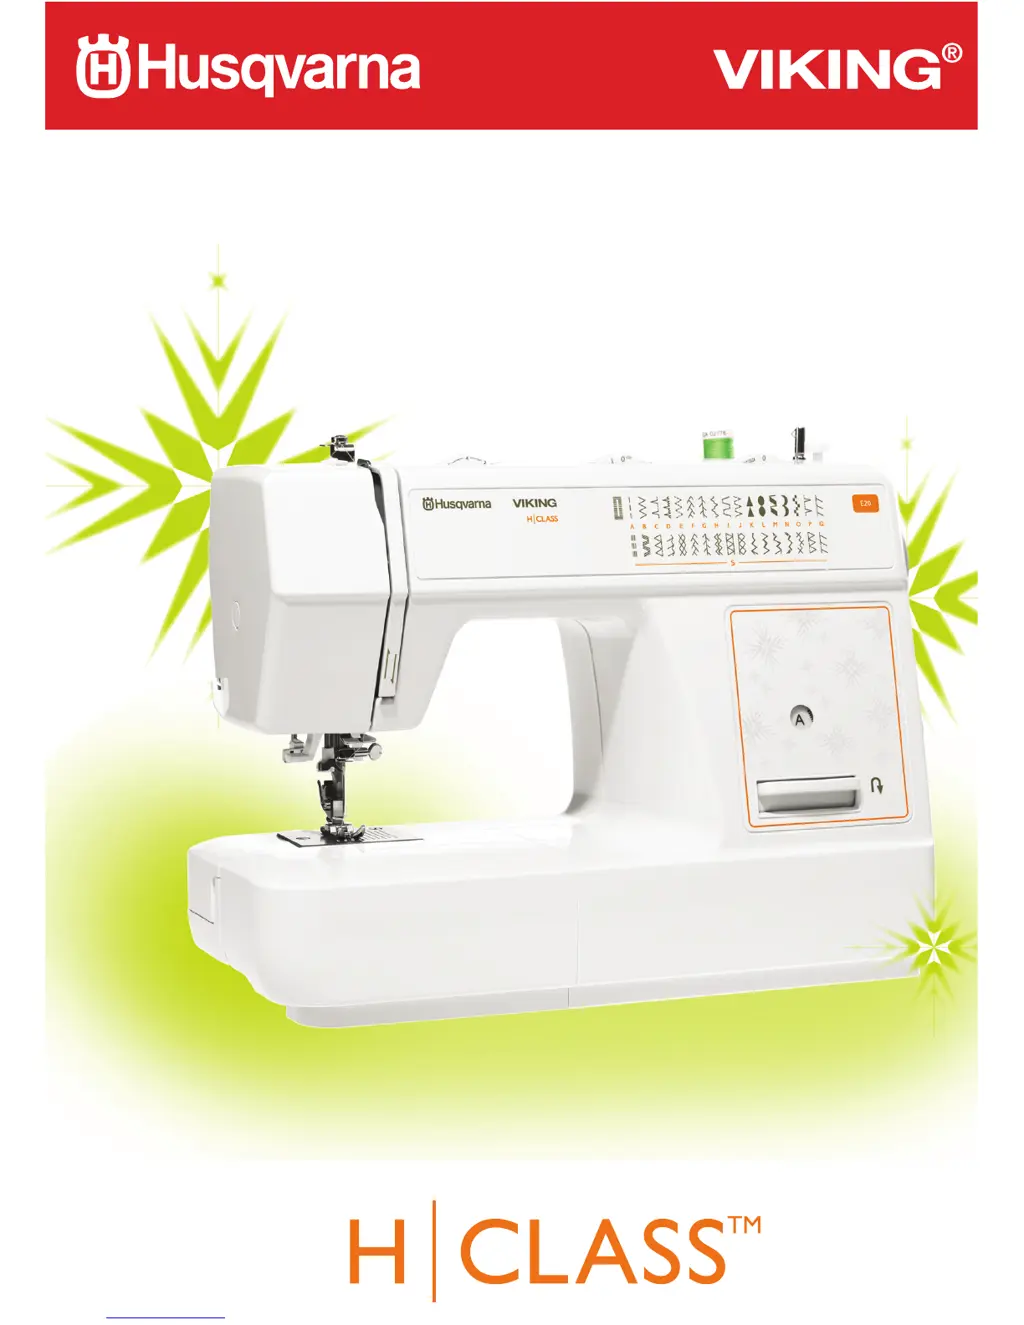
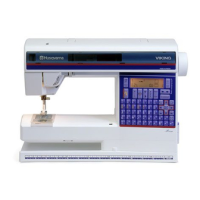
Husqvarna Viking Viking E20 - User Manual

Husqvarna Viking Viking E20
36 pages
Print Icon
To Next Page IconTo Next Page
Loading...
E20
USER’S GUIDE

Questions and Answers

  • D
    David VangAug 13, 2025
    What to do if my Husqvarna Viking Viking E20 jams?
    • J
      Jacob ChapmanAug 13, 2025
      If the machine jams, it may be because thread is caught in the hook. Remove the upper thread and bobbin case, turn the handwheel backwards and forwards by hand to remove the thread pieces, and then lubricate the machine.
  • P
    Pamela DunnAug 16, 2025
    How to fix stitches problem with my Husqvarna Viking Viking E20?
    • T
      Tiffany JohnsonAug 17, 2025
      A stitches problem can happen because the needle is not inserted correctly, the needle is damaged, the wrong size needle has been used, or the foot is not attached correctly. Remove and reinsert the needle towards the back, insert a new needle, choose a needle to suit the thread and fabric, and check and attach the foot correctly.
  • D
    Daniel DavisAug 20, 2025
    Why does the upper thread keep breaking on my Husqvarna Viking Sewing Machine?
    • M
      meganandersonAug 20, 2025
      The upper thread may break due to several reasons: the machine might not be threaded correctly, the thread tension could be too tight, the thread might be too thick for the needle, the needle might not be inserted correctly, the thread could be wound around the spool holder pin, or the needle could be damaged. To resolve this, rethread the machine, reduce the thread tension, remove and rethread the spool, and replace the needle.
  • C
    Cynthia JordanAug 25, 2025
    What to do if my Husqvarna Viking Viking E20 Sewing Machine needle breaks?
    • B
      bvasquezAug 25, 2025
      A needle can break because it is damaged, not correctly inserted, is the wrong size for the fabric, or the wrong foot is attached. Try these solutions: insert a new needle correctly towards the back, choose a needle suitable for the thread and fabric, and select the correct foot.
  • P
    Peter RobertsonAug 28, 2025
    Why are the stitches loose on my Husqvarna Viking Viking E20?
    • R
      Raymond WyattAug 28, 2025
      Loose stitches can occur because the machine is not correctly threaded, the bobbin case is not correctly threaded, the needle/fabric/thread combination is wrong, or the thread tension is wrong. Check the threading, thread the bobbin case as illustrated, ensure the needle size suits the fabric and thread, and correct the thread tension.
  • J
    James CrossSep 1, 2025
    What to do if the lower thread breaks on my Husqvarna Viking Viking E20 Sewing Machine?
    • T
      Thomas DonovanSep 1, 2025
      The lower thread may break if the bobbin case is not inserted correctly, the bobbin case is threaded incorrectly, or the lower thread tension is too tight. Remove and reinsert the bobbin case, ensuring the thread pulls easily. Check both the bobbin and bobbin case threading. Loosen the lower thread tension as described.
  • K
    Kathy ThompsonSep 4, 2025
    Why is my Husqvarna Viking Viking E20 Sewing Machine making uneven stitches and feed?
    • J
      Joseph LynchSep 4, 2025
      Uneven stitches and feed can be caused by poor quality thread, the bobbin case being wrongly threaded, or pulling the fabric while sewing. Select a better quality thread, remove and rethread the bobbin case correctly, and avoid pulling the fabric; let it be fed by the feed dogs.
  • J
    jeffrey03Sep 8, 2025
    Why is my Husqvarna Viking Viking E20 Sewing Machine so noisy?
    • D
      David SchroederSep 8, 2025
      A noisy machine may need lubrication, have lint or oil collected on the hook or needle bar, be using poor quality oil, or have a damaged needle. Lubricate the machine, clean the hook and feed dog, use good quality sewing machine oil, and replace the needle.
  • Н
    НадеждаApr 17, 2026
    Как настроить нижний петлитель?

    Summary

    Important Safety Instructions

    Electric Shock Safety Precautions

    Warning about unplugging the sewing machine immediately after use and before cleaning to prevent electric shock.

    General Operation Safety Warnings

    Lists precautions for safe operation, including supervision of children and avoiding misuse of the machine.

    Principal Machine Parts

    Machine Components (1-8)

    Identification of key operational parts of the sewing machine, numbered 1 through 8.

    Machine Controls (9-15)

    Identification of key controls and displays on the sewing machine, numbered 9 through 15.

    Additional Machine Components

    External Machine Parts (16-22)

    Identification of external parts including handle, winder, spool pin, and power controls.

    Threading Guides and Levers (23-26)

    Identification of thread guides and operating levers for sewing functions.

    Sewing Machine Accessories

    Presser Feet and Specialized Tools

    Lists various presser feet and specialized tools included with the machine.

    Maintenance and Bobbin Supplies

    Lists maintenance tools, needles, bobbins, and spool pin felt.

    Accessory Box Operation

    Attaching the Accessory Box

    Instructions on how to slide on and open the snap-in accessory box.

    Connecting to Power Source

    Power Connection and Switch

    Instructions for connecting the sewing machine to a power source and operating the main power switch.

    Foot Controller Operation

    Guidance on using the foot controller to operate the machine and adjust speed.

    Plug and Outlet Compatibility

    Information regarding polarized plugs and their use in USA and Canada outlets.

    Changing the Light Bulb

    Bulb Replacement Procedure

    Step-by-step instructions for safely replacing the sewing machine's light bulb.

    Two-Step Presser Foot Lever

    Lever Functionality

    Explanation of how the presser foot lever can be raised for easier work positioning.

    Adjusting Presser Foot Pressure

    Pressure Adjustment Method

    Instructions on adjusting the presser foot pressure using a screw for different fabric types.

    Presser Foot Shank Operations

    Presser Foot Assembly

    Steps for attaching the presser foot shank and the presser foot itself.

    Removing the Presser Foot

    Steps for releasing and removing the presser foot from the shank.

    Attaching the Seam Guide

    Instructions for attaching and adjusting the seam guide for sewing.

    Winding the Bobbin

    Bobbin Winding Setup

    Guide on placing the spool and threading the bobbin winder tension disc.

    Winding and Removal

    Steps for winding the bobbin using the foot control and moving it to the sewing position.

    Inserting the Bobbin

    Bobbin Insertion Procedure

    Detailed steps for opening the cover, inserting the bobbin, and threading the thread.

    Securing the Bobbin Case

    Instructions for inserting and latching the bobbin case into the shuttle race.

    Changing the Needle

    Needle Insertion and Securing

    Steps for loosening the clamp, inserting the needle correctly, and tightening the screw.

    Needle Orientation and Condition

    Guidance on the correct flat side orientation and identifying damaged needles.

    Threading the Upper Thread

    Upper Threading Sequence

    Detailed, numbered steps for threading the upper thread through all guides and the needle.

    Using the Built-in Needle Threader

    Needle Threader Operation

    Instructions for using the built-in mechanism to thread the needle.

    Needle Threader Compatibility

    Information on which needle sizes and types are compatible with the threader.

    Bringing Up the Bobbin Thread

    Retrieving Bobbin Thread

    Procedure for using the handwheel and upper thread to bring up the bobbin thread loop.

    Sewing Adjustments

    Thread Tension Adjustment

    Guide on adjusting upper thread tension and understanding tension issues.

    Feed Dog Adjustment

    Instructions for raising and lowering the feed dog for different sewing tasks.

    Basic Sewing Operations

    Reverse Sewing Function

    How to use the reverse sewing lever for locking stitches and reinforcement.

    Changing Sewing Direction

    Steps for stopping, turning the fabric, and continuing sewing in a new direction.

    Post-Sewing Procedures

    Steps for removing fabric and cutting threads after completing a sewing task.

    Choosing Sewing Patterns

    Straight and Zigzag Stitch Selection

    How to select straight stitch (A) and zigzag stitch (B) using the pattern selector dial.

    Selecting Other Patterns

    Instructions for choosing other patterns from the left and right rows using stitch dials.

    Needle, Fabric, and Thread Matching

    Selection Guide Table

    A guide matching needle sizes and types to fabrics and appropriate threads.

    Needle Type Explanations

    Details on different needle types like standard, semi-ball point, full ball point, and leather needles.

    Important Needle Usage Notes

    Tips on twin needles, European vs. American sizing, and timely needle replacement.

    Zigzag Sewing Techniques

    Zigzag Width Adjustment

    How to use the stitch width dial to control the zigzag stitch width, including for twin needles.

    Zigzag Length Adjustment

    How the stitch length dial affects zigzag stitch density, with settings for satin stitch.

    Sewing Thin Fabrics

    Recommendation to use stabilizer when sewing very thin fabrics.

    Straight Stitching and Needle Position

    Straight Stitch and Needle Position

    How to set the pattern selector for straight stitch and adjust needle position via stitch width.

    Stitch Length for Fabric Thickness

    General advice on adjusting stitch length based on fabric, thread, and needle thickness.

    Overlock Stitches

    Seams and Overcasting

    Instructions for using stitch length dial for seams and overcasting.

    Overlock Stitch Types

    Instructions and settings for double, standard, and stretch overlock stitches.

    Blind Hem Stitching

    Blind Hem for Woven Fabrics

    Instructions for performing a blind hem on woven fabrics using pattern position "C".

    Blind Hem for Stretch Fabrics

    Instructions for performing a blind hem on stretch fabrics using pattern position "D".

    Fabric Folding and Guide Adjustment

    Guidance on folding fabric, setting needle position, and adjusting the seam guide for blind hemming.

    One-Step Buttonhole Creation

    Standard Buttonhole Procedure

    Step-by-step guide to creating a buttonhole using the buttonhole foot.

    Buttonholes on Stretch Fabrics

    Special technique for sewing buttonholes on stretch fabrics using heavy thread or cord.

    Buttonhole Balance Adjustment

    Adjusting Buttonhole Balance

    How to use the balance control dial to adjust the stitch density on the left side of a buttonhole.

    Sewing Zippers and Piping

    Zipper Sewing Technique

    Instructions for sewing zippers, including using the zipper foot and sewing past the pull.

    Piping Insertion

    Method for sewing piping using a bias strip and cord.

    3-Step Zigzag Stitch

    3-Step Zigzag Applications

    Uses for the 3-step zigzag stitch like lace, elastic, darning, and mending.

    Sewing with Elastic

    Technique for sewing elastic onto fabric, stretching both before and behind the foot.

    Joining Fabric with Elastic Stitch

    How to use the elastic stitch to join two pieces of fabric, especially knits.

    Stretch Stitch Selection

    Triple Straight Stitch

    Settings and purpose of the triple straight stitch for reinforced seams.

    Triple Zig-Zag Stitch

    Settings and applications of the triple zigzag stitch for firm fabrics and decorative seams.

    Free Motion Darning

    Free Motion Darning Setup

    Steps for lowering feed dogs, removing the presser foot, and attaching the darning foot.

    Darning Procedure

    Guidance on sewing around the hole, working direction, and turning the work.

    Darning Technique

    Darning Stitch Settings

    How to set stitch length and selector for darning, and position fabric.

    Darning Motion

    Instructions on using the reverse lever and repeating motion to fill the darned area.

    Quilting

    Quilting Setup

    How to set the pattern selector and insert the quilting guide.

    Quilting Procedure

    Method for moving fabric and sewing successive rows with the guide.

    Machine Maintenance

    Removing the Stitch Plate

    Steps for removing the stitch plate using the handwheel and screwdriver.

    Cleaning the Feed Dog

    Instructions for cleaning the feed dog area with the supplied brush.

    Cleaning and Lubricating the Hook

    Detailed steps for cleaning and lubricating the hook mechanism for smooth operation.

    Troubleshooting Guide

    Thread and Tension Troubleshooting

    Solutions for issues related to upper/lower thread breaks, tension, and loose stitches.

    Needle and Stitch Quality Troubleshooting

    Solutions for skipped stitches, needle breaks, uneven stitches, and puckering seams.

    Machine Operation Troubleshooting

    Solutions for machine noise, jamming, and fabric feed problems.

    Husqvarna Viking Viking E20 Specifications

    General IconGeneral
    TypeMechanical
    Buttonhole Styles1
    Maximum Stitch Width5 mm
    Maximum Stitch Length4 mm
    Free ArmYes
    Built-in Needle ThreaderYes
    Adjustable Stitch LengthYes
    Adjustable Stitch WidthYes
    Reverse FunctionYes

    Related product manuals