English - 35
Repair Instructions
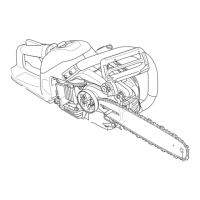
7.13 Assembling the intake system
1
Assemble the intake system.
2
Fit the lower screws of the intake system using the
PP-out hole and the fuel hose hole. Fit the other
screws. Fit the fuel hose and the throttle cable to
their attachments. See gure 24.
Fit the rubber grommet to the throttle cable. Push
the tank back in position. ook on the cabling to
the holder on the intake system.
3
TE Press the lug on the carburettor in place on
its bracket on the partition wall. See gure 24.
Fit the carburettor, the lter holder and the air lter
as outlined in Assembling the carburettor.
Cleaning and inspection
Clean and check all parts carefully. Parts must
be replaced if cracked or showing signs of other
defects. Always use original spare parts.
3
ismantle the air lter, the lter holder, the cable
from the intake ange holder and the carburettor
and the throttle cable as outlined in ismantling
the carburettor. TE The lug on the carburettor
sits on the bracket on the partition wall.
4
ook off the cabling from the holder on the intake
system (). nock out the PP-out window using a
screwdriver. See gure 25. Lower the tank slightly
and slide the fuel hose down into the hole. Loosen
the lower screws of the intake system using the
PP-out hole and the fuel hose hole. Loosen the
other screws.
5
ismantle the intake system. Pull up and then
outward. See gure 26.
Fig 24
Fig 25b
Fig 26
Fig 25a

 Loading...