~5~
press it again.
6.Turn [3] Vacuum adjusting knob to adjust dermabrasion vacuum
intensity, the pressure is strong while turning it to the clockwise,
the intensity number is constantly changing. The beautician
should consider the nursing part and make sure the guests can
accept the pressure.
.
The system will pause automatically if the setting time is over.
press any key to continue.
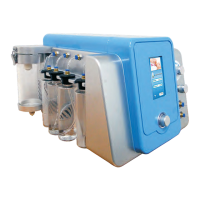
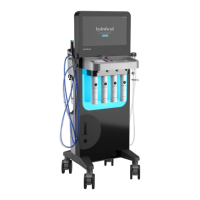
EXTRACTION OPERATION
1.Clean skin and make it dry.
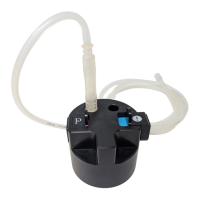
2.Put appropriate liquid products into liquid bottle C.
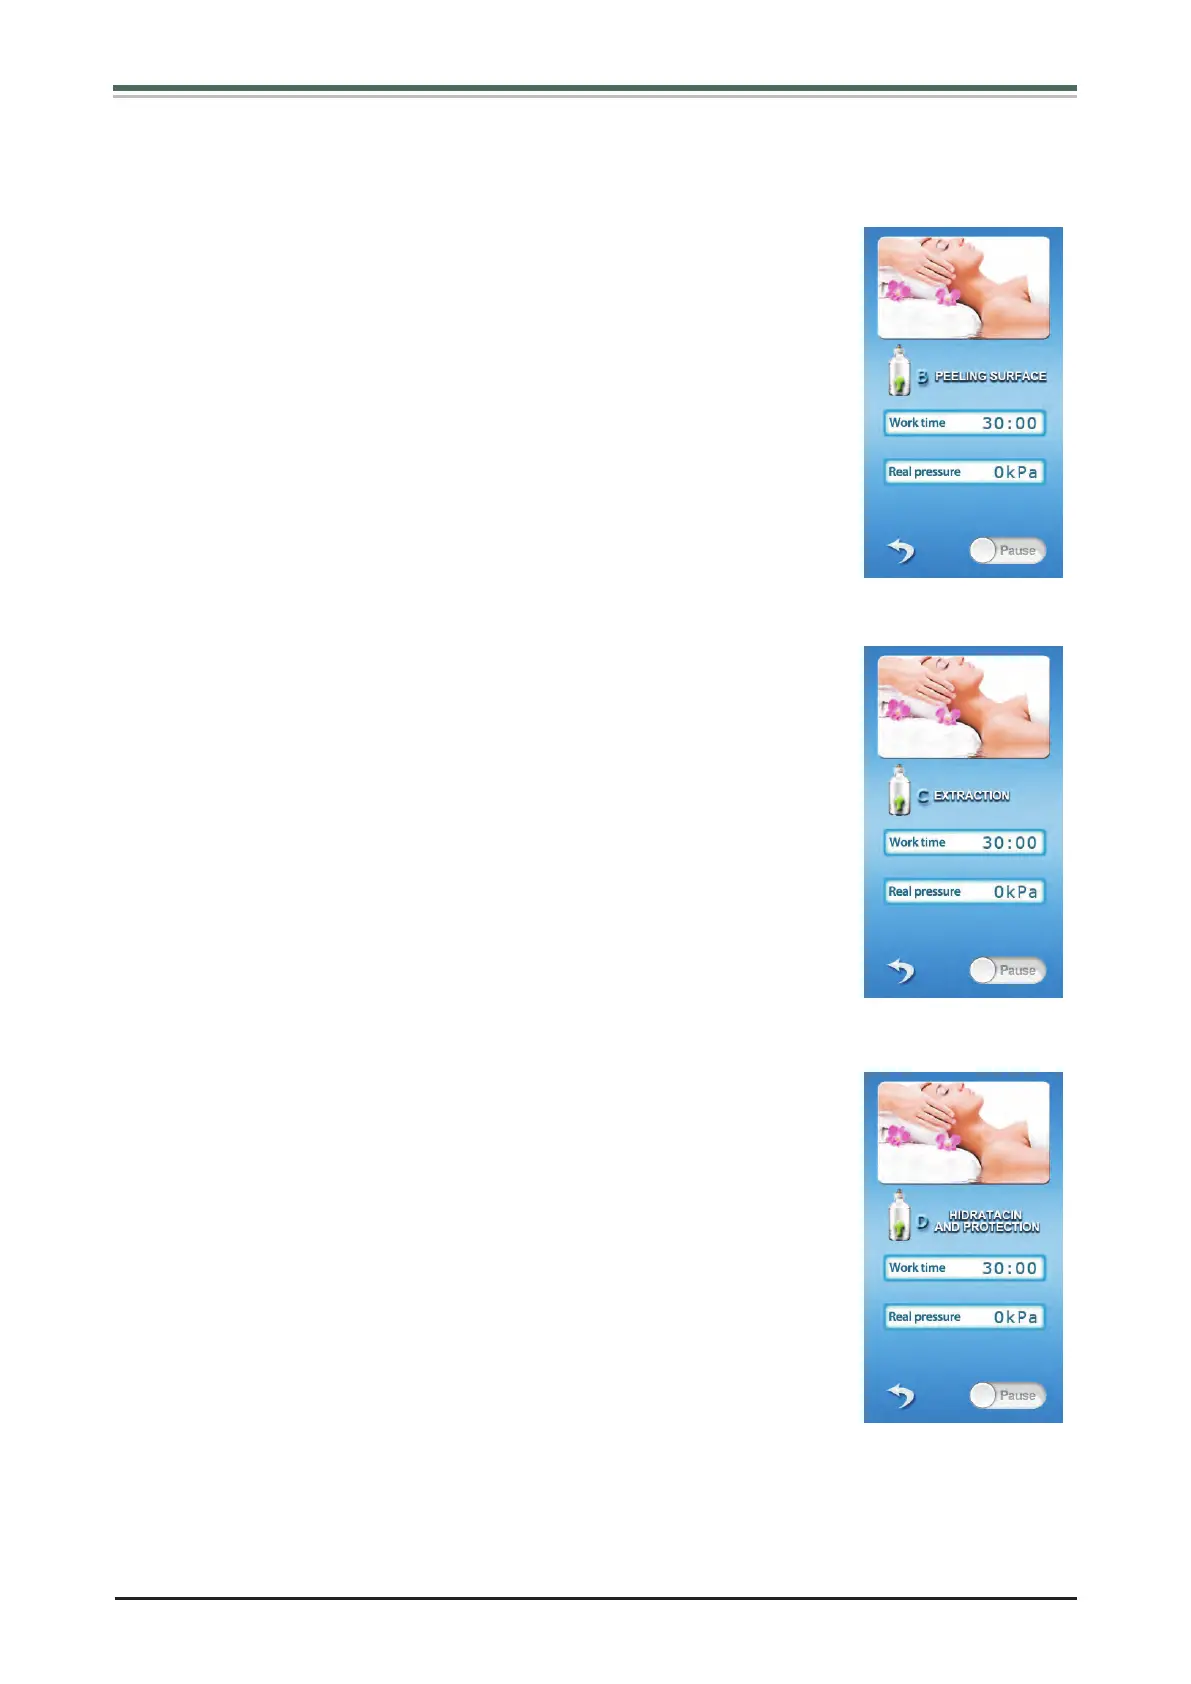
3.In interface as (Fig 2) shows, Choose “EXTRACTION” to enter
into interface as (Fig 6).
4.Set work time.
5.Acco rding treat ed parts to choose appropri ate Vacuu m
dermabrasion working heads, beauticians connect the Vacuum
dermabrasion working head with Vacuum dermabraion handle,
turn [2] Function selecting knob to “Start” , press [2] confirming
button, the system begin working. If you want to pause during
operation, press it again.
6.Turn [3] Vacuum adjusting knob to adjust dermabrasion vacuum
intensity, the pressure is strong while turning it to the clockwise,
the intensity number is constantly changing. The beautician
should consider the nursing part and make sure the guests can
accept the pressure.
.
The system will pause automatically if the setting time is over.
press any key to continue.
HIDRATACIN AND PROTECTION OPERATION
1.Clean skin and make it dry.
2.Put appropriate liquid products into liquid bottle D.
3.In interface as (Fig 2) shows, Choose “HIDRATACIN AND PROTECTION” to enter into
interface as (Fig 7).
7 Choose the treatment area, and beautician hold the Vacuum
dermabrasion handle to move closely on skin back and forth, with
the finger moves with it.
8.
7 Choose the treatment area, and beautician hold the Vacuum
dermabrasion handle to move closely on skin back and forth, with
the finger moves with it.
8.
(Fig 5)
(Fig 6)
(Fig 7)
 Loading...