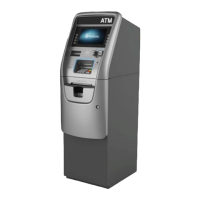
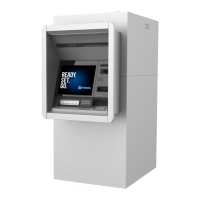
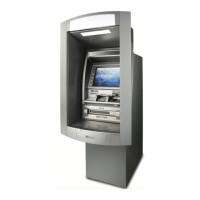
MX2800SE Quick Reference Guide
4
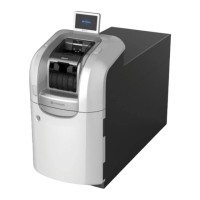
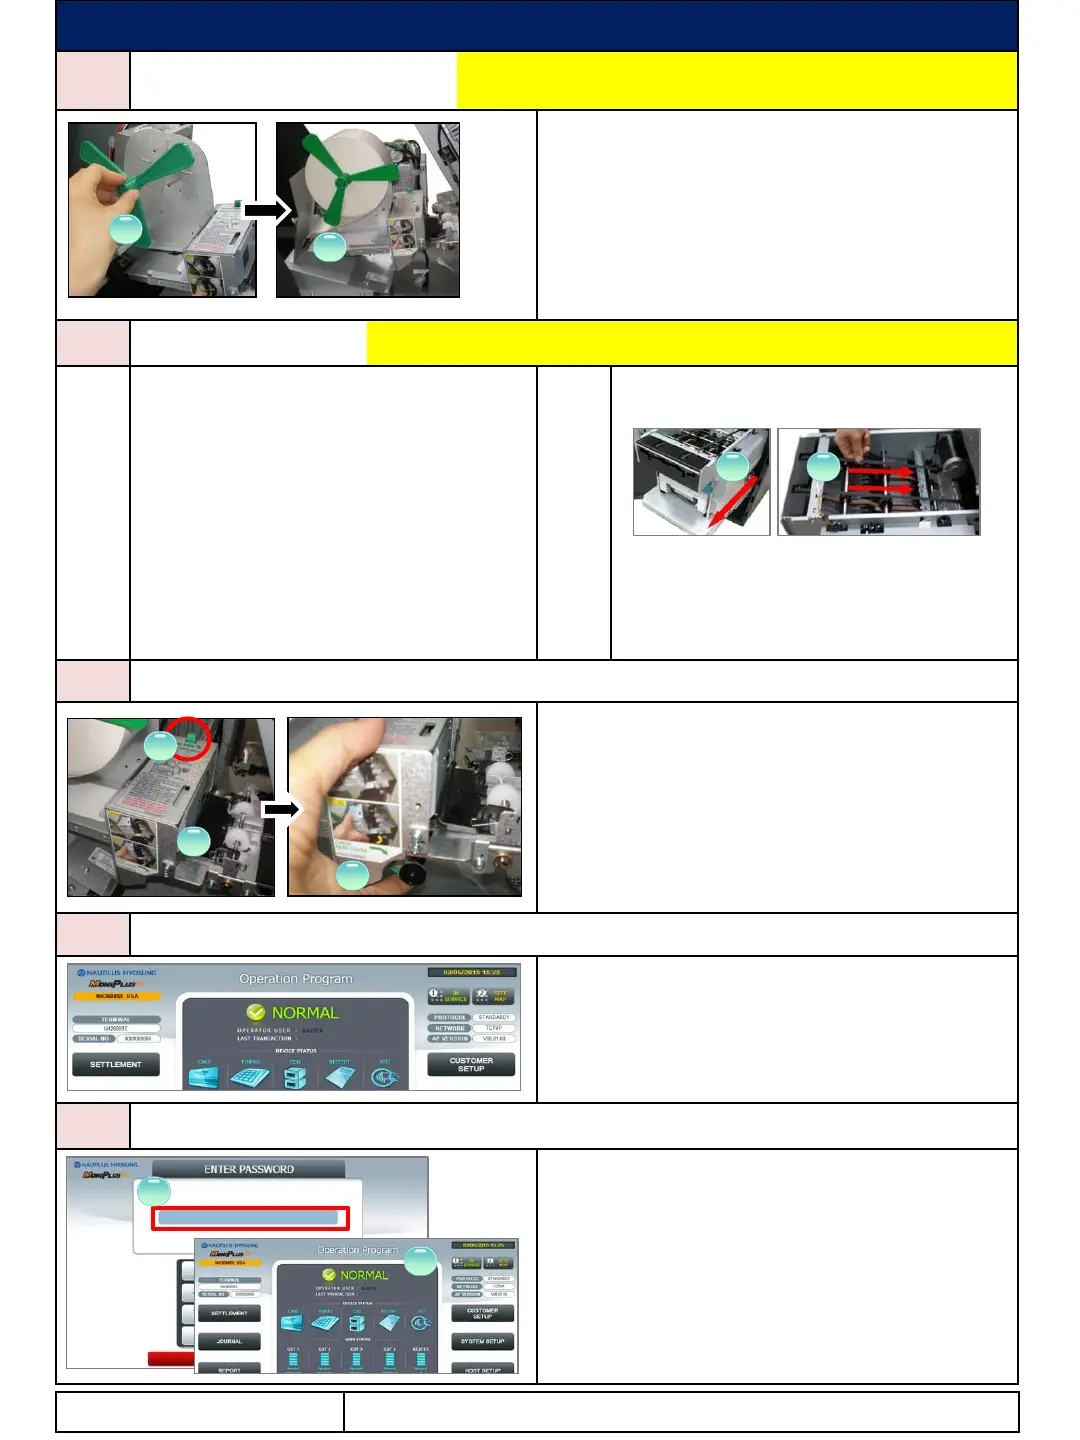
Receipt Paper Replenishment
The acceptable condition papers should be
loaded (Refer to Operator Manual)
Pull off the roll guide from the rod and place the receipt
Attach roll guide to the rod and place the end of the roll
between the upper and the lower guide. (②)
After feeding the paper, the roll will feed itself to the
correct position. (If everything is done correctly, one
sample receipt will be cut, then remove the cut sample
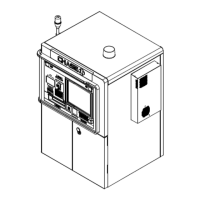
Before removing jam, power off for your safety.
5-1
Enter to “OP Main” screen, and submit
“CLEAR” button (Refer to “7 Device Reset”)
If jam is not cleared, power off
Open the security door. (Refer to the section
of “Security Door Open”)
Pull out the cash dispenser (①).
Move the belt by turning the knob beside
cash dispenser to move jammed note into
a well removed position. (②)
Remove jammed note carefully
Be sure to check if the belt is positioned
correctly after removing the jammed bills.
The above description is based on CDU with
1000 new note capacity cassette. For CDU with
2000 new note capacity cassette, refer to
operator manual.
6
First, check if there is a jammed paper around
transparent guide. (①) If so, after pressing the green
lever (②), lift up the transparent guide and remove the
jammed paper.
After removing paper jam, be sure to close the head
cover by pushing it up (③)
(refer to the diagram sticker)
After all paper jams have been cleared, reinstall the
paper and test the printer using Diagnostics.
7
To reset each device with error of ATM, enter to “OP
Main” screen, and press “CLEAR” key of EPP.
8
To enter to Supervisor mode, press ENTER,
CLEAR, CANCEL, 1, 2 and 3 keys in order.
(Default Password: “555555” and it is changeable in
Supervisor mode.) (①)
If correct password is entered, “OPERATION
FUNCTION” menu will be displayed. (②)
Pressing CLEAR key erases the entered number and
pressing CANCEL key goes to in-service-mode.
Contact Information
1 2
1
2
1
3
2
1
2
 Loading...