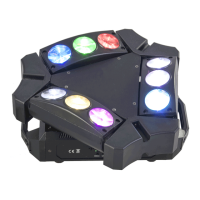
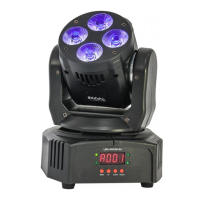
©Copyright LOTRONIC 2016 9BEAM-MINI Page 4
connect a DMX signal terminator.
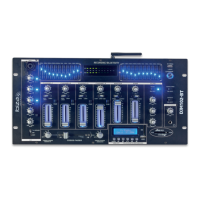
Setting up a DMX Serial Data Link
1. Connect the (male) 3 pin connector side of the DMX cable to the output (female) 3 pin connector of the controller.
2. Connect the end of the cable coming from the controller which will have a (female) 3 pin connector to the input
connector of the next fixture consisting of a (male) 3 pin connector.
3. Then, proceed to connect from the output as stated above to the input of the following fixture and so on.
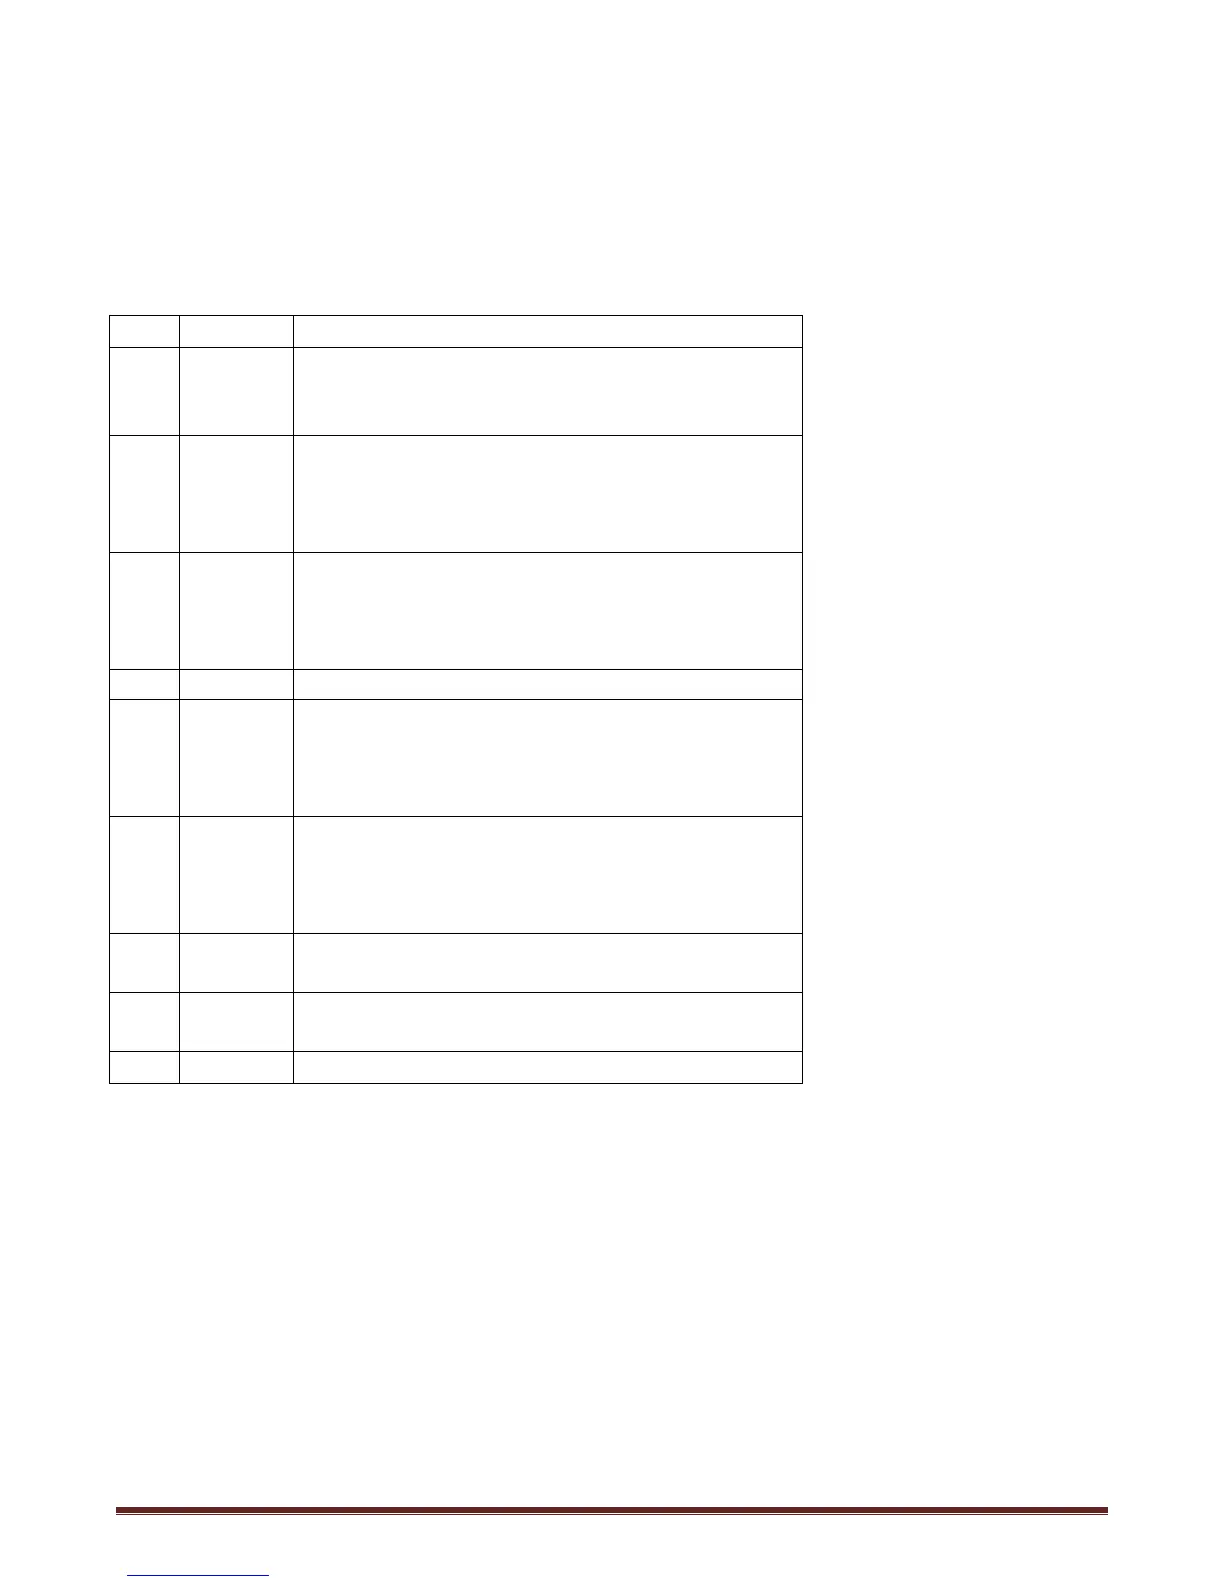
FUNCTION MENU
001 - 512, DMX Address setting
24CH
48CH
select the channel mode
SLND
Master Sound control mode
DMX control mode
Slave mode
SHND
Effect 1
Effect 2
Effect 3
Sound sensitivity control (0 close, 100 The most sensitive)
OFF if no DMX signal is present
Auto running if no DMX signal is present
Sound control if no DMX signal is present
Keeps last DMX control state if no DMX signal is present
Wile
0-255 White balance adjust
0-255 White balance adjust
0-255 White balance adjust
0-255 White balance adjust
rPAN
X motor reverse moving
rTiL
Function Mode
DMX address setting
1. Press the the MENU button until “ADDR” is displayed, press ENTER.
2. The current address will now be displayed and flashing. Press the UP or DOWN buttons to find your desired
address. When you have found your desired DMX address press ENTER then press and hold the MENU button for at
least 3 seconds to store your desired DMX address.
3. Connect your DMX Controller.
CHnd - This will let select your desired DMX channel mode.
1. Press the MENU button until “CHnd” is displayed, press ENTER. Either “16CH”, “24CH”, “48CH” will be displayed
2. Press the UP or DOWN buttons to find your desired DMX channel mode and press ENTER to confirm and exit.