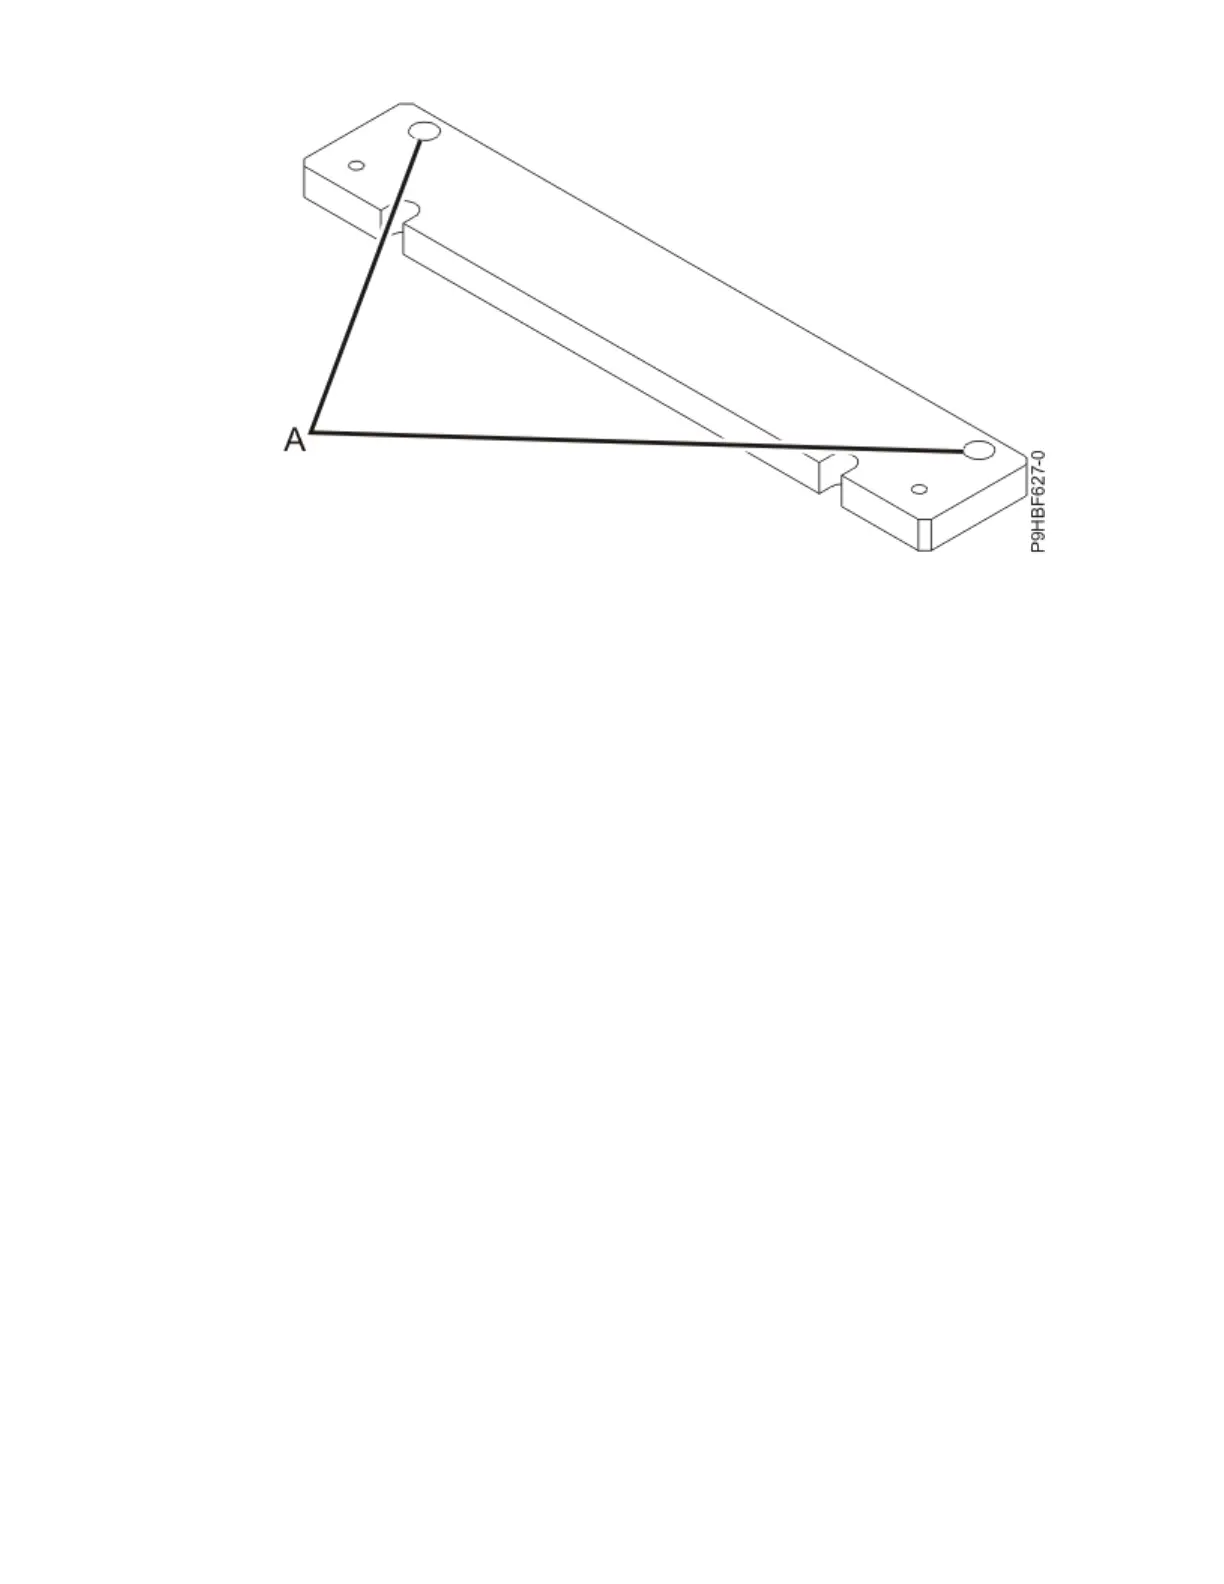
Figure 71. Recommended bolt-down locations
19. Install the concrete anchors.
20. Position the rack-mounting plate over the concrete anchors.
21. Install the anchoring bolts in the front rack-mounting plate but do not tighten.
22. Position the rack over the front rack-mounting plate.
23. Insert two of the rack-mounting bolts through the 12.7 mm thick washer, 6.4 mm thick washer,
spacer and through each of the front leveling feet.
24. Align the two rack-mounting bolts with the two tapped holes in the front mounting plate and turn
three to four rotations.
25. Position the rear-mounting plate over the concrete anchors.
26. Install the anchoring bolts in the rear rack-mounting plate but do not tighten.
27. 27. Insert two of the rack-mounting bolts through the 12.7 mm thick washer, 6.4 mm thick washer,
spacer and through each of the rear leveling feet.
28. Align the two rack-mounting bolts with the two tapped holes in the rear mounting plate and turn
three to four rotations.
29. Torque the bolts securing the front rack-mounting plate to the concrete floor. Torque requirements
are provided by the professional engineer or the mechanical contractor.
30. Torque the bolts securing the rear rack-mounting plate to the concrete floor. Torque requirements
are provided by the professional engineer or the mechanical contractor.
31. Adjust the leveling feet downward as needed to take the load off the castors (should spin freely) and
until the rack is level. When the rack is level, tighten the jam nuts against the base of the rack.
104
Power Systems: Racks and rack features
 Loading...