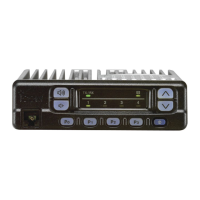
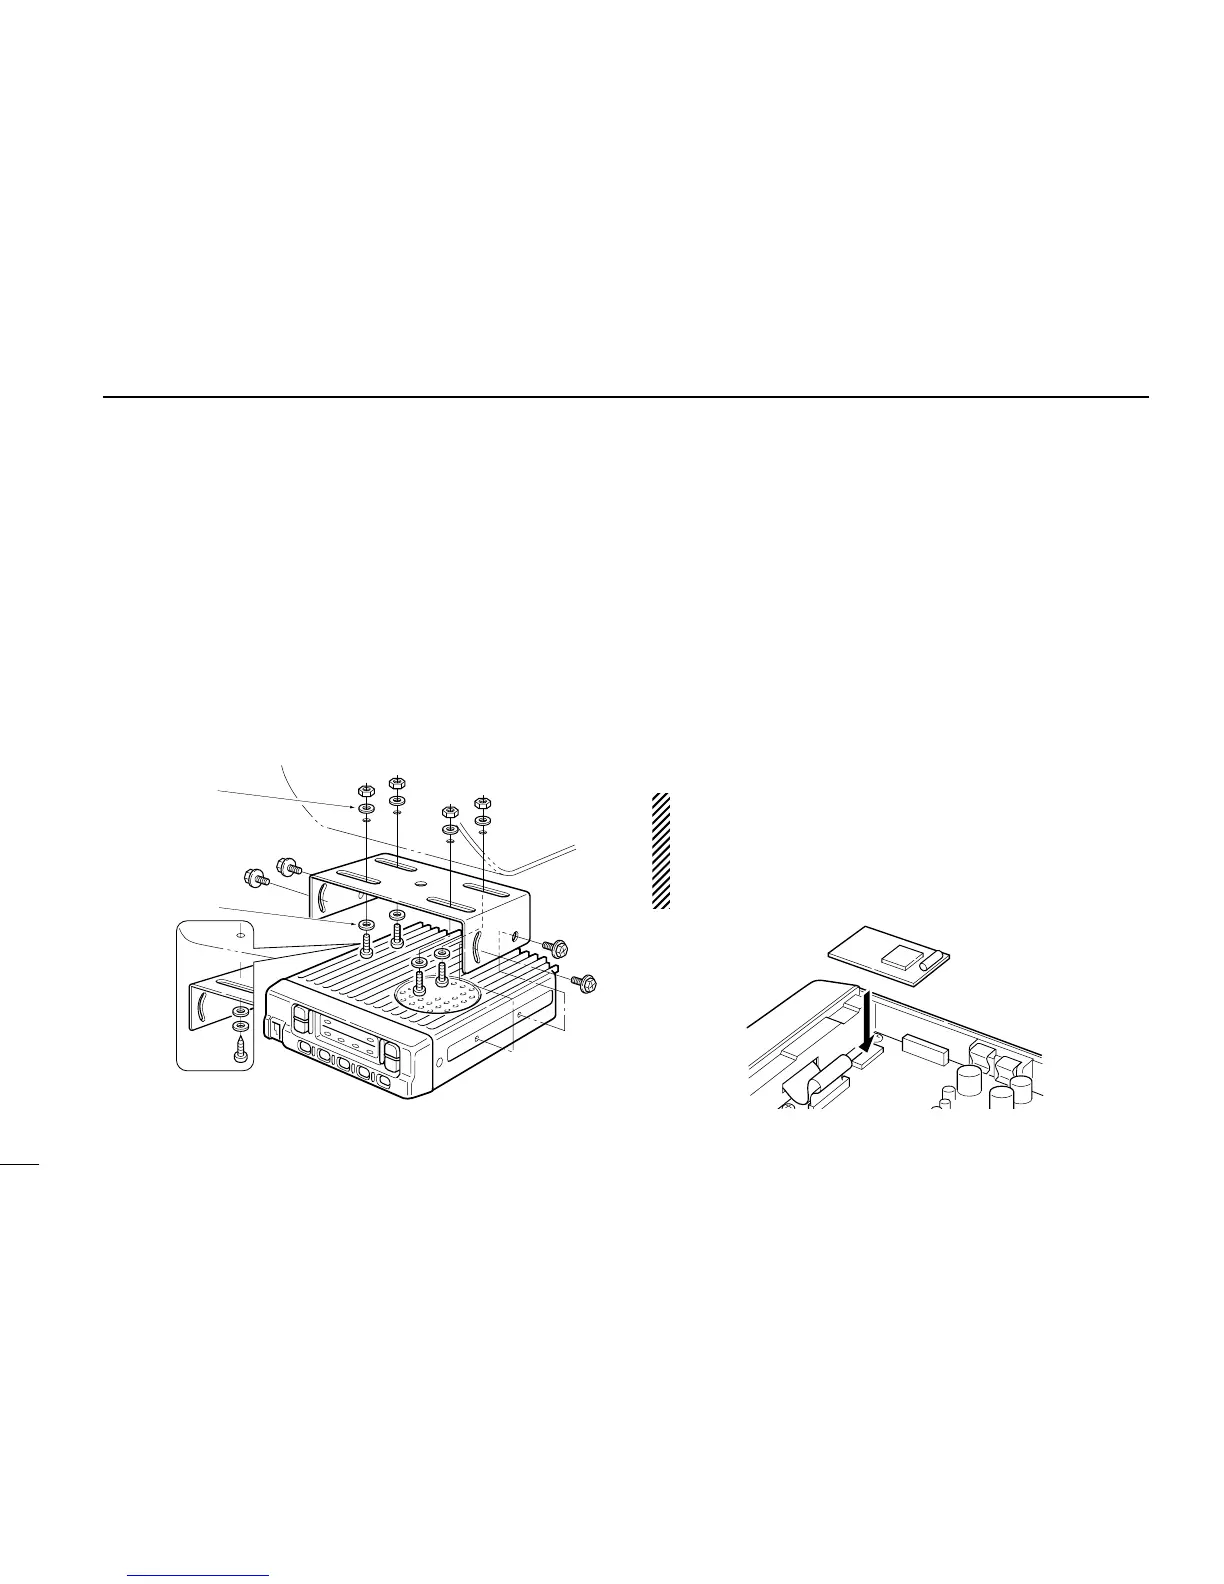
■ Mounting the transceiver
The universal mounting bracket supplied with your transceiver
allows overhead mounting. Please read the following instruc-
tions carefully.
•Mount the transceiver securely with the 4 supplied screws
to a sturdy surface which can support more then 1.5 kg.
3
CONNECTION AND MAINTENANCE
11
■ Optional UT-96/UT-105/UT-109
and UT-110 installation
The optional UT-96/UT-105/UT-109 and UT-110 units install
as follows:
q Turn power OFF, then disconnect the DC power cable.
w Unscrew the 4 screws, then remove the bottom cover.
e Install the unit as shown in the diagram below.
r Replace the bottom cover and screws, then the DC power
cable.
NOTE:
•UT-109 and UT-110 require some PC board modifica-
tions. Please refer to the additional installation manual.
•This transceiver requires #02 type scrambler units, do not
install #01 types, as they are not compatible.
•The sponge supplied with the UT-105 is for the IC-F30/ F40 series
transceivers only.
Flat washer
Spring washer
When using
self-tapping screws
 Loading...