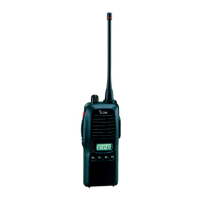
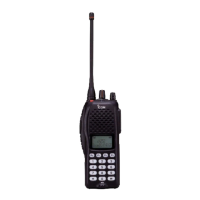
■ Cloning
Cloning allows you to quickly and easily transfer the programmed
contents from one transceiver to another transceiver; or data from
PC to a transceiver using the optional CS-F3G cloning software.
D Transceiver-to-transceiver cloning
q Connect the optional OPC-474 cloning cable to the [SP] jack of
the master and slave transceivers.
• The master transceiver is used to send data to the slave trans-
ceiver.
w While pushing [P0] and [Y], turn the transceiver’s power on to
enter cloning mode (For both the master transceiver and slave
transceiver).
•
“CLONE” appears and the transceiver enters the clone standby
condition.
e Push [PTT] on the master transceiver.
•
“CLOUT” appears in the master transceiver’s display.
• “CL IN” appears automatically in the slave transceiver’s display.
• When cloning is finished, “CLONE” appears in the master trans-
ceiver’s display.
NOTE: DO NOT push the [PTT] on the slave transceiver during clon-
ing. This will cause a cloning error.
r When cloning is finished, turn power off, then on again to return
to normal operation.
NOTE: Transceiver-to-transceiver cloning can not be done
between 40CH version and 100CH version, or CPU Rev.1.✻
and Rev.2.0.
• While pushing [P3] and [Y], turn the transceiver’s power on to enter
CPU version check mode. CPU revision is displayed (“100CH” display
for 100CH version only).
21
8
CLONING
 Loading...