4
Press the “enter” button D. Each time the button is pressed
the display shows the details of the next setting.
The day display J gives a flashing indication of the active day
or group of days.
Changing or deleting the timed settings
Set the mode selector switch B to the C1 position. The
symbols shown in Fig. 8 appear in the display.
Press the “enter” button D until the display shows the setting
to be modified or deleted.
The day display J gives a flashing indication of the active day
or group of days.
Press the button (or the buttons) I corresponding to the day
(or days) for which it is intended to apply the modification.
The corresponding day display stops flashing and a new
switching time can be set or deleted.
The time setting can be modified now by pressing button E or
F and the operation can be switched on or off by pressing the
button G.
To delete a time set press the button E or F until the symbols
shown in Fig. 8 appear in the time display H.
The new settigs are memorized by moving the switch B to a
different position.
Manual operation
The operation of the time switch can be forced on or off
constantly or for a timed period.
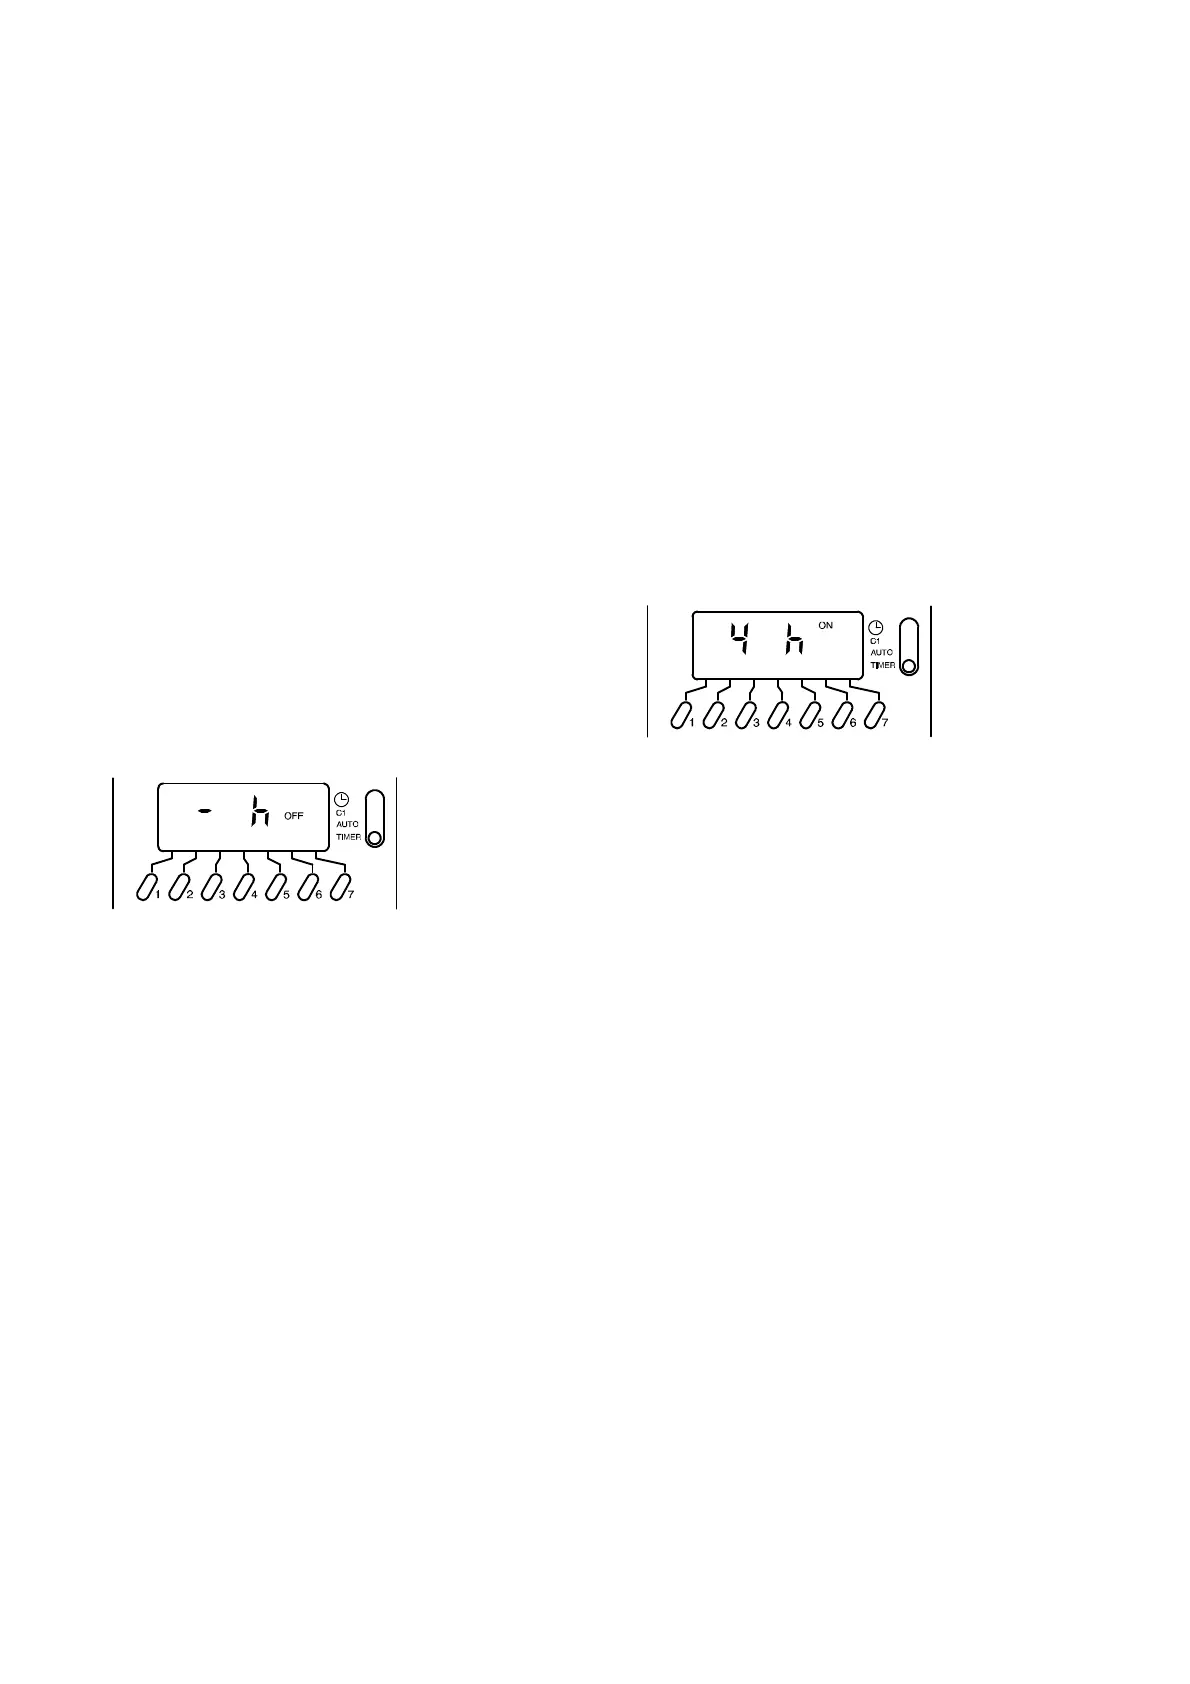
To force constantly on or off the timer operation set the mode
selector switch B to the TIMER position. The symbols shown
in Fig. 11 appear on the display.
Fig. 11
The operation can be switched permanently on or off by
pressing the button G and leaving the switch B in the TIMER
position.
To force a timed delay on or off operation, set the mode
selector switch B in the TIMER position.
Set the time delay by pressing the button E or F and the
operation can be forced on or off by pressing the button G.
The time delay can be set within the following ranges:
1 to 23 hours with steps of 1 hour
1 to 27 days with steps of 1 day
The time delay setting is activated by moving the switch B to
the AUTO position.
The ON ---OFF display A flashes indicating that the current
state of operation has been forced.
To delete the timed delay setting, set the mode selector
switch B in the TIMER position, press the button E or F until
the symbols shown in Fig. 11 appear in the display and then
set the mode selector switch B to the AUTO position
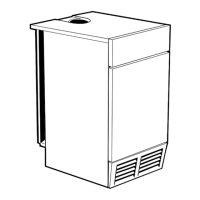
Setting example shown in Fig. 12:
forced ON state for 4 hours.
Fig. 12
Resetting
To completely reset the timer, press the reset button with a
pointed object (pencil).
CAUTION: pushing the reset button will completely erase the
settings as well as all the data, including the current time and
day.
17962.0901.1 4303 4A4 UK *1796209011*