18
INSTALLATION
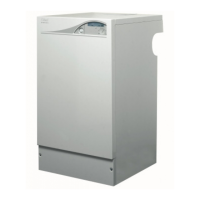
isar - Installation and Servicing
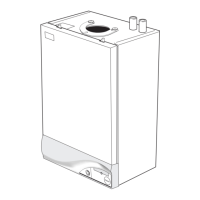
FLUE OUTLET
15
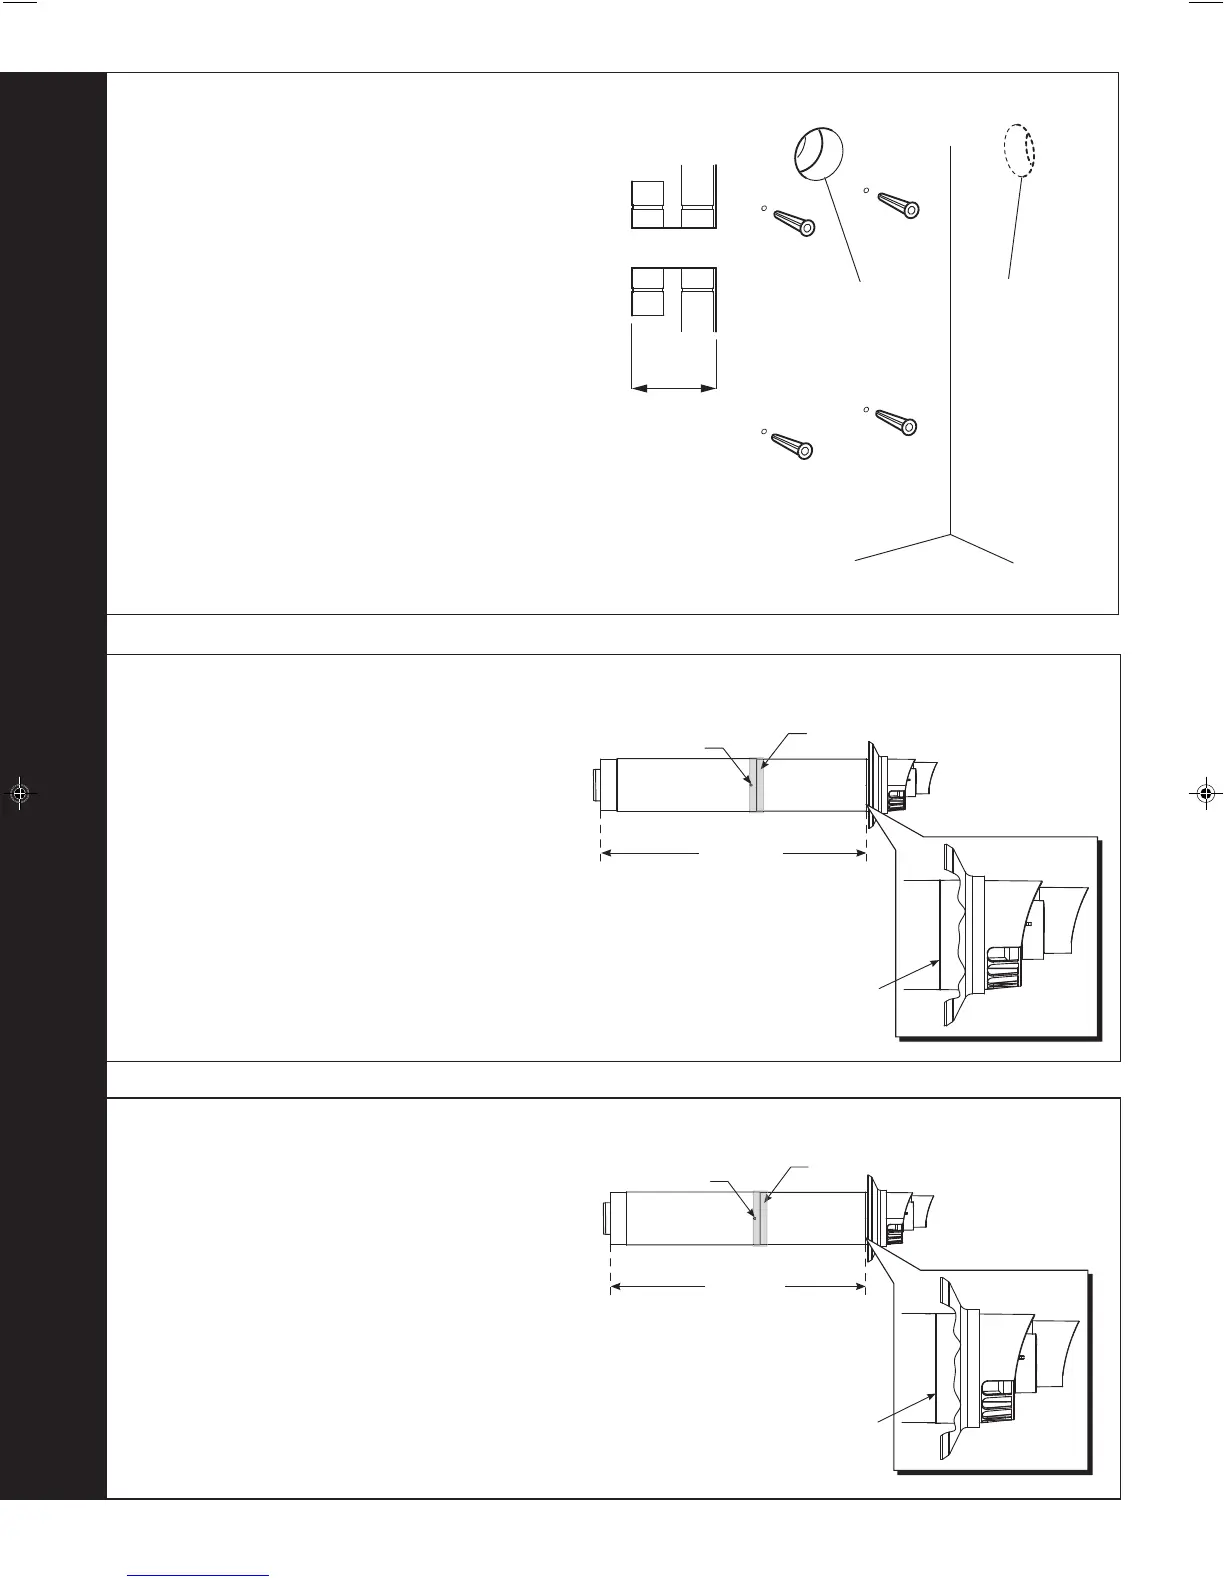
PREPARING THE WALL
IMPORTANT.
Ensure that, during the cutting operation, masonry
falling outside of the building does not cause damage
or personal injury.
1. Cut the flue hole (preferably with a 5" core boring
tool), ensuring that the hole is square to the wall.
Both wall faces immediately around the cut hole
should be flat.
2. Drill 4 holes with a 7.5mm / 8mm masonry drill
and insert the plastic plugs, provided, for the
piping frame.
3. Locate 4 No.14 x 50mm screws in the piping
frame (one at each side, in any of the 3 holes
provided at each side) and screw home.
2011
X
Section
through wall
Note. Check all of the hole
positions before drilling.
Side flue only
5" diameter hole
Rear flue only
5" diameter hole
17
SETTING THE FLUE - SIDE Wall thicknesses of 170 to 395mm
16
SETTING THE FLUE - REAR Wall thicknesses of 210 to 435mm
Notes.
a. If using the extension ducts go to Frame 18.
b. For shorter flue requirements use non telescopic B
Pack.
1. Measure and note wall thickness X. Refer to Frame 12.
2. Measure distance from side of boiler to inside of wall
and add to wall thickness X=L. Refer to Frame 12.
3. Add 115mm to dimension L and set telescopic flue
length as indicated in drawing.
4. Using a 3.5mm drill bit, drill two holes in outer air duct
taking care not to pierce plastic inner flue.
5. Fix to length using self tappers provided.
6. Seal outer air duct using the tape provided.
Notes.
a. If using the extension ducts go to Frame 18.
b. If the stand-off frame is used it is essential to add 33mm
to dimension X.
c. For shorter flue requirements less than 210mm, use non
telescopic B Pack.
1. Measure and note wall thickness X. Refer to Frame 12.
2. Add 75mm to dimension X and set telescopic flue length
as indicated in drawing.
3. Using a 3.5mm drill bit, drill two holes in outer air duct
taking care not to pierce plastic inner flue.
4. Fix to length using self tappers provided.
5. Seal outer air duct using the tape provided.
nm8944
X + 75
Drill hole
Adhere sealing tape
Measurement to be
taken from this point
nm8945
L + 115
Drill hole
Adhere sealing tape
Measurement to be
taken from this point
203319-3.pmd 27/03/2008, 08:1518
 Loading...