Instruction Manual
STARTUP, OPERATION AND TEMPERATURE ADJUSTMENT
Operation
• Prior to stocking cooler with product, it should be operated empty for half an hour.
Temperature Adjustment
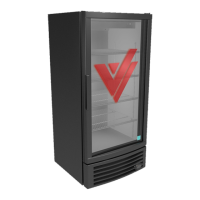
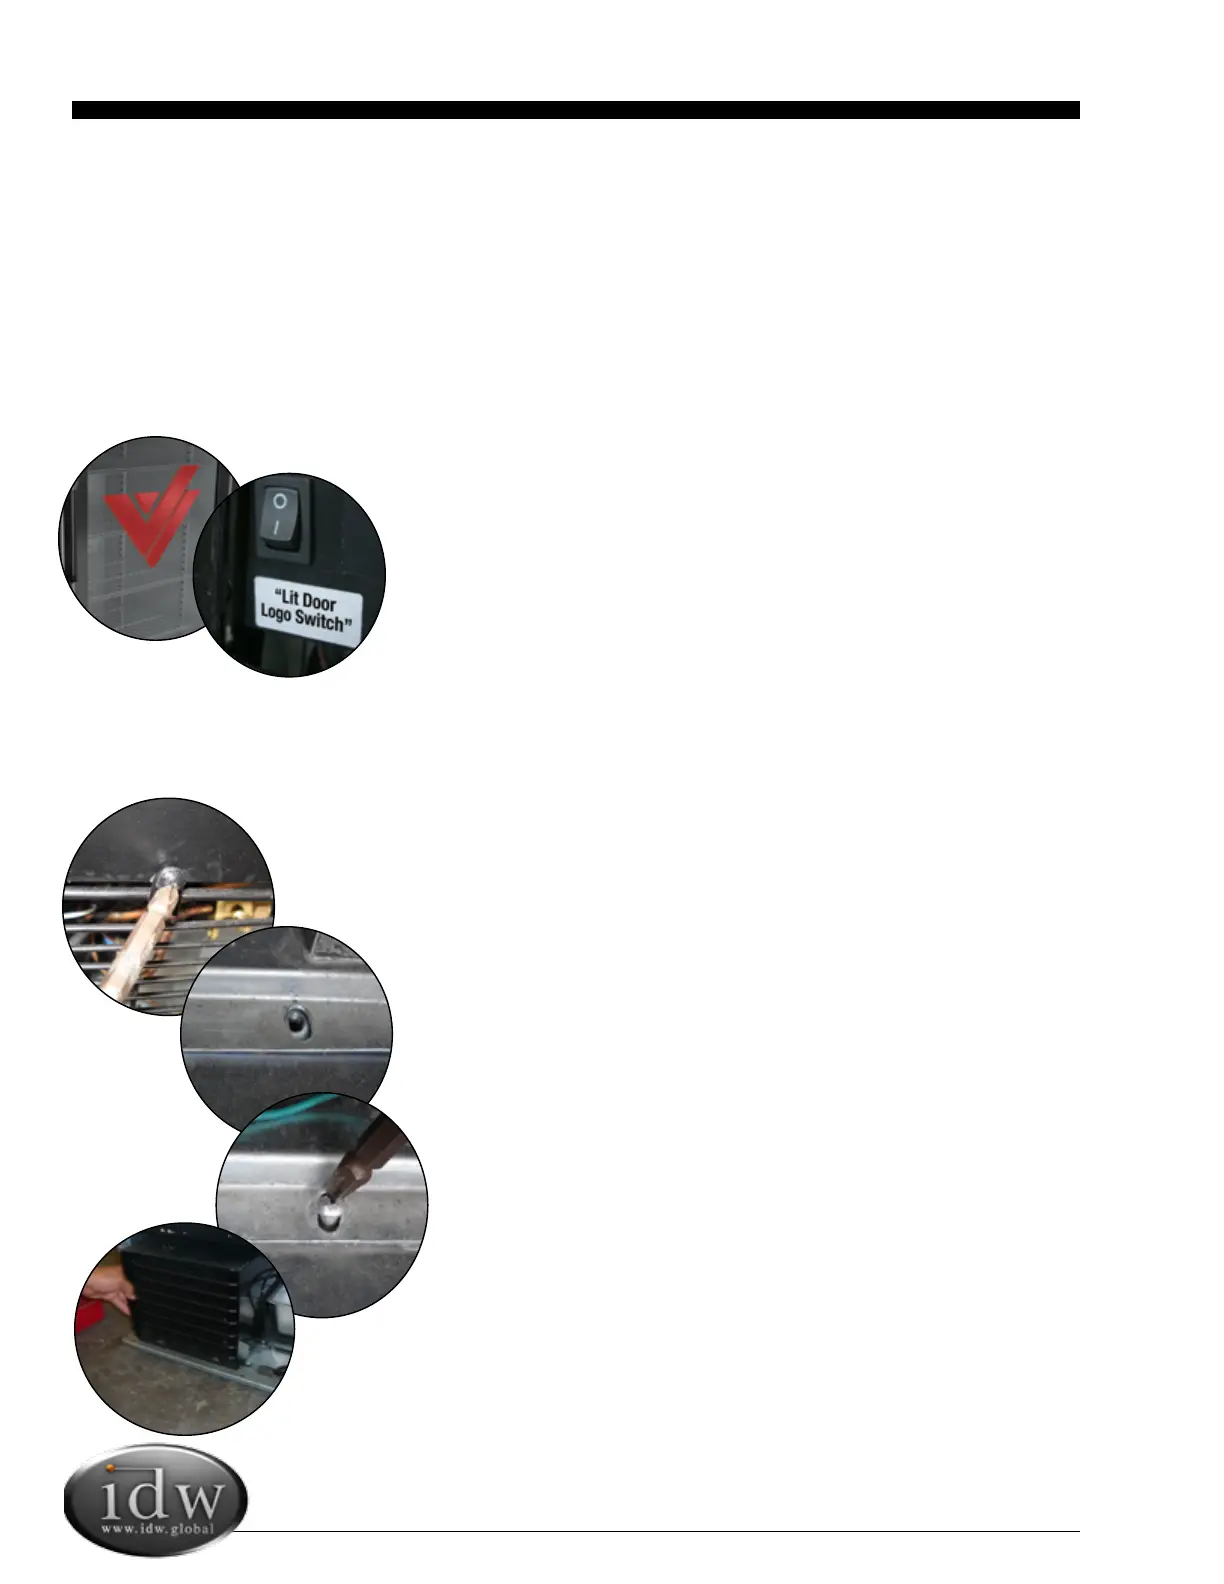
Lit Door “Logo” Switch
Operation
• The light switch located at the rear of the cabinet on the right-hand side
is the ON/OFF switch for the Lit logo located on the door of the cooler.
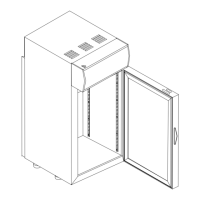
REPAIR AND MAINTENANCE FOR REFRIGERATION DRAWER
* A CERTIFIED TECHNICIAN IS REQUIRED TO REPAIR ALL REFRIGERATION COMPONENTS FOR WARRANTY
PURPOSES.
For convenient repair, the refrigeration components (compressor, evaporator, condenser, evaporation
fan, condensation fan and lter) are designed using a split system; any component can be easily
replaced. Replacement procedure is as follows:
1 Unplug the unit.
2 Remove the screws from the front grill, and then remove the grill.
3 Unplug all connections and terminals that are in need of repair.
6 After repair, re-install all parts using the reverse procedure.
9
• GCG-10 performance testing position of the thermostat is around 3.5-5.
4 Using a screwdriver, remove screws from component.
5 Slide the Refrigeration Drawer out to easily access
refrigeration components. Remove the component to
replace or repair.
MAINTENANCE
Cleaning
• Unplug the cooler before cleaning.
• Use a soft cloth or sponge with water or soap (non-corrosive mild detergent). After cleaning, wipe the cooler using a
dry cloth to prevent the cooler from rusting.
• Do not spray water on the cooler, and do not use hard or steel brushes to clean the cooler.
• Do not use organic solvents, boiling water, washing powders or acids while cleaning.
If the cooler will be in a non-operational state for a long period of time, clean as
instructed above, and keep the door open until interior is dry.
 Loading...