Innovative DisplayWorks
G-10f/GCG-10f
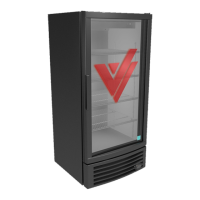
8Removedoorlimitfromrighthingeintocorresponding
holesonlefthinge.
9Feedthewiringterminalsthroughthehingeandconnect
theterminals.
10Reinstallthetorsionrodintothenew
positionofthedooraxis.
11Settheupperhingeintothetorsionrodatapproximatelya
60°angle.Rotatethehingetotherightcounter-clockwise
aligningtheholesinthebracketwiththeholesontopof
thecabinet.
12Installthelimittothedoor.Installingsequence—the
wavewasher—gasket-limit-bolt
13 Checktoensurethedoorissecurelyattachedand
functioningproperly.
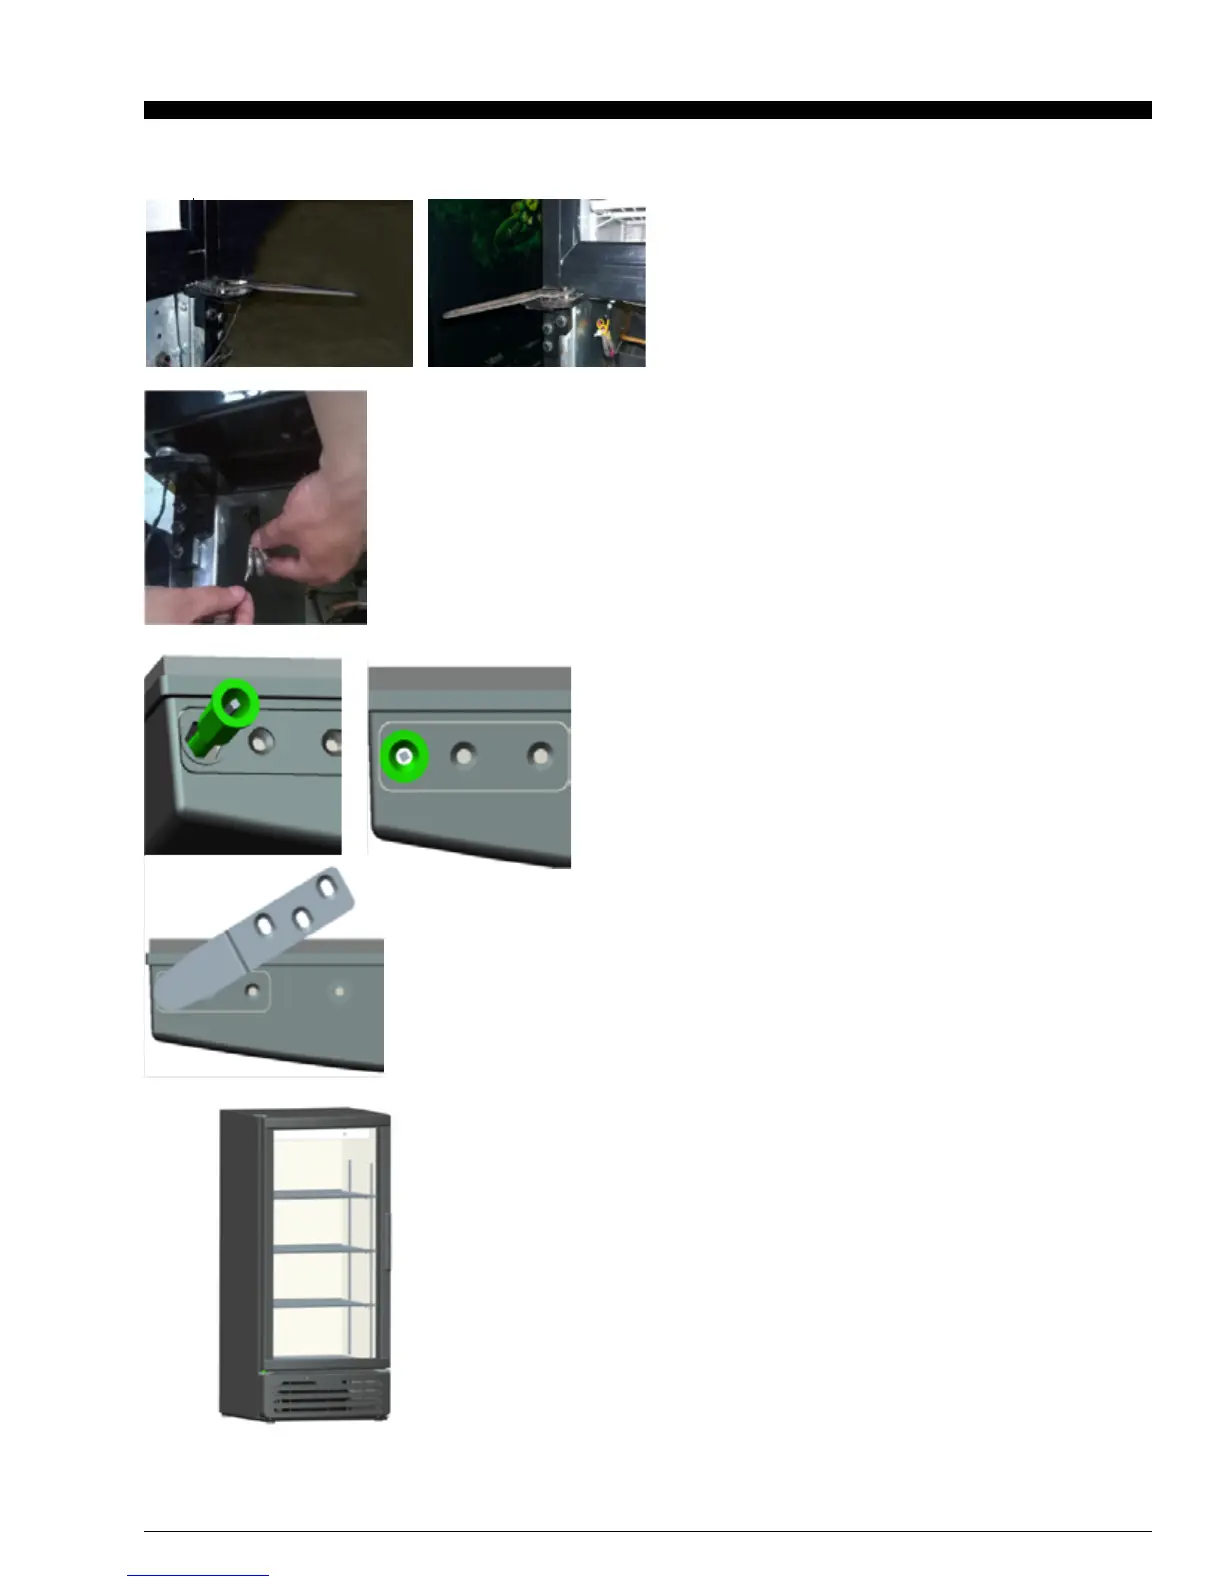
14 Attachthefrontgrilltocompletethedoorreversal
process.
DOOR REVERSAL Cont. (For G-10f Coolers Only)
12
door sreservedhole,thengetthroughhingeaxie,connect
theterminals.
10.assemblethefrontgrill,completethereversibledoor
exchange.
9.fixtheupperhingeintoleftaxiesleeve,then
anticlockwiserotatethehingetorightpositiontofasten
it.
8.clockwiserotatetheleftaxiesleeve60°.
8.Remove door limit from right hinge into
corresponding holes on left hinge
9.Feed the wiring terminals through the
hinge and connect the terminals.
12.Install the limit to the door.
Installing sequence:the wave
washer—gasket-limit-bolt
6
7
10. Reinstall the torsion rod into the new
position of the door axis.
11. Set the upper hinge into the torsion
rod at approx a 60°angle. Rotate the hinge
to the right counter clockwise aligning the
holes in the bracket with the holes on top
of the cabinet.
wiring is stretching out from the bottom
of the door left
7. Remove the hinge axis from the right
bottom hinge, inert it into the left bottom
 Loading...