5
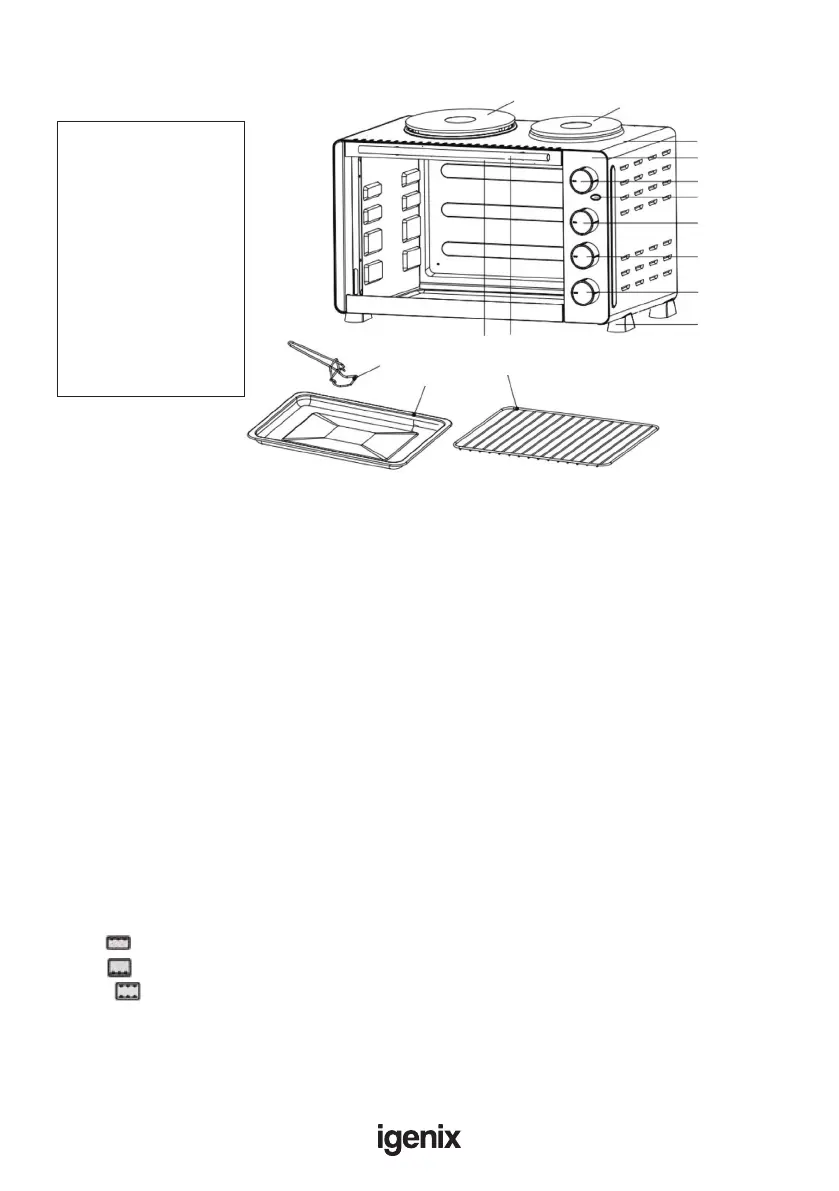
A: Housing
B: Control panel
C: Oven temperature knob
D: Hotplate indicator light
E: Left plate control knob
F: Right plate control knob
G: Oven function knob
H: Oven foot
I: Door handle
J: Upper door frame
K: Tray handle
L: Bake tray
M: Wire rack
N: Left plate
O: Right plate
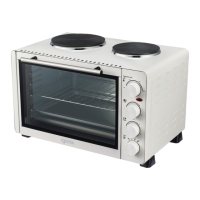
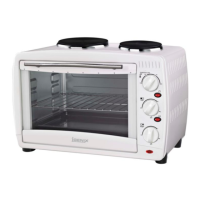
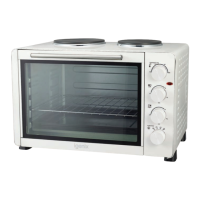
APPLIANCE OVERVIEW
OPERATING INSTRUCTIONS
This product is intended for domestic household use only
Whenusingtheovenforthersttime,besureto:
- Read all the instructions included in this manual.
- Checked that the oven is unplugged and all the switches and control dials are turned to the
‘OFF’ position.
- Remove all wire racks, baking trays and accessories and wash thoroughly in hot soapy water or in
the dishwasher. Dry and re-assemble in the oven.
- Plug the oven into the socket making sure the voltage in your home matches that of the mini oven.
- Turn the oven on at full heat for 15-20 minutes to eliminate any liquids that may have remained
after cleaning.
- Asmallamountofsmokemaybeemittedduringrstuse.Thisshoulddisappearwithin15-20minutes.
Oven Temperature Control (Dial C): Temperature variable from 100°C to 220°C.
Left Hotplate Control (Dial E): Choice of 3 power settings, 1 / 2 / Max
Right Hotplate Control (Dial F): Choice of 3 power settings, 1 / 2 / Max
Function Control: There are 3 function options and 4 rack positions
Grill Only upper heating elements work. Suitable for grilling.
Bake Only lower heating elements work. Suitable for baking.
Roast Both the upper & lower heating elements work together. Suitable for roasting.
Hotplate Indicator Light (Fig. F): This will be illuminated whenever the hotplate is switched on.
A
B
C
D
E
F
G
H
IJ
M
L
K
N
O