18
67474
67561
67368
67582
67561
68240
67582
67475
68305
67367
Push the ybar # 67474 through the rotorhead, then
push on ybar control arm # 67368 and x it with
the M2x6 screws # 67561 so that the stabiliser rod
sits in the centre and the two control arms are level.
Ensure that the stabiliser rod can be turned easily
but has as little longitudinal play as possible.
Now push the ybar weights # 67475 onto the paddle rod. The further out the weights are, the slower the
system.We recommend placing the
weights on the y bar about 1.5 cm
from the inner edge of the ybar
paddle. Now place the hiller paddle #
68240 on the stabiliser rod # 67474
until is ush with the outside of the
xing lug of the paddle, and screw it on.
Take care that the paddles are on the
same plane as each other and the link
levers. Carry out this adjustment very
carefully; it is important for the ying
properties. The rotorhead can now
hang in the ball joints. Put the
helicopter down and look at the hiller rod. If the same paddle is always leaning downwards, check once
again whether the distance is the same on both sides to the middle, and if necessary correct it. If an imbalan-
ce remains, stick some self adhesive tape onto the higher paddle so that they are equally balanced.
Clip the two linkages # 67367 into the slots in the link lever and onto the longer arms of the swashplate inner
ring. Here, too, the sharp edged side of the clip is pointing towards the ball.
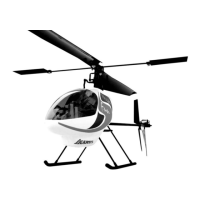
Rotorhead Assembly

 Loading...