Do you have a question about the IKEA ANEBODA CHEST/3DRAW 16X32" WHT and is the answer not in the manual?
| Brand | IKEA |
|---|---|
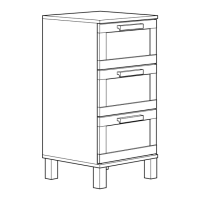
| Model | ANEBODA CHEST/3DRAW 16X32" WHT |
| Category | Indoor Furnishing |
| Language | English |
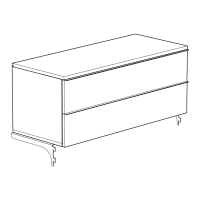
Instruction for attaching the top panel of the furniture, likely using specific fasteners.
Guidance on connecting the side panels to form the main structure.
Details on how to insert and secure a drawer into the assembled unit.
Instruction for fastening internal components or supports within the unit.
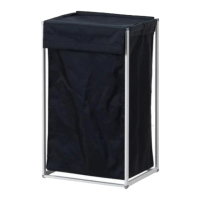
Guidance on fitting and securing the rear panel of the furniture.
Instruction for attaching the lower panel of the furniture unit.
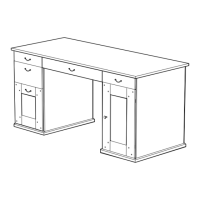
Instruction for joining the initial pieces of the furniture's base.
Guidance on attaching vertical elements to the base structure.
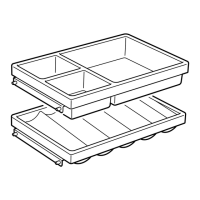
Instruction for fitting the runners for the drawers.
Guidance on fastening the drawer slide mechanisms in place.
Instruction for preparing or attaching parts of the drawer unit.
Guidance on finalizing the main structural frame of the furniture.
Instruction for fixing the uppermost panel of the furniture.
Guidance on constructing the individual drawer units.
Instruction for fitting components that limit drawer extension.
Instruction for joining side panels with the base.
Guidance on fastening internal partitions or supports.
Instruction for connecting vertical elements to the main structure.
Guidance on fitting the mechanisms for drawer movement.