Do you have a question about the IKEA ANEBODA WARDROBE 31 7/8X70 7/8" and is the answer not in the manual?
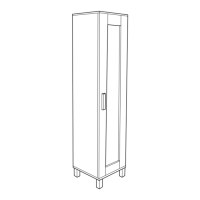
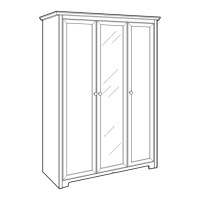
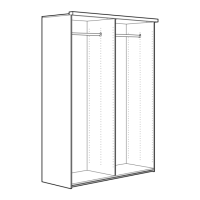
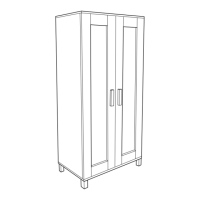
| Width | 31 7/8 inches |
|---|---|
| Height | 70 7/8 inches |
| Depth | 19 5/8 inches |
| Color | White |
| Number of doors | 2 |
| Assembly Required | Yes |
| Material | Particleboard, Fiberboard |
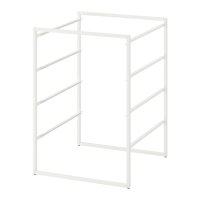
Secure the base panels and attach the feet using the specified hardware.
Insert cam lock screws into the designated holes on the panels.
Join the side panels to the base panel using dowels and cam locks.
Slide or fix the back panel into the assembled frame.
Attach the top panel to the main cabinet structure using screws.
Mount the hardware for the internal shelves into the side panels.
Attach hinge mounting plates to the wardrobe doors.
Attach the hinges to the prepared wardrobe doors.
Mount the wardrobe doors onto the main cabinet frame.
Fix the supports for the clothes rail inside the wardrobe.
Place the clothes rail into its mounted supports.
Secure the top support bar within the wardrobe structure.
Mount the handles onto the wardrobe doors.
Important safety instructions regarding securing the wardrobe to the wall.
Fasten the wardrobe to the wall using appropriate anchoring hardware.
Verify that the wardrobe is securely attached to the wall.