Do you have a question about the IKEA ASPELUND BEDSIDE TABLE 14X14" and is the answer not in the manual?
Identifies required tools and presents essential safety warnings for assembly.
Lists all screws, fittings, panels, and accessories included in the package.
Connects the primary base panels using specific fasteners.
Secures a vertical support panel to the assembled base structure.
Attaches another vertical support to reinforce the cabinet frame.
Fastens side panels to the frame using cam lock mechanisms.
Connects the main side panels to the partially assembled cabinet structure.
Attaches the remaining side panel to form the main cabinet box.
Secures the top panel to the main cabinet frame.
Continues the assembly of the main structural frame of the cabinet.
Finalizes the securing of the main cabinet frame components.
Begins the process of attaching the back panel to the cabinet.
Ensures the back panel is properly secured to the cabinet structure.
Uses nails to firmly attach the back panel to the cabinet.
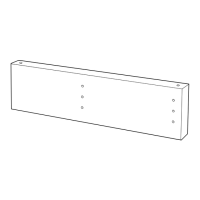
Attaches the decorative base supports or feet to the bottom of the cabinet.
Secures the cabinet to the wall for stability and safety.
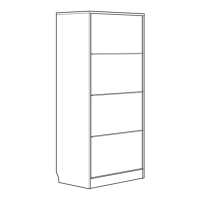
Places the adjustable shelf into the designated compartment.
Attaches the hinge mounting plates to the cabinet body.
Attaches the door hinges to the cabinet door itself.
Installs decorative caps or covers on visible connection points.
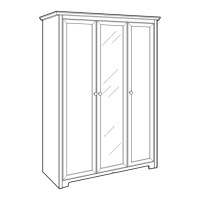
Attaches the prepared door onto the cabinet hinges.
Places the internal shelf into the cabinet, potentially after door attachment.
Completes the process of attaching the door to the cabinet.
Fine-tunes the door alignment and closing using hinge adjustment screws.
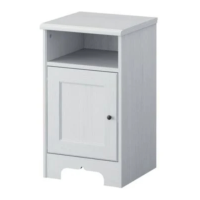
| Product Name | IKEA ASPELUND BEDSIDE TABLE 14X14" |
|---|---|
| Category | Indoor Furnishing |
| Width | 14" |
| Depth | 14" |
| Material | Particleboard, Foil, ABS plastic |
| Color | White |
| Assembly Required | Yes |
| Dimensions | 14x14" |