3.3 Power Connection
HDK-55 1206 VER1 (U)
47
INSTALLATION and CONNECTION
3
3.3 Power Connection
There are two ways to supply power to the camera. Select the power supply according to the system configuration and operating
system.
●
To supply from the POWER (External power)
Directly connect the camera and the POWER via the DC POWER cable. Use the POWER specified as DC11V to 16V (4A or more).
●
To supply from the BS
Connect the camera and the BS via the fiber cable. The fiber cable contains a power conductor.
Note:
Make sure that the camera POWER switch is OFF before connecting the power. Refer to "Make Sure the Power Switch is OFF" (page
33) for how to check the power.
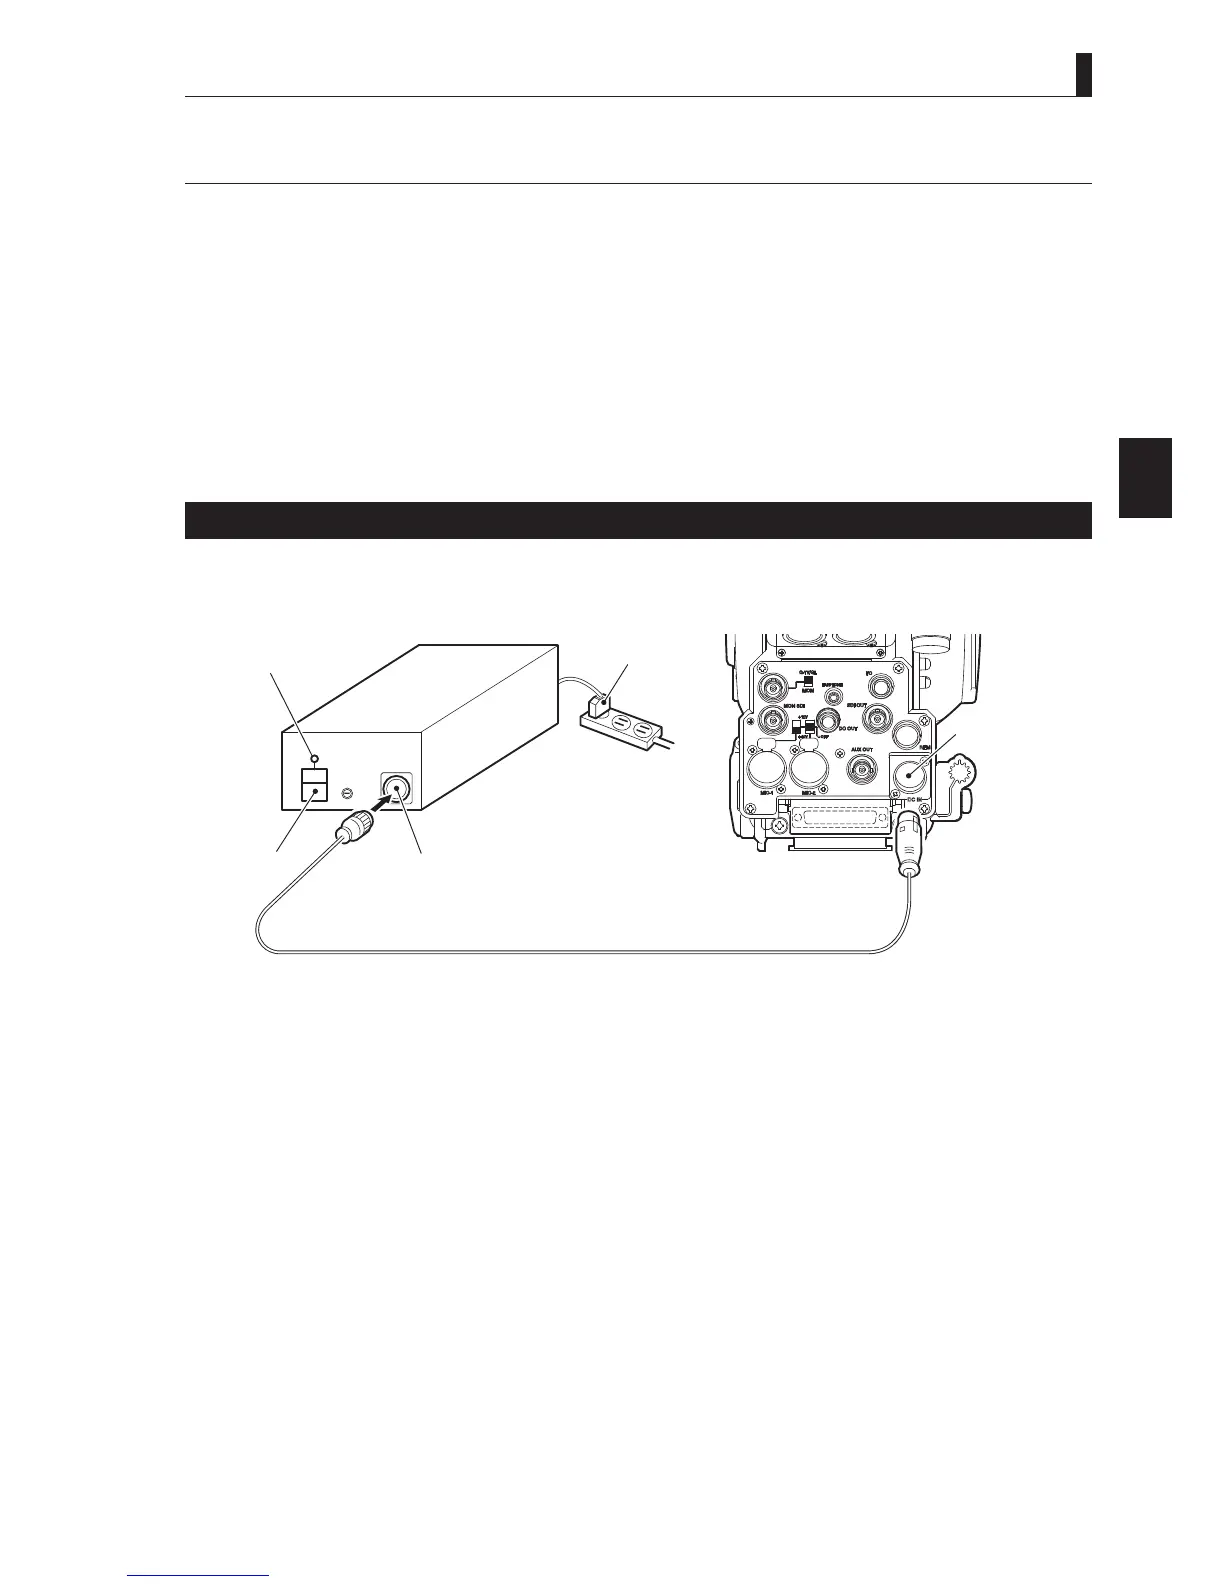
Power Supply from POWER
This section explains how to supply the power from the POWER (external power). For the details on the POWER, refer to the
instruction manual accompanying the POWER to be used. This section describes the POWER which has a form as shown below.
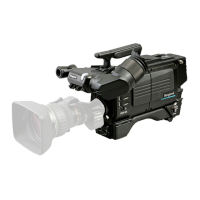
Camera rear view
POWER indicator
POWER
AC plug
Power outlet
DC IN connector
POWER switch
DC OUT connector
DC POWER cable
1
Make sure the POWER switch on the POWER is OFF.
2
Insert the AC plug of the POWER into the power outlet.
3
Connect the DC OUT connector on the POWER and the DC IN connector on the camera via the DC POWER
cable.
4
Turn the POWER switch on the POWER ON.
The POWER indicator on the POWER will light.


 To Next Page