[.
I ·
[
I
!
!, ..
t ·.
l..
[_
[ ..
I ;
t ..
· To enable remote operation through the parallel remote connector, use the IREMOTEI switch on the pull-out
panel to select parallel mode and switch On. See 5-3.(2).
From the program version 2.1 (displayed on the upper right of the MENU 1 screen), the ON/OFF control of TALLY and 4:3/
16:9 can be done irrespective ofthe!REMOTElswitch operation.
· Connect the accessory remote connector according to the figure below.
ON AIR TALLY
ON AIR TALLY
2
--~'~Si
.. 2
CH AUX select
3
CH e select
4
.. 2
CH I
CH DIGITAL select
5
.. 2
OlCllTAL
COLOR/MONO ,elect
6
COLOA
MOHO
GROUND
7
4 : 3/16 : 9 select 8
*3
4 :3
CH C select
9
•2
l6 :
~
CH C
100
Fig. 4-1. Remote Connector Connection Procedure
*'
*l Tally control can be implemented externally or from
within. the power supp ly. When implementing
from within the power supply, short Pins 2
and 7
to each other. When implementing externally,
supp ly 12 VDC or 24 VDC between Pins 1 and
2. (The polarity
does not matter.)
*2 The switching of input signals can be done smoothly using interlock switches, as illustrated below.
(1) Switching of AB C, AUX (2) Switching of DIGITALA/B in addition to (1)
Connector Q'°(o ! A ON
! BON
! CON
! AUX ON
Connector
ofo
(4)--t----o'fc·
I
{ Ql---t---- -<J).,.
! AON
! BON
! CON
i VIDEO ON
i AUX ON
! DIGITAL ON
*3 The remote switching of 4:3/16:9 can be done regardless of the ON/ 0 FF status of the! REMOTE !switch.
When
thelREMOTElswitch is ON, the SCAN switch on the front panel is not operable unless the switch is open (4:3 position)
on the remote side, while, when thelREMOTE!switch is OFF,
the[s"CANlswitch on the front panel is operable even if the
switch is set
to 16:9 on the remote side.
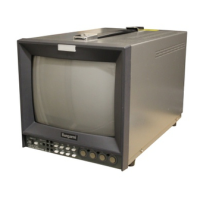
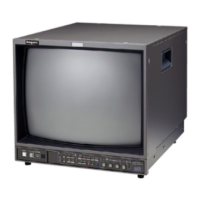
~ TALLVUW
<TM14-20RH/RP>
00= Cl ~~'OOOQl--
u u
< TM20.20/lORH/RP>
Fig. 4-2. Position of TALLY LED
- 11 -
I~
•...
•·0
•·0
• ·O
1,0
 Loading...