Illustra Pro PTZ Outdoor Housing
3
Installing the Outdoor Housing
The following describes the installation procedure for the Illustra Pro PTZ Outdoor Camera
Housing.
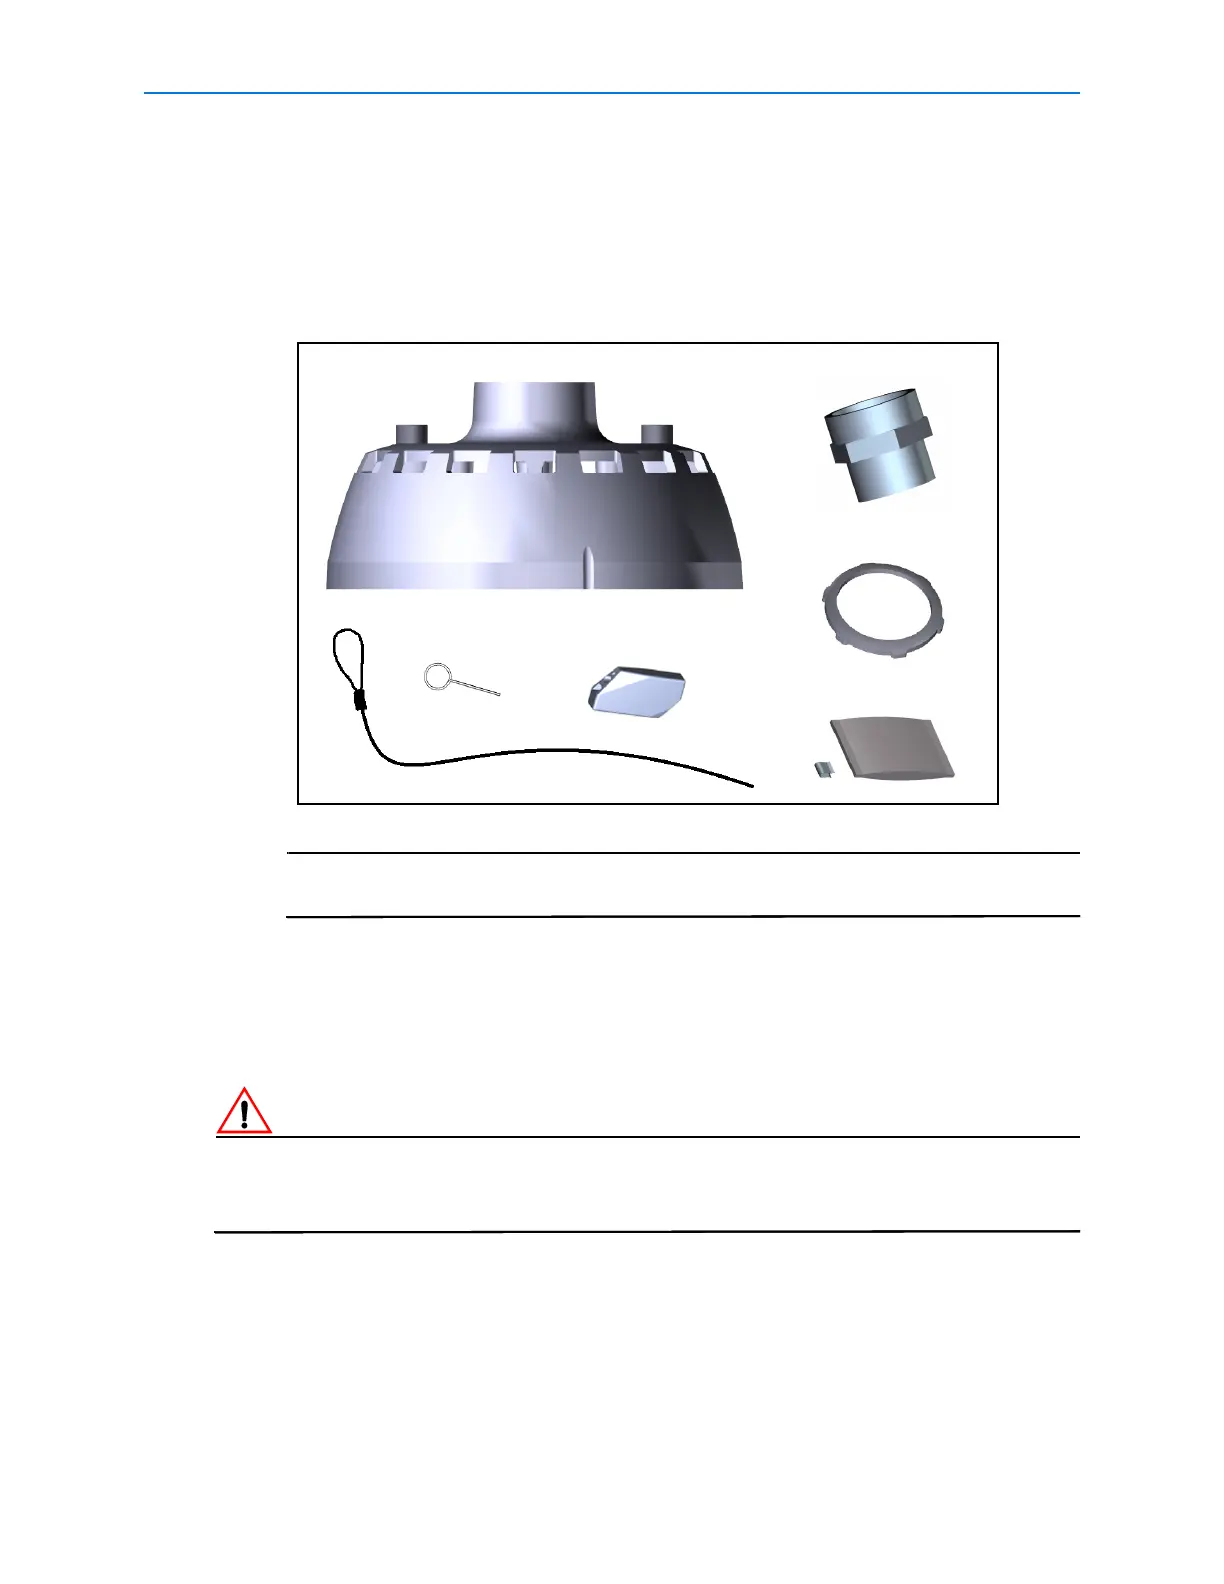
1 Remove the pendant adapter, threaded adapter, lock nut, external safety lanyard and
lanyard lock from the packaging.
The threaded adapter and lock nut will be required for mounting options that use
the EndCap Mount (ROENDC).
2 Cut a 30cm (12in) length of teflon tape.
3 Apply the teflon tape to the threads on both ends of the threaded adapter.
4 Attach the threaded adapter to the pendant adapter and tighten to secure.
5 Attaching to the EndCap Mount (ROENDC):
If the Illustra Pro PTZ Outdoor Housing is being attached to an existing mount it is essential that
the EndCap (ROENDC) is replaced. Please contact your Tyco Security Products Sales
Representative for further information.
a Remove the access cover from the EndCap mount as seen in Figure 1.
Pendant Adaptor
Threaded Adaptor
Lock Nut
Safety Lanyard
Lanyard Lock
Release Pin
Desiccant bag and clip