9
10
75
67
67
6
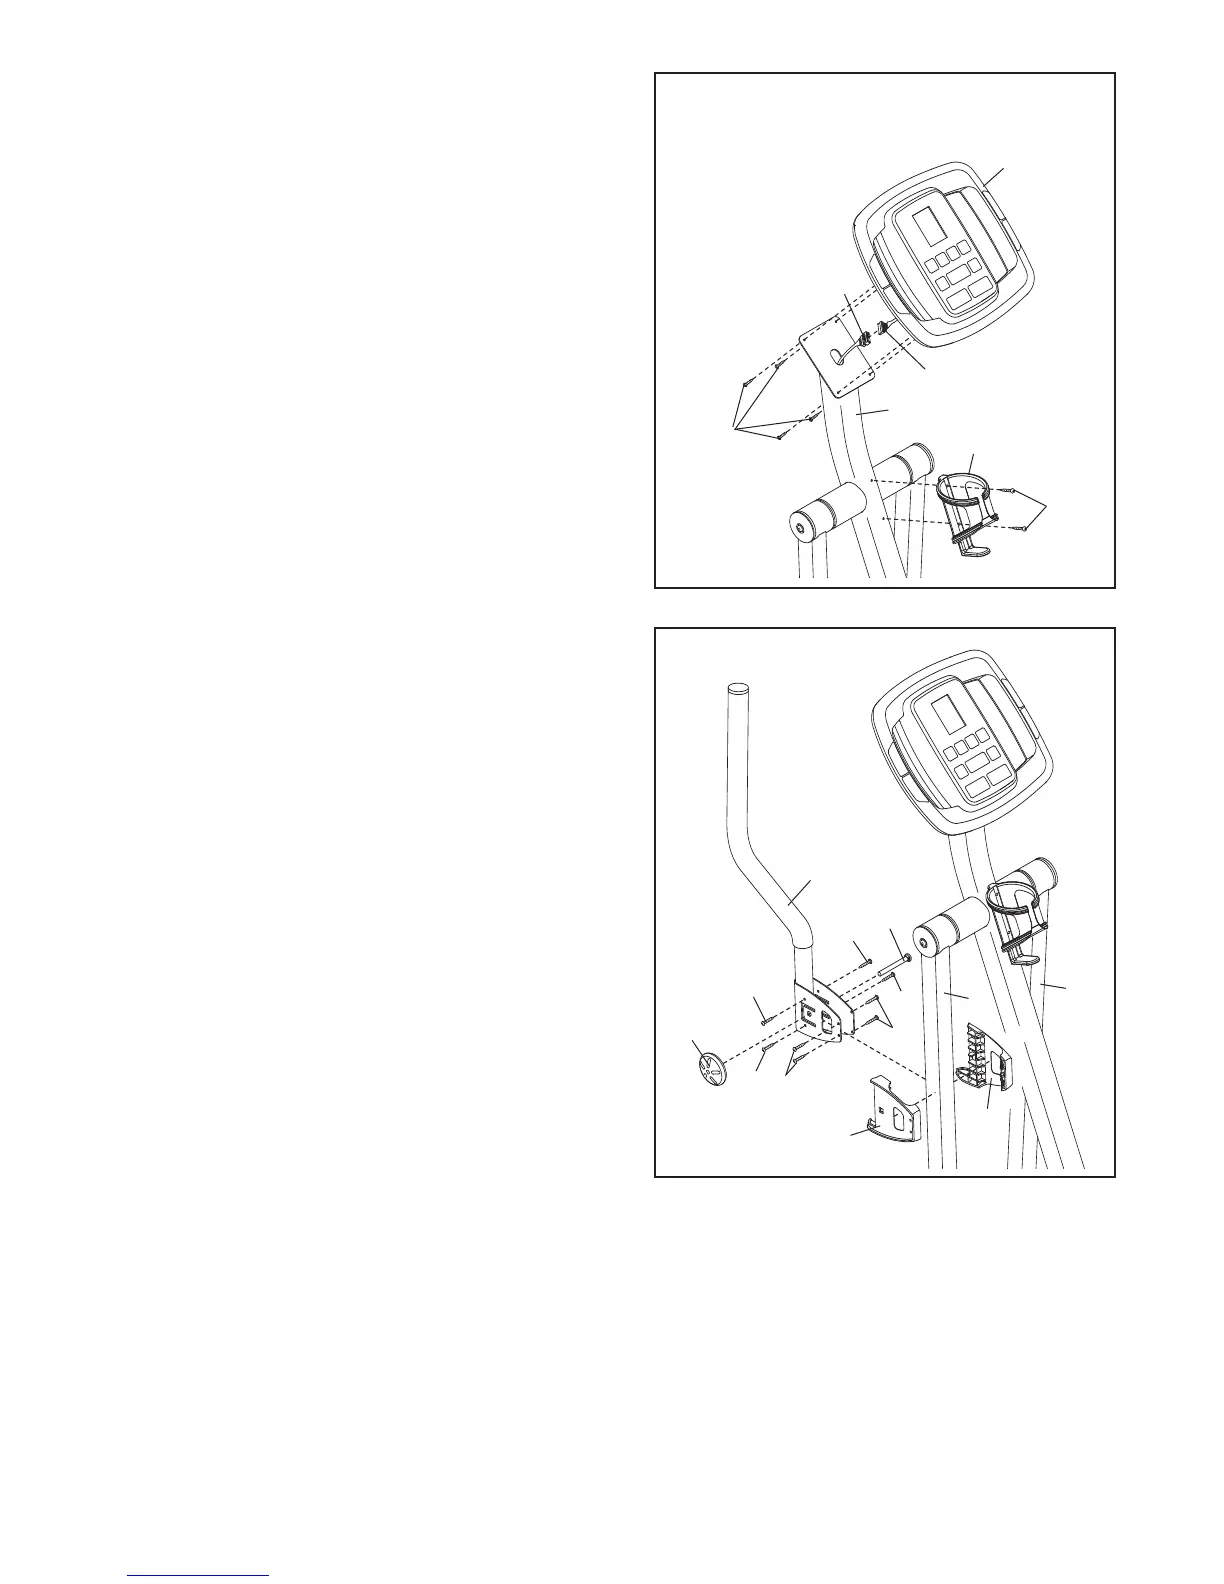
10. Orient a Left Upper Body Insert (12) and a Right Upper
Body Insert (13) as shown, and press them together
around the left Upper Body Leg (6). Next, slide the Left
Upper Body Arm (4) onto the Upper Body Inserts.
While another person holds the Left Upper Body Arm
(4) and the Upper Body Inserts (12, 13), insert an
M10 x 50mm Carriage Bolt (75) through all three parts
from the inside as shown. Next, tighten four M4 x
32mm Screws (67) and four M4 x 12mm Flat Head
Screws (82) through the Left Upper Body Arm and into
the Upper Body Inserts. Then, tighten an Arm Knob
(11) onto the Carriage Bolt.
Attach the Right Upper Body Arm (not shown) to
the right Upper Body Leg (6) in the same way.
6
11
82
12
82
13
82
4
82
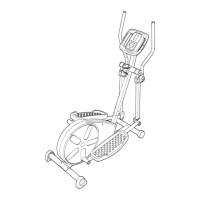
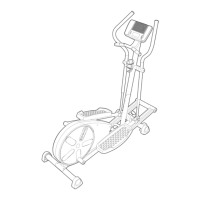
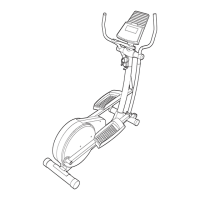
1
1.
Make sure that all parts of the elliptical exerciser are properly tightened. Place a mat under the elliptical
exerciser
to protect the floor or carpet from damage.
9. While another person holds the Console (10) near the
U
pright (2), connect the Upper Wire Harness (18) to
the wire harness on the Console.
Attach the Console (10) to the Upright (2) with four
M4 x 16mm Screws (60). Be careful not to pinch
the wire harnesses.
A
ttach the Water Bottle Holder (17) to the Upright (2)
with two M4 x 25mm Screws (80).
9
1
0
2
Console Wire
Harness
Avoid pinching the
wire harnesses
during this step
1
8
17
60
80