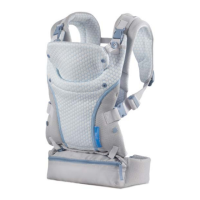
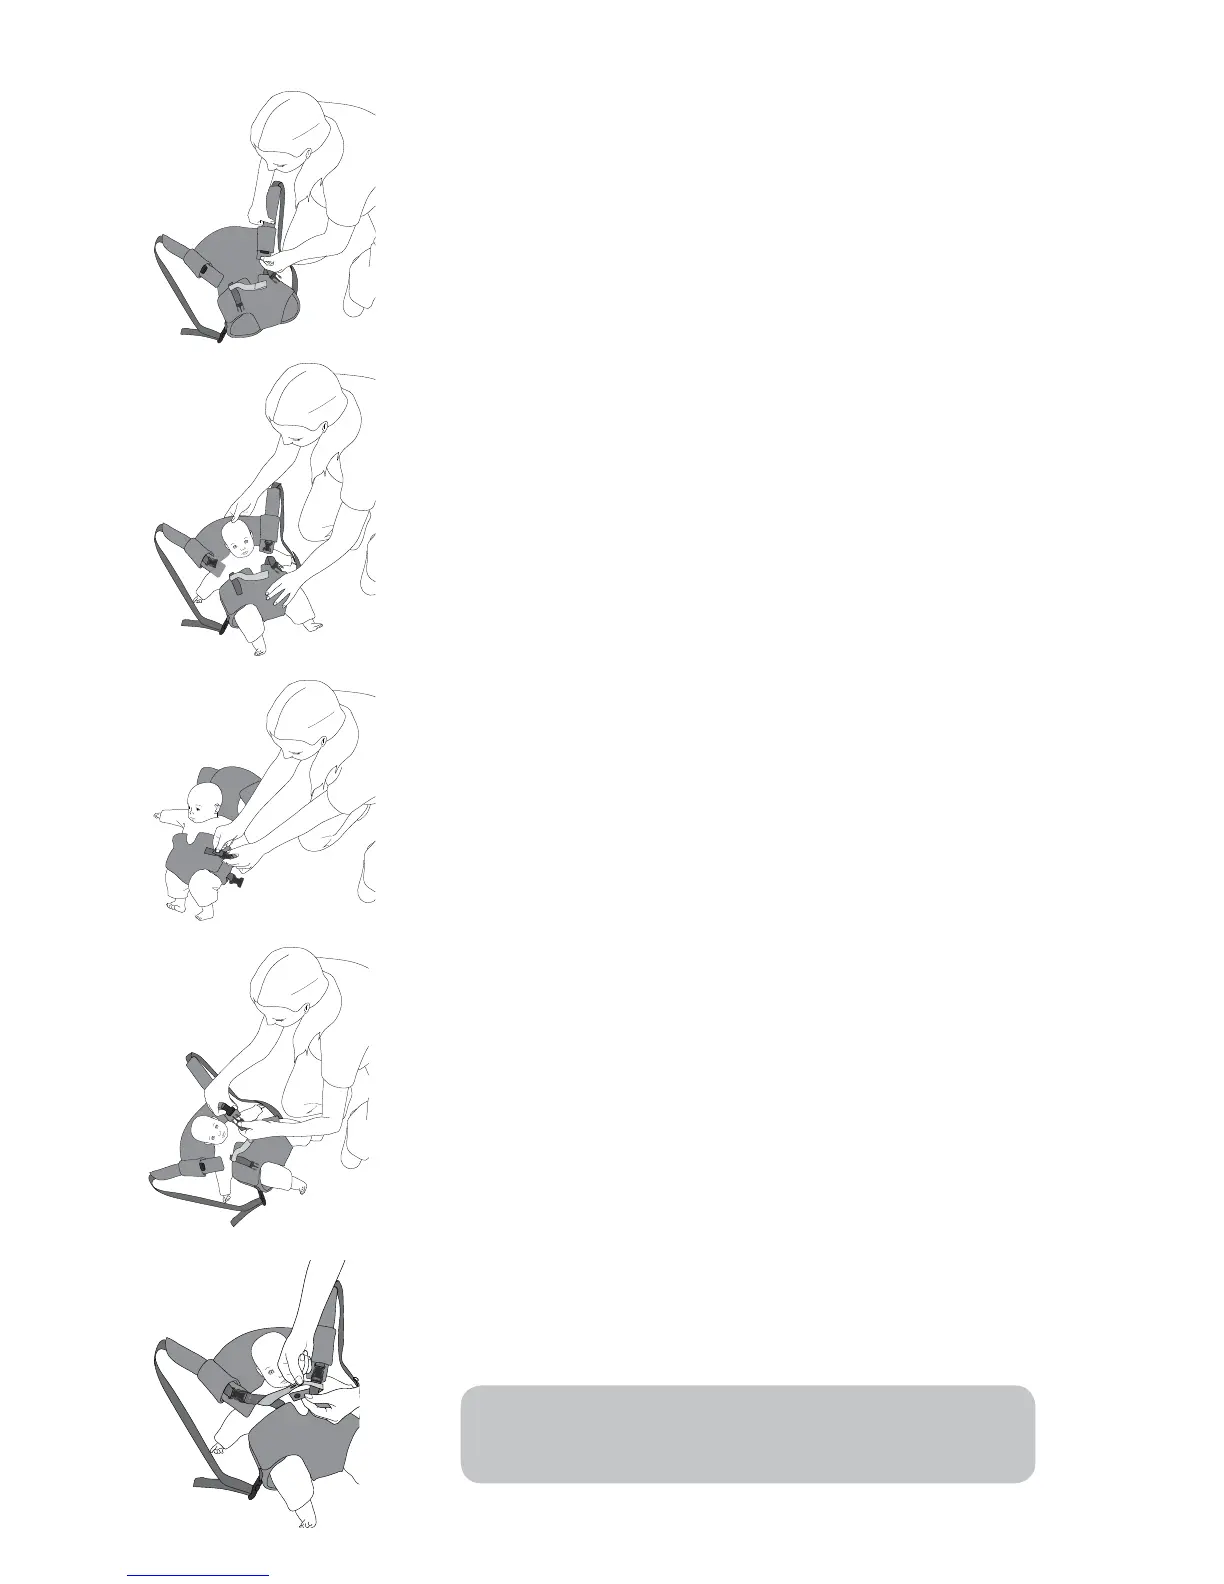
11.
Take one of the “shoulder straps” and thread
its padded end (from the top to the bottom)
through the “fabric channel” on the side of
“head support area.” To ensure that the
“shoulder strap” can be connected
without a half twist in the strap, the
“bib/hood attachment snaps” on the
“shoulder strap” should be facing down.
Repeat for the other “shoulder strap.”
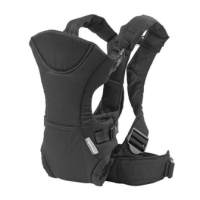
2.
Place your baby face up into the carrier by
carefully sliding his/her legs through the “leg
openings”, ensuring that your baby’s head is
lying on the “head support area.”
3.
* IMPORTANT! When fastening the printed “chest
strap” across the baby’s chest, there must ALWAYS
be 3 inches between the baby’s chin and the strap.
If not already attached, fasten the
“side closure buckles” on both sides. Adjust the
“leg openings” to t the baby’s legs snugly by
tightening/loosening the two “side closure
buckles.”
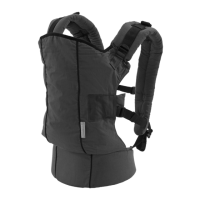
4.
Plug the buckle on the end of the “child
restraint” into the padded end of the
“shoulder strap.” You will hear a ‘click’ when
the buckle is locked in position. Ensure that the
“shoulder strap/child restraint buckle” lies
comfortably over your baby’s arm. Repeat for
the other “shoulder strap” to secure the baby in
the carrier.
5.
Secure the printed “chest strap” by looping the
free end around the right side “child restraint”
and squeezing its snaps together. Adjust the
height of the “chest strap” to at least 3 inches
below the baby’s chin.
6.