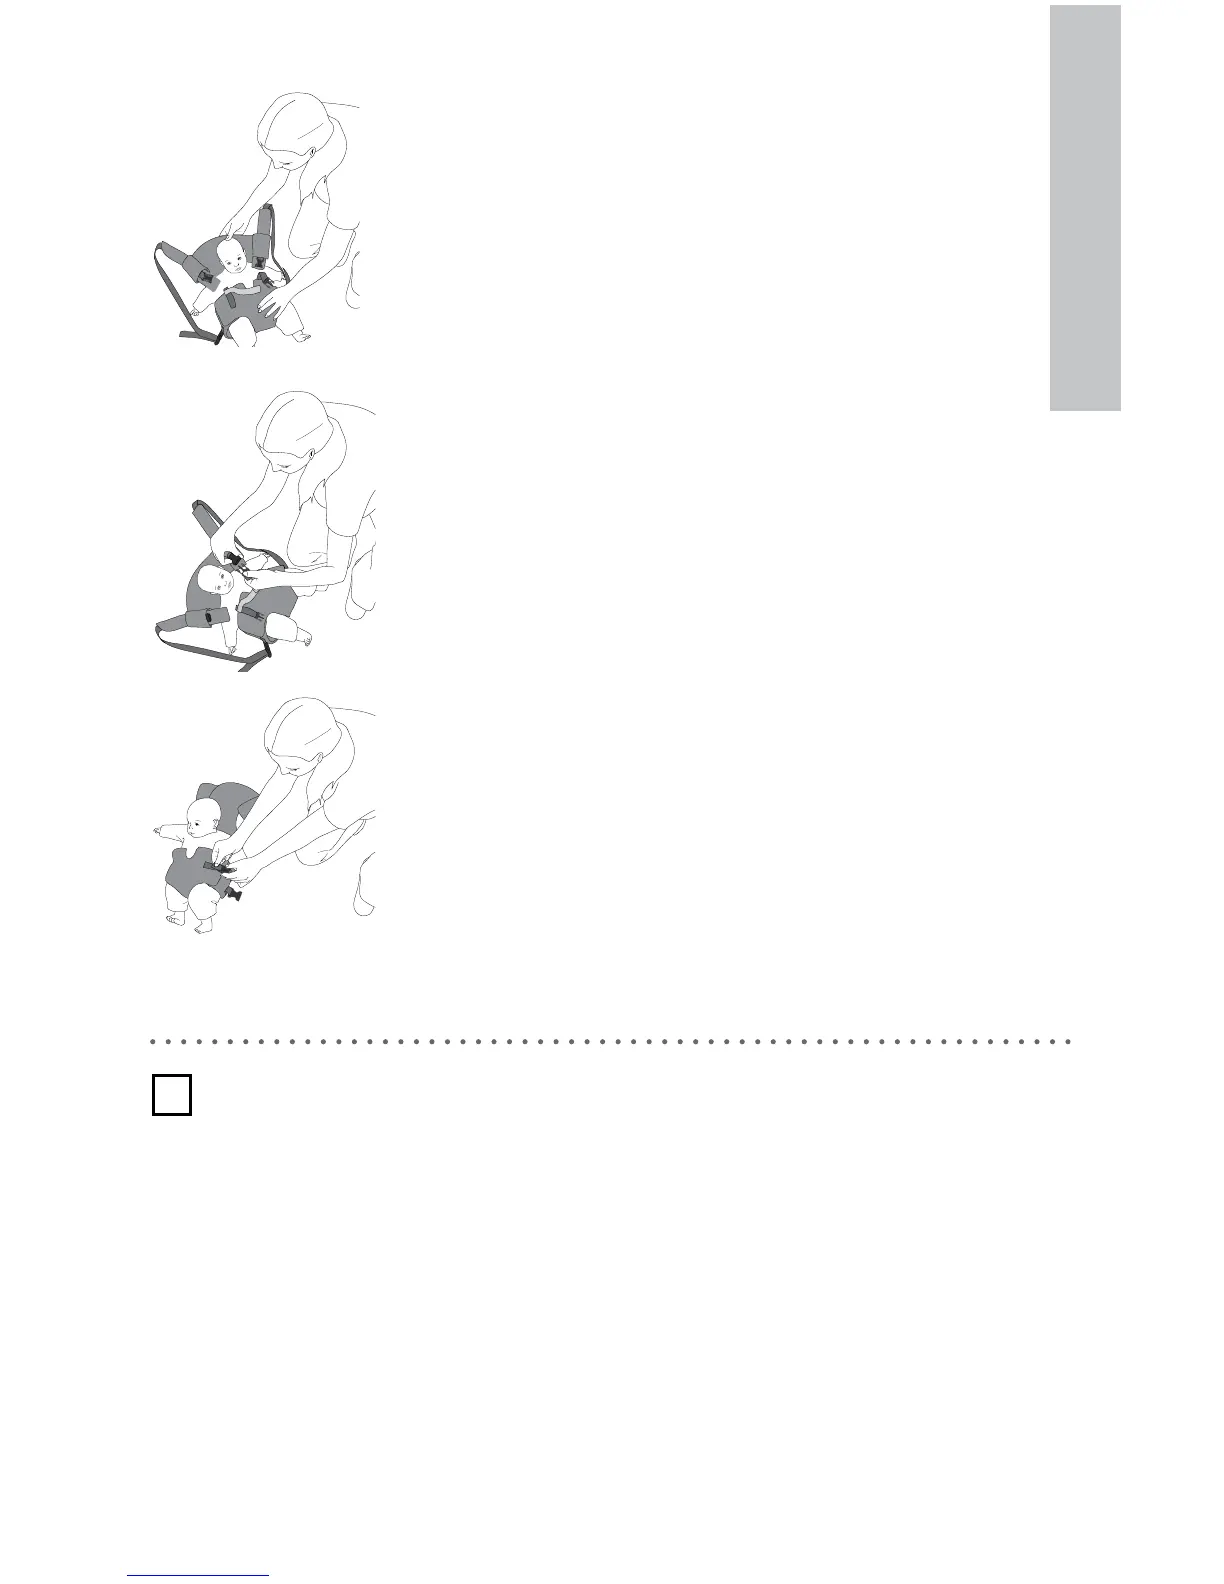
14.
Remove the carrier from your body and place
the baby (and the carrier) on a safe, level,
non-elevated surface.
4.
Release both of the “shoulder strap/child
restraint buckles” and move them away from
the baby.
5.
If it is fastened, release the printed “chest
strap.” Unfasten the two “side closure buckles”
or if you prefer, simply loosen both buckles.
6.
Remove the baby from the carrier.
7.
* For the backpack position, the child is rst placed in the carrier and then the carrier
is put on the user. Adjustments of the straps and belts for proper t are performed
while the user is wearing the carrier.
* ”It’s like a piggyback ride, but your hands are free.” When your little one can fully sit
up on his or her own, putting them on your back allows you to carry the child
comfortably for longer periods of time. In this position your baby is free to check out
what is going on around them and still know that you are right there.
* The baby must be able to sit up on his/her own before being worn in the backpack
position to avoid possible back or neck injury.
* First time users should be assisted by a second person until they are comfortable
tting the carrier on their own.
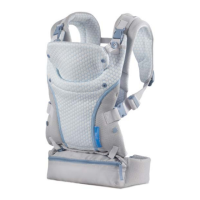
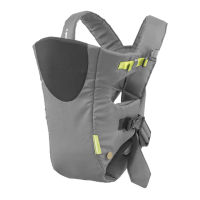
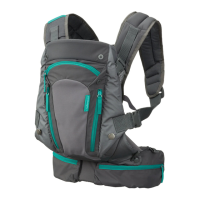
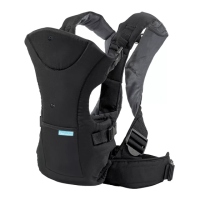
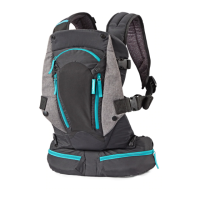
3 Carrier use for an older baby: Backpack position
English