4.
5.
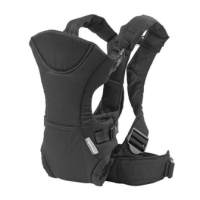
Checklist: All positions
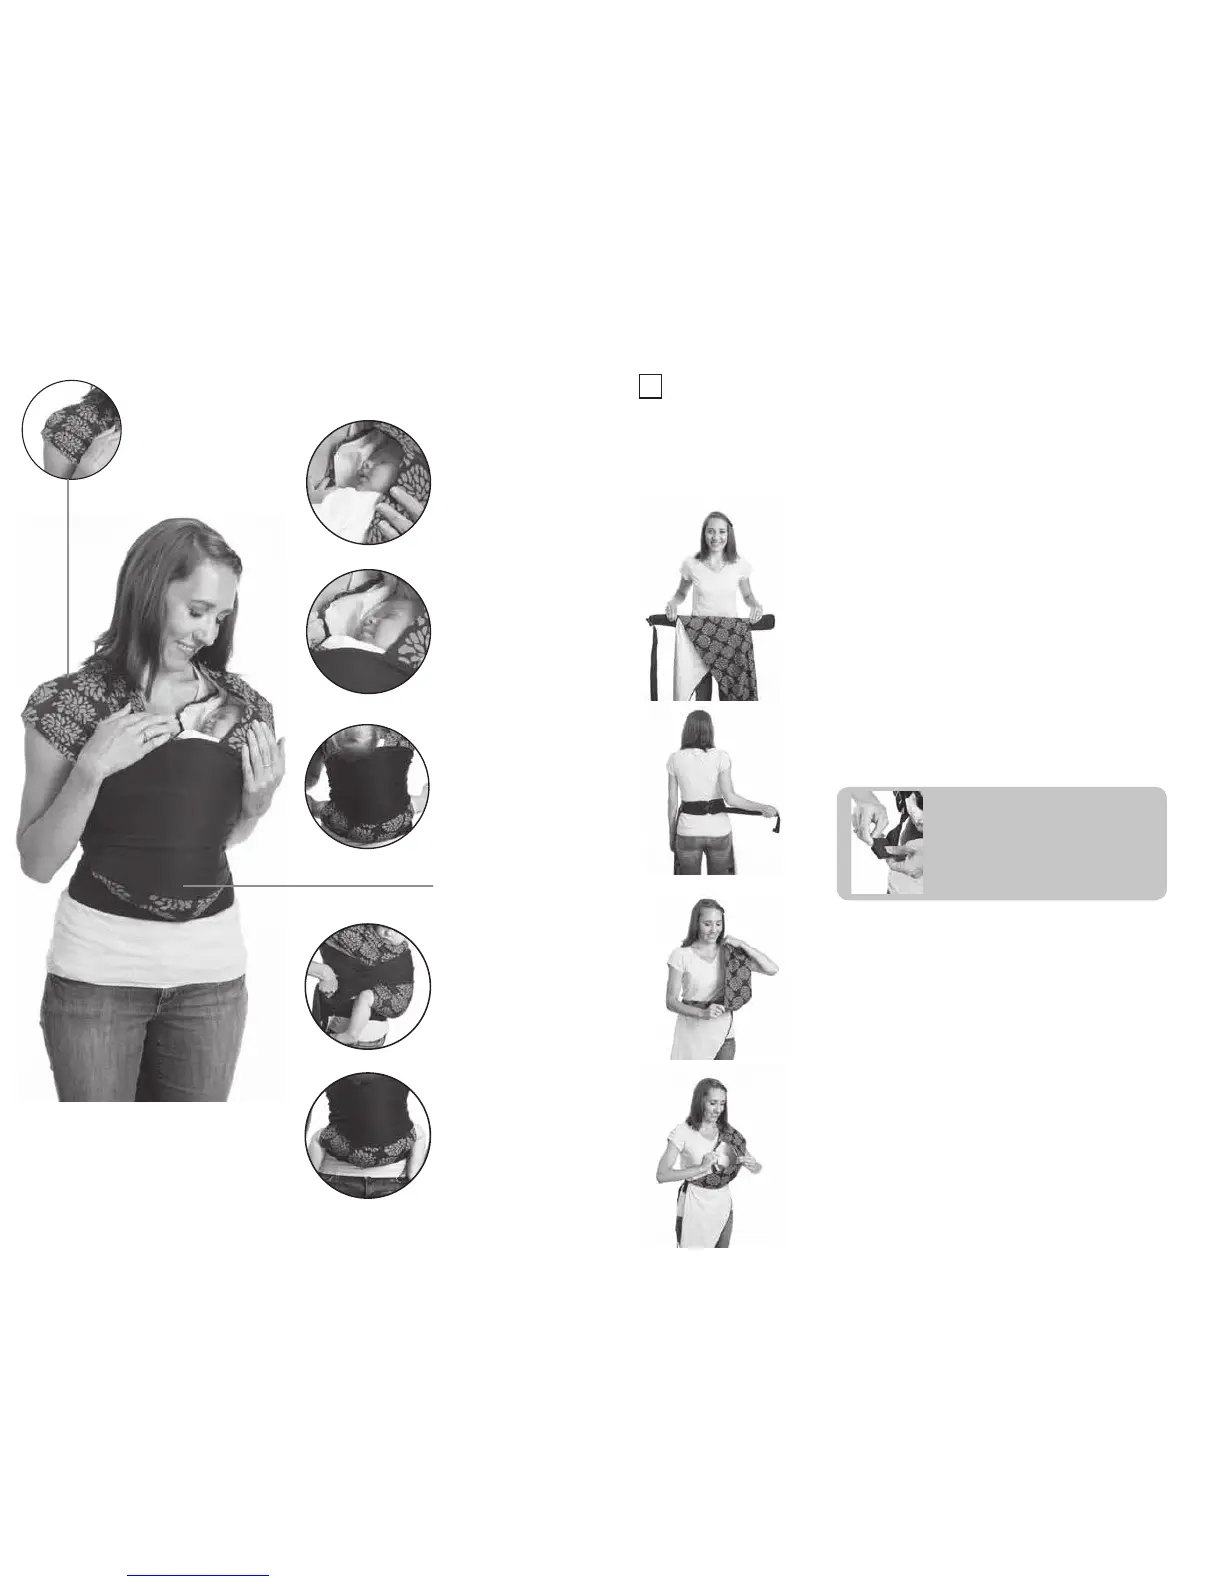
Baby’s bottom is cen-
tered in the carrier.
Front, Hip and Back
Carry Positions: Fabric
is spread to the hol-
lows of the baby’s
knees.
Make sure baby’s
chin is lifted off of their
chest.
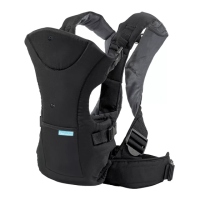
Infant Hug Hold
Position: Outer layer of
pocket supports
baby’s head. Always
make sure baby’s
face is visible at pock-
et opening to ensure
proper airow.
Knit panels are spread
apart and covering
baby’s back.
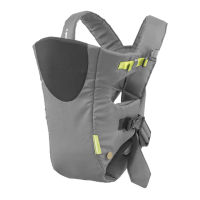
Front, Hip and Back
Carry Positions: Baby
is in seated position
with knees bent and
above their bottom.
Belly button level.
Spread open the fabric
over your shoulders for
maximum comfort. When
done correctly straps will
look like cap sleeves.
Note: It’s important to always stay aware of
your baby when you have them in a baby
carrier. Make sure you check on them
frequently to ensure they are correctly
positioned and there is no obstruction to
their breathing.
*
Place lumbar belt at your natural waist (where
your belly button is) with the printed labels
facing towards you and the 2 body panels
hanging down in front of you.
Fasten the lumbar belt buckle behind your
back. You will hear a ‘click’ when secure. Pull
webbing to tighten.
Drape the left body panel (with pocket) over
your shoulder.
Instructions:
1.
2.
3.
1 Carrier use for an Infant: Infant Hug Hold
Baby must be carried in this position until he/she is able to hold their head upright.
Open the pocket by pulling the two seams apart.
4.
* Tip: Roll up excess webbing and
store with the tidy loop.
* First time users can be assisted by a partner. Baby should always be comfortable in
carrying positions. If baby is fussing it could be an indication that they are improperly
positioned. If this occurs, take baby out immediately and adjust.
* IMPORTANT! This carrier is not intended for use in the Facing-Out position.
* IMPORTANT! Keep one hand on baby until Step 9 is completed.