72 Stard Road, Seabrook, NH 03874 (603) 910-5000 www.infinitymassagechairs.com
Review chair for smooth operation. If things are not
operating correctly, review all assembly steps. Call Infinity
support at 1-603-910-5000 if you need live US-based
support.
If you wish to use an APP to control the chair, download
from the Apple or Google app store and follow pairing
instruction found within the APP.
You are done; time for a Massage!
Ensure the Footrest assembly
swings freely up and down,
Electrical connections are
firmly attached and air hose is
secure. Remove the foot pads
to increase foot roller
intensity, if desired.
Zipper the closure between
the Footrest and Chair Body
Plug the remote cord back
into the input port located
on the back of the base of
the chair. Ensure the arrow
on the top of the input jack
is facing up.
Remote Pouch
Attach remote
pouch using velcro
found underneath
the right arm rest
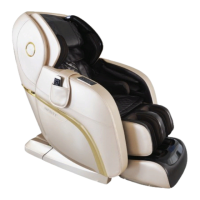
IT-8500 X3
Massage Chair
Assembly
Guide
Final Check:
Power on the
remote and select
AUTO program to
start a session.
Go to www.infinitymassagechairs.com/warranty to register your chair
and enable full support for your warranty.
1
Step 1:
Carefully check box contents to the detail
below, making sure all contents are
accounted for.
If anything is missing, please contact INFINITY at
603-910-5000. Do not return to the place of purchase.
www.infinitymassagechairs.com/assembly-
tutorials to watch an assembly video.
Or Scan Code
Front Back
Velcro
2
Step 2:
Connect the chair power
cord to a grounded 110V
electrical outlet and plug
it into the respective port
on the back side of the
base of the chair. Flip the
main power switch to on.
Step 3:
Plug the remote control
cord into the remote
control port also located
on the backside of the
base of the chair. Ensure
the arrow on the top of
the remote control cord is
facing up .Screw on to
fasten. Do not force.
3
Step 4:
Press the power button on the
remote control once to turn on,
then once more to bring the chair
into upright position. To protect
you and the remote control
during assembly, unplug it from
the chair and switch the main
power off.
4
Step 5:
Attach the back cushion by
draping it over the top of the
chair body and zippering it to
the zipper located on the top
of the back of the chair body.
5
Zipper
Version 1.0
Bolt: M8 x 25mm (2 pcs)
M8 Hex Key
Philips Screw
Driver
Power Cord
Spare Fuse
Locking
Nuts
(6 pcs)
Accessory Box
Warranty
Card
Remote
Pouch
Remote
Control
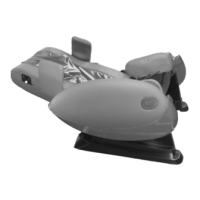
Box 1:
Chair Body &
Accessory Box
Box 2:
Arm Panels
(2)
Box 3:
Footrest (1)
Foot Pads
(2 pcs)
Accessory Box
Back Cushion
Back Pad
Chair Body
Shoulder Panels
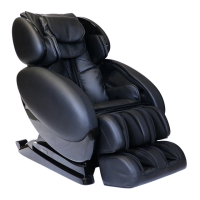
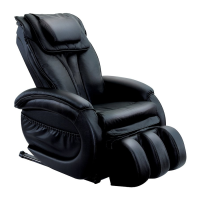
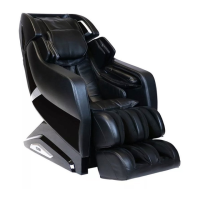
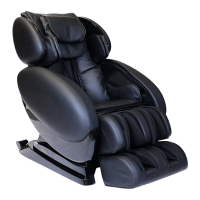
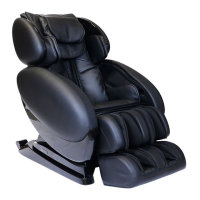
IT-8500 X3
Massage Chair
Quick Start
Guide
User Manual
IT-8500 X3
MASSAGE CHAIR
IT-8500 X3
Massage Chair
Assembly
Guide
Main power switch
Power cord
port
Remote control
port
Remote
control cord
Line up
arrows
SWAY
SWAY