1
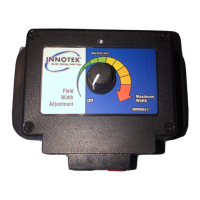
Step 2 Install the wall-mount transmitter
Step 1 Design your fence
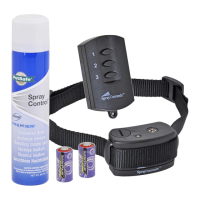
Step 5 Power Up
Quick Start Guide Models SD-2000, SD-2050, SD-3000, SD-3100
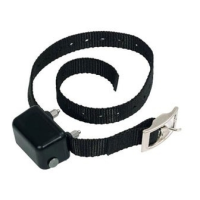
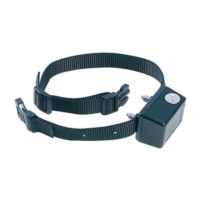
For all systems, install batteries positive side out as shown. For Contain’N’Train
systems, please refer to the “Match Receiver” section on page 9 of this guide.
Have the local utility companies mark your under-
ground lines. On a sheet of paper, draw your house
and yard.Draw a line around your property that rep-
resents the containment area for your dog.
Most people find that the inside of an exterior wall of
a garage or basement is ideal. From the sample lay-
outs included, you can see the twisted wire running
from the house attaches directly to the transmitter.
Step 3 Layout the fence wire
Run the containment wire around the property as
outlined in your plan.
Step 4 Final connections
Splice the containment loop wires to the twisted
wire using the supplied waterproof splices.
Connect the other end of the twisted wire to the
wall-mount transmitter. Plug the AC adapter,
connect it to the transmitter and turn it on. The
red light should illuminate on the transmitter
indicating a successful loop.
Invisible Technologies, Inc.
800-826-5527
www.Innotek.net
2100252-1
Boundary
Wire
10’
10’
Buried Cable
90˚
1
Boundary Wire
Splice
To wall-mount transmitter