DA2 Installation Guide
Innovative Technology Ltd Page 12 of 12
4.0 Installing additional DA2s
To install additional DA2s follow the instructions for installation for your Operating System.
You will not need to insert the DA2 CD-ROM for additional DA2s if you are using Windows XP (Home
or Professional).
5.0 Uninstalling the DA2
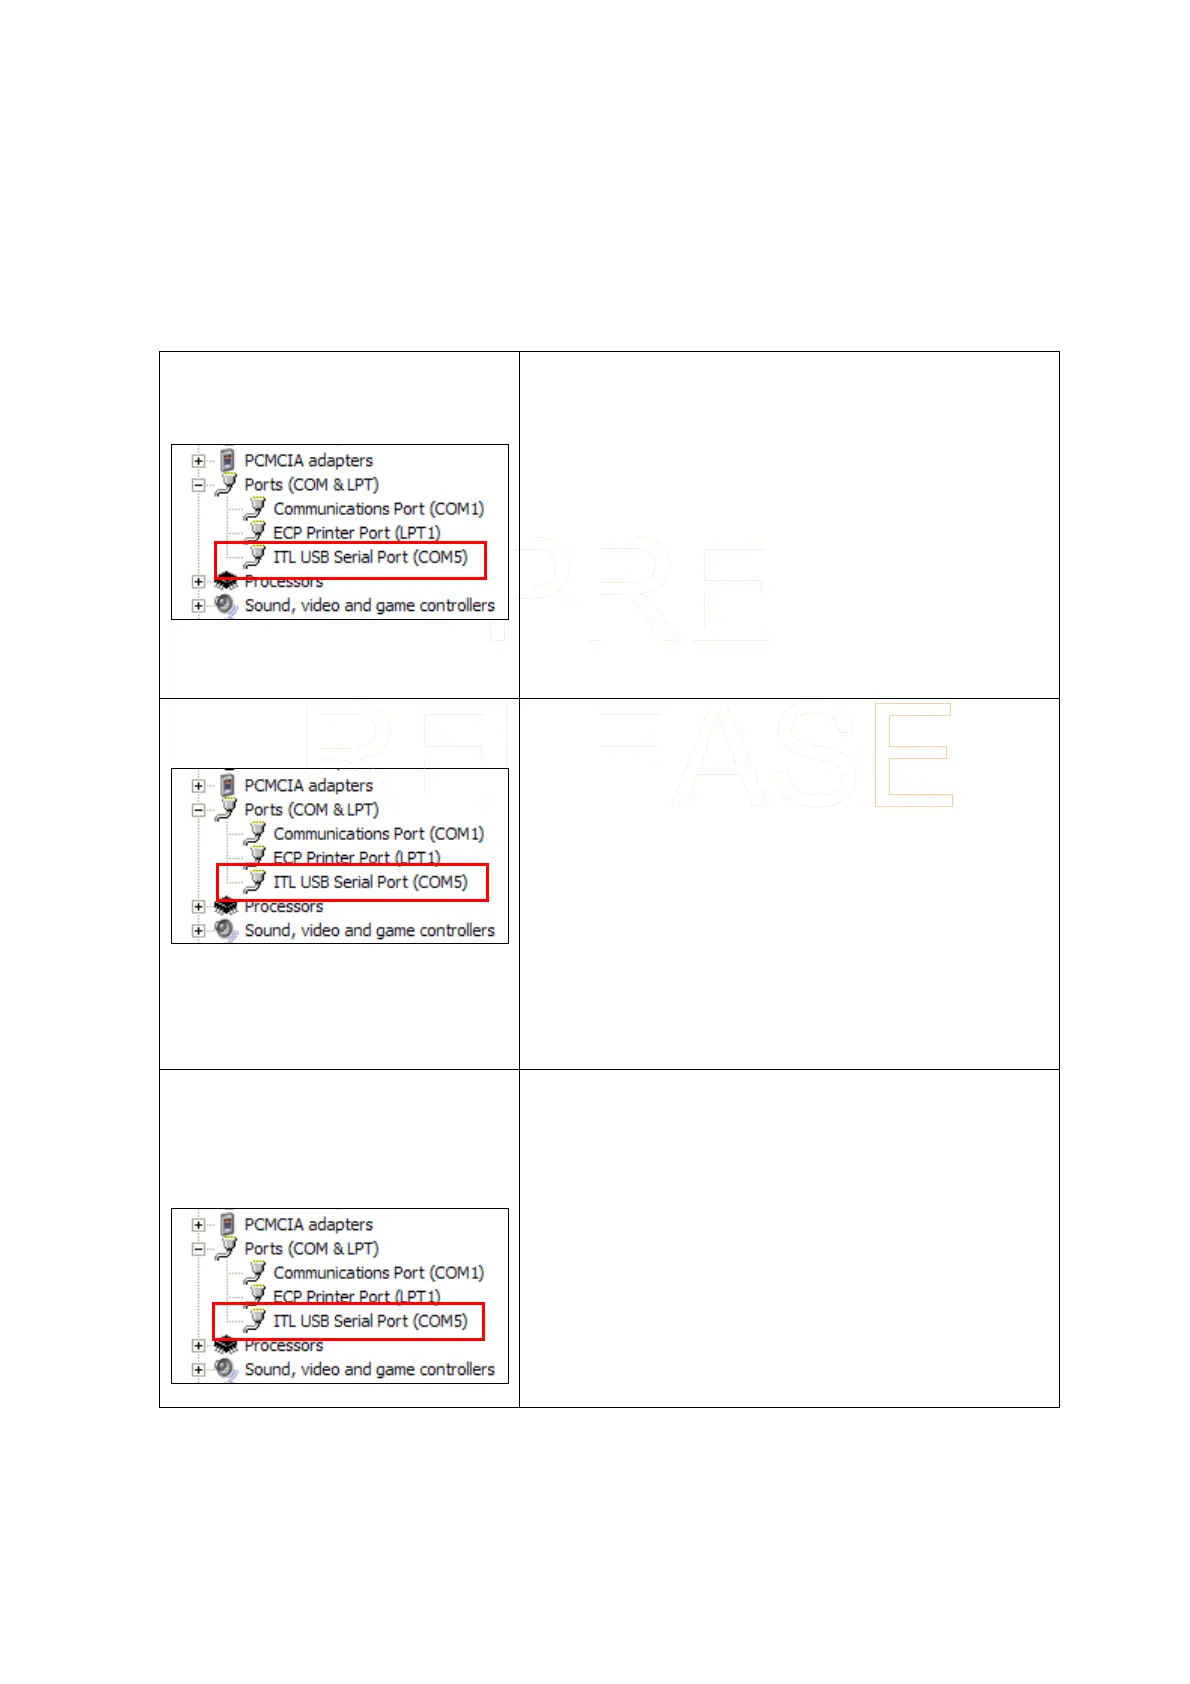
5.1 Windows 98/98SE/Me
1. Right Click on the My Computer icon, then select
Properties.
2. Click on the Device Manager tab.
3. Locate the Port (Com & LPT) icon and click on
the + sign next to it.
4. You should see a list of your PC’s RS232, LPT
(Parallel) and the DA2 port (which will be labelled
as ITL USB Serial Port (Com
χ
) where χ indicates
the Com Port number the DA2 had been installed
to).
5. Click on the DA2 (it should now be highlighted).
6. Click on the REMOVE button. Follow the on
screen instructions.
5.2 Windows 2000
1. Right click on the My Computer icon, and then
select Properties.
2. Click on the Hardware tab then the Device
Manager button.
3. Locate the Port (Com & LPT) icon and click on
the + sign next to it.
4. You should see a list of your PC’s RS232, LPT
(Parallel) and the DA2 port (which will be labelled
as ITL USB Serial Port (Com
χ
) where χ indicates
the Com Port number the DA2 had been installed
to).
5. Click on the DA2 (it should now be highlighted).
6. Right click on the DA2 and select uninstall. Follow
the on screen instructions.
5.3 Windows XP (Home and
Professional)
1. Right click on the My Computer icon, and then
select Properties.
2. Click on the Hardware tab then the Device
Manager button.
3. Locate the Port (Com & LPT) icon and click on
the + sign next to it.
4. You should see a list of your PC’s RS232, LPT
(Parallel) and the DA2 port (which will be labelled
as ITL USB Serial Port (Com
χ
) where χ indicates
the Com Port number the DA2 had been installed
to).
5. Right click on the DA2 and select uninstall. Follow
the on screen instructions.
 Loading...