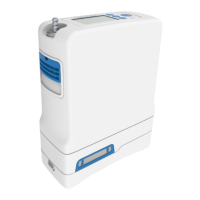
Service Manual, Inogen One G3HF
3. Attach the Inlet tube to the inlet union barb (Figure 9) and remove the Inlet tube from the
assembly.
4. Insert the Accumulator Tube into the quick connect fitting on the Product Manifold. After
insertion, pull lightly on the tubing to ensure that it is fully seated (Figure 8).
5. Install the sensor tube by routing it around the long molded column tube and inserting it
into the quick-connect fitting on the Accumulator. After insertion, pull lightly on the
polyurethane tubing to ensure that it is fully seated (Figure 10).
6. Insert the Column B Tube into the quick connect fitting on the Product Manifold. After
insertion, pull lightly on the tubing to ensure that it is fully seated (Figure 7).
7. Install the Exhaust tube onto the barb on the Tube Bracket and Muffler. Then clip the
Column tube into the Inlet Union Barb (Figure 6).
8. Slide the Tube Bracket and Muffler Assembly pegs back into the slots in the chassis.
Align the bracket back into place and reinstall the two screws to 4 in-lbs. (Figure 5).
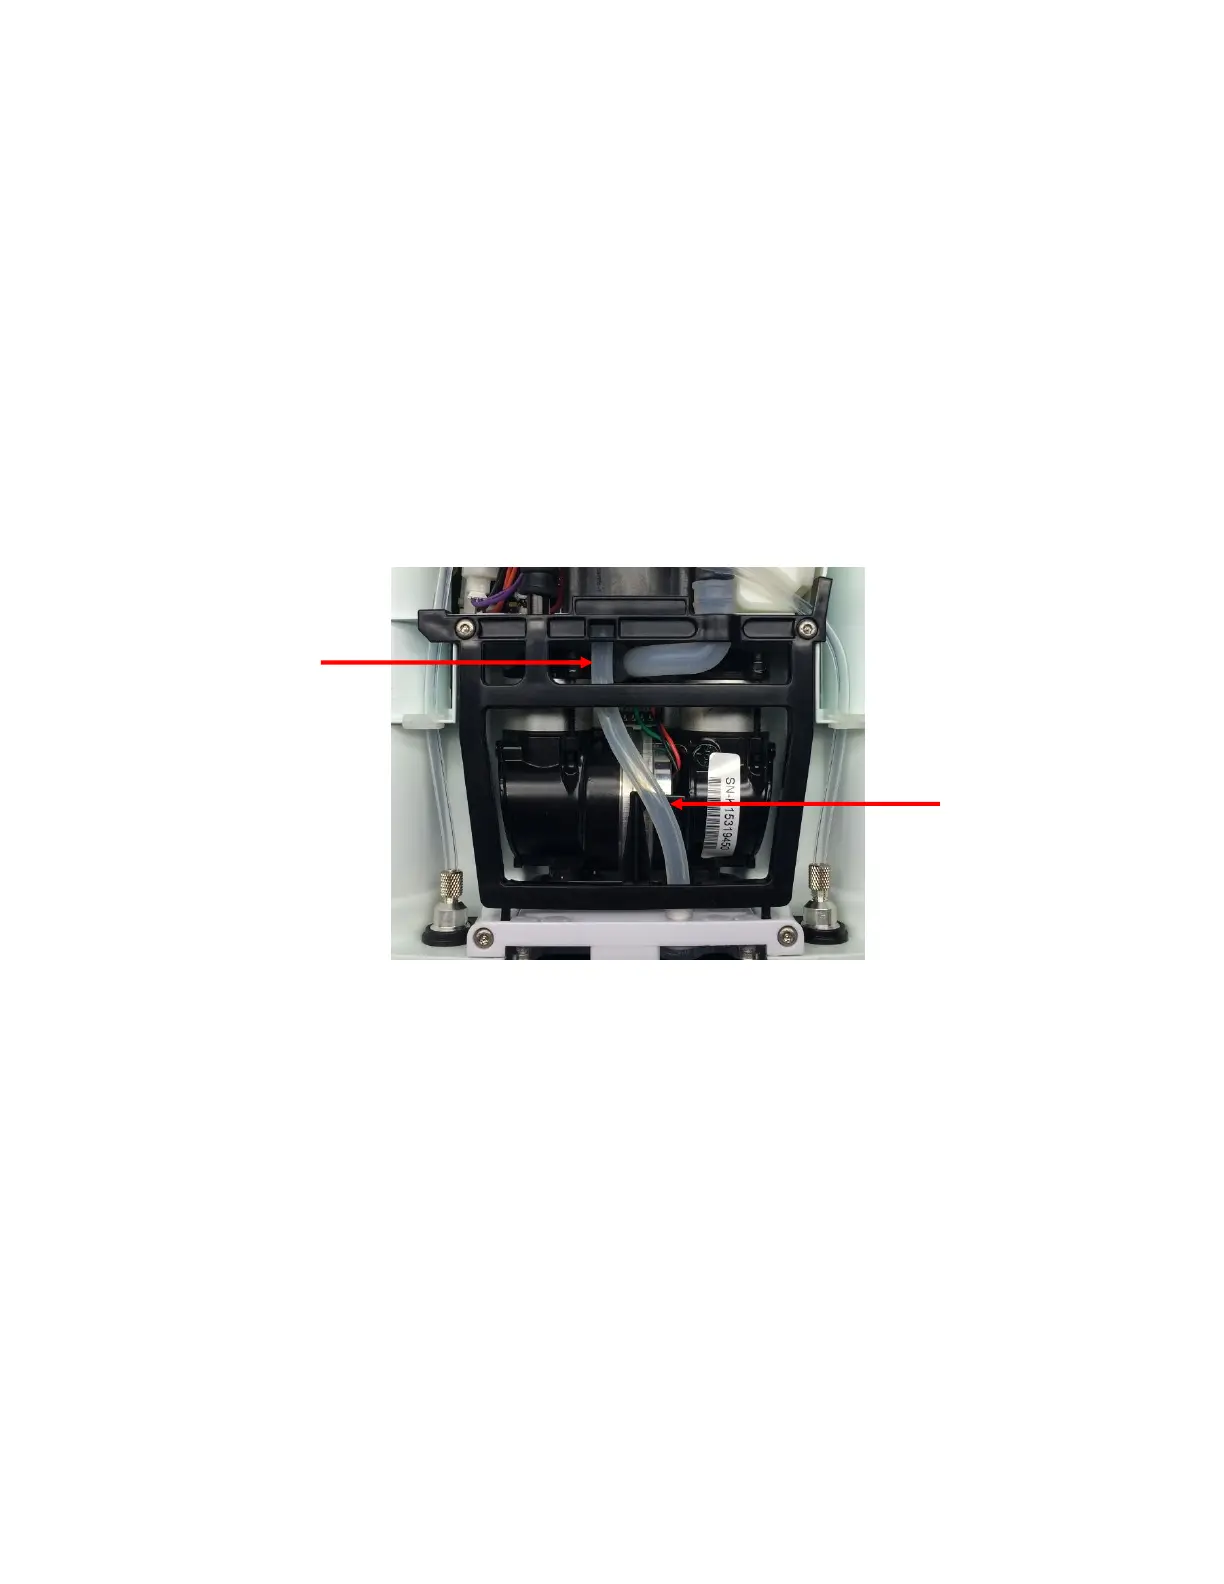
Ensure that all tubing is properly routed before screwing down. Route the Intake Tube back
into the Tube Bracket and Muffler (Figure 15).
Figure 15: Tube Bracket and Muffler Assembly with routed Intake Tube
Instructions for Replacing the Housing:
1. To re-install the user interface panel, plug the LCD cable back into the motherboard
(Figure 4). Note orientation of red wire. Re-attach the cannula tubing to the cannula
connector.
2. Reconnect the UIP cable to the motherboard (Figure 3).
3. Test the function of each button and the LCD. If anything does not work, reseat the
cables in the connectors and check for debris in the connectors.
4. Re-install the four screws that connect the user interface panel to the chassis (Figures 2
and 1). Tighten screws to 5 in-lbs.
5. Place the device on its back side.
6. Seat the feet of the front housing into the corresponding grooves on the chassis (Figure
16) then push down and toward the device to secure the housing in the chassis.


 To Next Page