10
www.insigniaproducts.com
STEP 5 - Option 1: Installing on a wood stud* wall
Note: Any drywall covering the wall must not exceed 5/8 in. (16 mm).
1 Locate the stud. Verify the center of the stud with an edge-to-edge stud finder.
2 Align the center of the wall plate template (R) at the height (a + b - 1.5 in.) you determined in the
previous step, make sure that it is level, then tape it to the wall.
3 Drill two pilot holes through the template to a depth of 3 in. (75 mm) using a 7/32 in. (5.5 mm) diameter
drill bit, then remove the template.
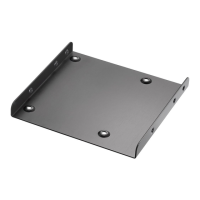
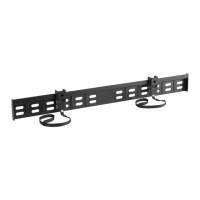
4 Align the wall plate (10) with the pilot holes, insert the lag bolts (11) through the lag bolt washers (12),
then through the holes in the wall plate. Tighten the lag bolts only until they are firm against the wall
plate.
CAUTION:
• Use only the upper slotted holes to mount the wall plate. Do not use the lower slotted holes.
• Install in the center of the studs. Do Not install in drywall alone.
 Loading...