15
Ice Maker
www.insigniaproducts.com
6 Route the tubing through a hole drilled in the wall or floor (behind the
refrigerator or adjacent base cabinet) as close to the wall as possible.
7 Connect the tubing to the valve by placing the compression nut and
ferrules (sleeves) for copper tubing onto to the end of the tubing and
connect it to the shutoff valve. Make sure the tubing is fully inserted
into the valve.
8 Tighten the compression nut securely. For plastic tubing, insert the
molded end of the tubing into the valve and tighten compression nut
until it is hand-tight, then tighten one additional turn with a wrench.
Over-tightening may cause leaks.
9 Place the end of the water supply line into a sink or bucket and flush
the water supply line with water until the water runs clear.
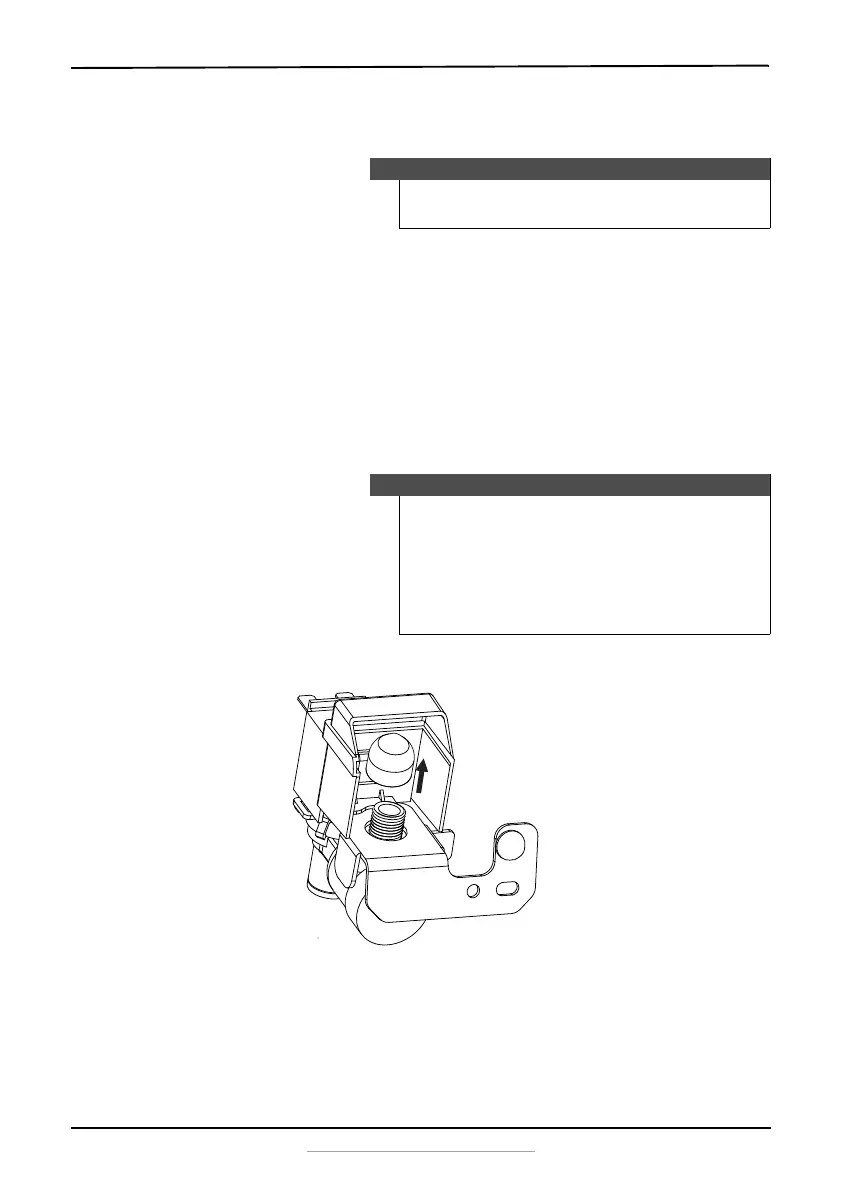
10 Unscrew the plastic cap from the water inlet valve and discard it.
Note
Make sure that there is sufficient extra tubing to allow the
refrigerator to move out from the wall after installation.
Note
• Before making the connection to the refrigerator, be sure
the refrigerator power cord is not plugged into the wall
outlet.
• If your refrigerator does not have a water filter, we
recommend installing one if your water supply has sand or
particles that could clog the screen of the refrigerator’s
water valve.
NS-IMK20WH7_16-0335_MAN_V1_ENG.fm Page 15 Tuesday, May 31, 2016 11:59 AM
 Loading...