Setting up your shredder
1 Place the wastebasket securely in the shredder.
Note: Do not use plastic bags to line the wastebasket.
2 Connect the power cord to a power outlet.
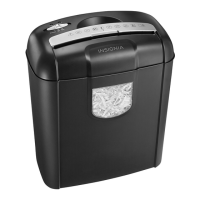
Congratulations on your purchase of a high-quality Insignia product. Your
micro cut shredder is designed for reliable and trouble-free performance.
Package contents
• Micro cut shredder with wastebasket
• Quick Setup Guide
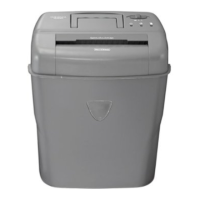
Features
Quick Setup Guide
10-sheet Micro Cut Shredder
|
NS-PS10MC/NS-PS10MC-C
Before using your new product, please read these instructions to prevent any damage.
# ITEM
1 Disc slot
2 LED indicators
3 Paper/Credit card
slot
4 Switch
5 Window
6 Wastebasket
7 Wheels
DESCRIPTION
For CDs and DVDs. Insert one at a time.
POWER - Lights when the shredder is in use.
OVERLOAD - Lights when trying to shred over
the maximum 10 sheets, or paper is folded.
OVERHEAT - Lights when the shredder has
overheated. If this light is on, turn o the
shredder and let it cool for at least 50 minutes.
Insert up to 10 sheets of paper at a time or one
credit card at a time.
On/Auto (
|
) - Shreds an item when inserted
into the paper or disc slot, then stops when it is
nished shredding.
O () - Turns o the shredder.
Rev () - Reverses the paper to clear a jam or
remove unshredded paper.
Allows you to see when the wastebasket is full.
Empty when 2/3 full.
Allows you to easily move your shredder.
POWER OVERHEAT
OVERLOAD
On/Auto RevO