Do you have a question about the InSinkErator Contractor 333 and is the answer not in the manual?
Indicates a hazardous situation where death or serious injury will result if not avoided.
Indicates a hazardous situation where death or serious injury could result if not avoided.
Indicates a hazardous situation where minor or moderate injury could result if not avoided.
Addresses practices not related to personal injury.
Indicates specific safety-related instructions or procedures.
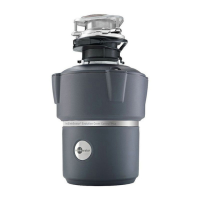
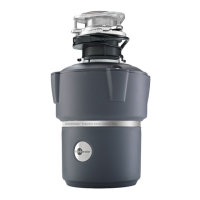
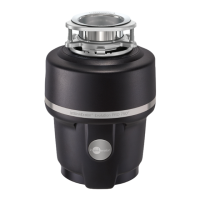
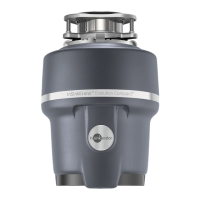
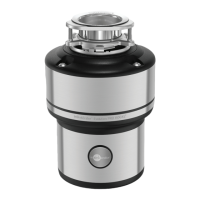
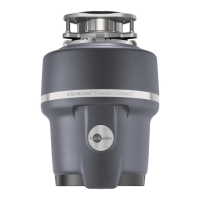
Lists and illustrates all components included with the disposer.
Lists tools and materials needed for installation that are not included.
Emphasizes reading instructions carefully to prevent injury or damage.
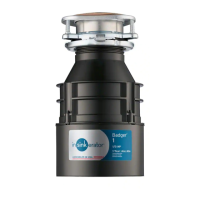
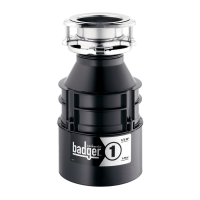
Details dimensions (A and B) for various Badger disposer models.
Outlines preliminary steps and important considerations before installation.
Important reminder to remove drain plug when connecting a dishwasher.
Determines whether to proceed with removal or skip to installation based on existing disposer.
Instructions to turn off power and disconnect drain trap and dishwasher.
Advises supporting disposer and loosening mounting lug to detach it.
Guide to flip disposer and remove electrical cover plate.
Instructions for disconnecting the disposer wires from the electrical supply.
Determines if the new disposer mounting matches the old one.
Loosen the three screws on the mounting assembly using a screwdriver.
Remove the snap ring (G) using a screwdriver.
Remove the old sink flange from the sink drain.
Clean old plumber's putty from the sink using a putty knife.
Apply a 1/2" thick rope of plumber's putty around the sink flange.
Warns about potential water leakage if the assembly is not done correctly.
Firmly press the sink flange into the sink drain and remove excess putty.
Place a weight on the sink flange to hold it in place during assembly.
Insert gasket, backup flange, and mounting ring; secure with snap ring.
Tighten screws evenly, using shorter screws for thicker sinks.
Remove the drain plug if connecting a dishwasher to prevent overflow.
Instruction to proceed to step 17 if a dishwasher connection is not being made.
Warning that not removing the plug can cause the dishwasher to overflow.
Turn disposer over and remove electrical cover plate to access wires.
Insert cable connector and run electrical cable through the disposer access hole.
Disposer requires an "Off" marked switch installed within sight.
Connect disposer wires to neutral, hot, and ground wires of the power source.
Improper grounding can lead to electric shock hazard.
Do not remove or displace the motor compartment insulation shield.
Push wires into disposer and replace the electrical cover plate.
Trim the discharge tube (J) as needed for a proper fit.
Slide flange over discharge tube, insert gasket, and secure with bolts.
Do not remove or displace the motor compartment insulation shield.
Align the disposer's mounting tabs with the ramps on the mounting ring and hang it.
Do not place head or body under disposer; it could fall during installation/removal.
Ensure all three mounting tabs are properly engaged on ramps for secure locking.
Turn the mounting ring until all three tabs lock over the ridges.
Detach the removable portion of the spec label and place it in a visible location.
Reconnect all plumbing lines and the dishwasher connection, if applicable.
Warns of potential leakage if the assembly is not properly done.
Insert stopper, fill sink, test for leaks, and reconnect electrical power.
Essential safety precautions to follow when using the appliance.
Explains the requirements for grounding cord-connected and permanently connected disposers.
Step-by-step guide on how to properly operate the food waste disposer.
Lists recommended practices and things to avoid during disposer operation.
Emphasizes the importance of flushing the disposer to prevent damage.
Instructions for cleaning the grind chamber and baffle to remove food buildup and odors.
Steps to follow if the disposer motor stops, including using the Jam-Buster wrench.
Outlines the terms, coverage, exclusions, and duration of the limited warranty.
| Brand | InSinkErator |
|---|---|
| Model | Contractor 333 |
| Category | Garbage Disposal |
| Language | English |