107
76
107
4R
4L
74
29
93
85
74
55
44
29
55
74
44
9
8
85
10
76
74
107
93
107
10
107
76
107
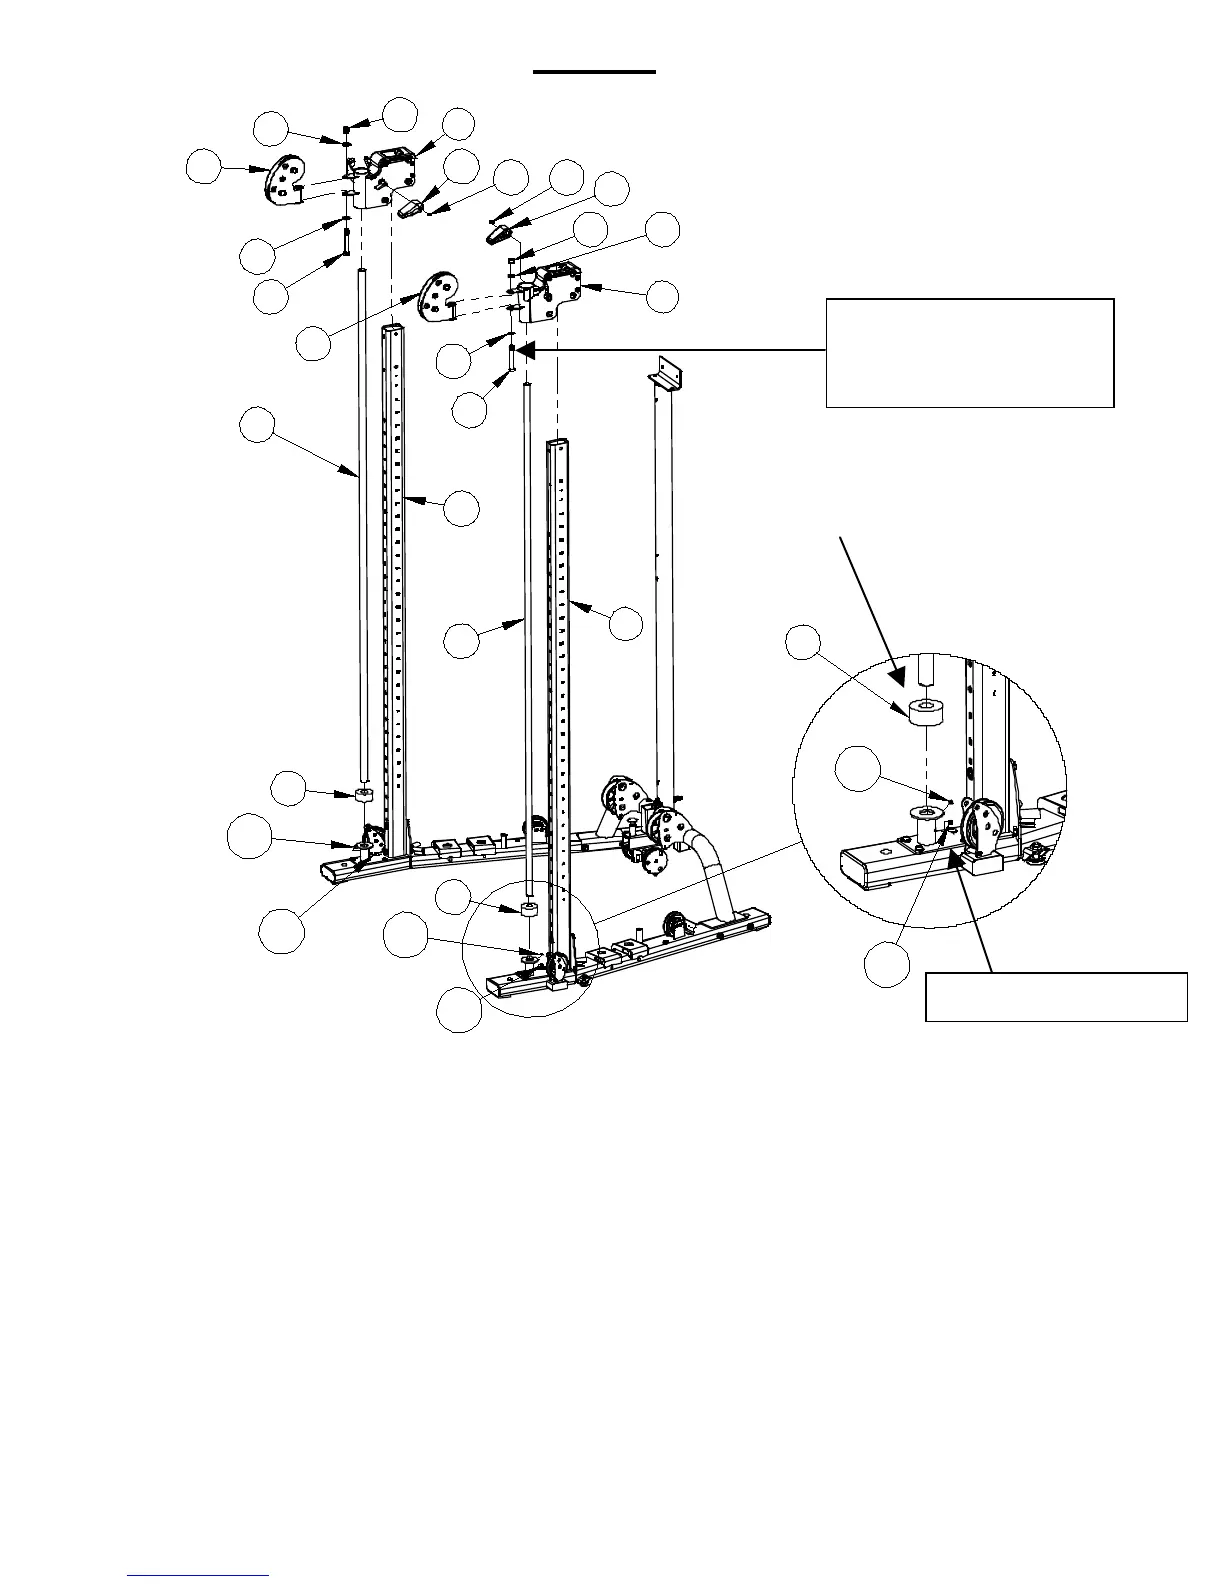
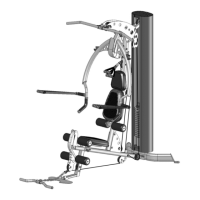
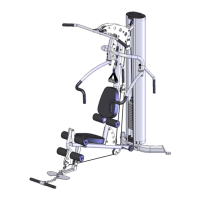
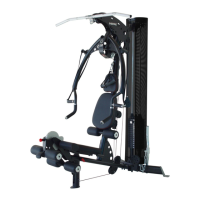
STEP 4 Swivel Pulley Sliders
A) Insert the Linear Bearing Shafts (10) into the collars at the bottom of the Front Uprights (4R & 4L).
Attach these with 4-M6x5 Set screws (107) at the bottom of the collars to hold the Linear Bearing
Shafts (10) in place. Tighten the Set screws now. Slide one (larger ID) Slider Rubber Donut
(76) down each of the Linear Bearing Shafts (10).
B) Attach a Red Slider Adjustment Handle (55) to the shafts on the side of each of the Right and Left
Sliders (8 & 9) with a M5x8 Socket Head Cap Screw (44) in the head of each handle.
C) Note: The Right and Left Sliders (8 & 9) are placed on the Front Uprights (4R&L) and Linear
Bearing Shafts (10) at the same time with the Red handles facing towards the inside of the gym.
This Red handle must be held in the upward position to allow it to be placed on the Front Upright
(4R&L).
Next slide the Right Slider (8) down the Linear Bearing Shaft (10) and Right Front Upright (4R) on
the right hand side of the gym to about the number 20 position on the Upright (4R). Repeat this
step on the left side of the gym using the Left Slider (9) on the Linear Bearing Shaft (10) and the
Left Front Upright (4L).
D) On both Uprights attach the Slider Pulley Swivels (29) to the Sliders (8 & 9) using 2-M12x85 Hex
bolts (85), 4-M12 washers (74) and 2-M12 Lock nuts (93).
Tighten this hardware now but ensure that the swivel moves freely.
PAGE 9
2-larger ID Slider Rubber Donuts (76)
4 - M6x5 Set screws (107)
2 - M12*85 Hex Bolts (85)
4 – M12 Flat Washers (74)
2 – M12 Locknuts (93)