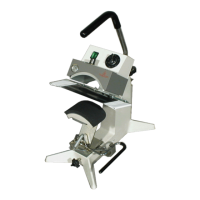
THIS MACHINE IS DESIGNED TO BE OPERATED BY ONE OPERATOR ONLY
- 4 -
General Maintenance
It is recommended that you have the following
items available:
A. Regular screw driver
B. Phillips head screw driver
C. Small adjustable wrench
D. Needle nose pliers with insulated
handle
E. Set of Allen wrenches
F. Special high temperature grease
(MPPL023)
With the above items (not supplied with machine)
you should be able to accomplish most repairs.
WARNING
Power cord replacement should be from
the manufacturer only (because it
requires a specially prepared cord).
Replacement of Silicone Rubber Pads
1. Make sure heat platen is cool.
2. Use tube of MPPC006 adhesive to bond
silicone rubber pad to metal platen.
NOTE: Read instructions on the tube package.
3. Be sure that the surface of the silicone platen
is clean. Use a mild solvent such as mineral
spirits.
4. The pad and metal must be thoroughly dry
and clean, before starting the bonding
operation.
5. Apply adhesive sealant to the metal platen.
Spread a thin even coat and apply pad
immediately. Apply pressure and position pad
making sure that there is no air entrapment.
NOTE: A serrated blade such as used for laying down
rubber floor tiles would be helpful.
6. Allow to cure overnight under low pressure at
normal room temperature.
Temperature Control Replacement
NOTE
Disconnect Power Supply
1. Remove knob and shroud cover plate.
2. Disconnect the wires going to the control.
NOTE
The terminal with only one wire going
to it is the HOT side of the line. The
other terminal has two wires--one from
the heating element and one from the
lamp.
3. Remove the two temperature control
mounting screws.
4. Reconnect the three (3) wires to temperature
control as stated in Step 2.
5. Insert the two screws which secure the control
to the front of the heat platen.
6. Turn the control counterclockwise to the
minimum temperature position.
7. Replace the knob with the pointer indexed to
the zero "0" position.