possible to reduce the problem of edge lifting. ( After printing 4-5 times or glue invalid need to be
re-applied.)
As shown in the left figure, apply the special glue for 3D printing on the glass plate and level the
glue with the standard model shovel, then level it until it is covered with the bottom plate and glue it
on the Z-axis printing platform.
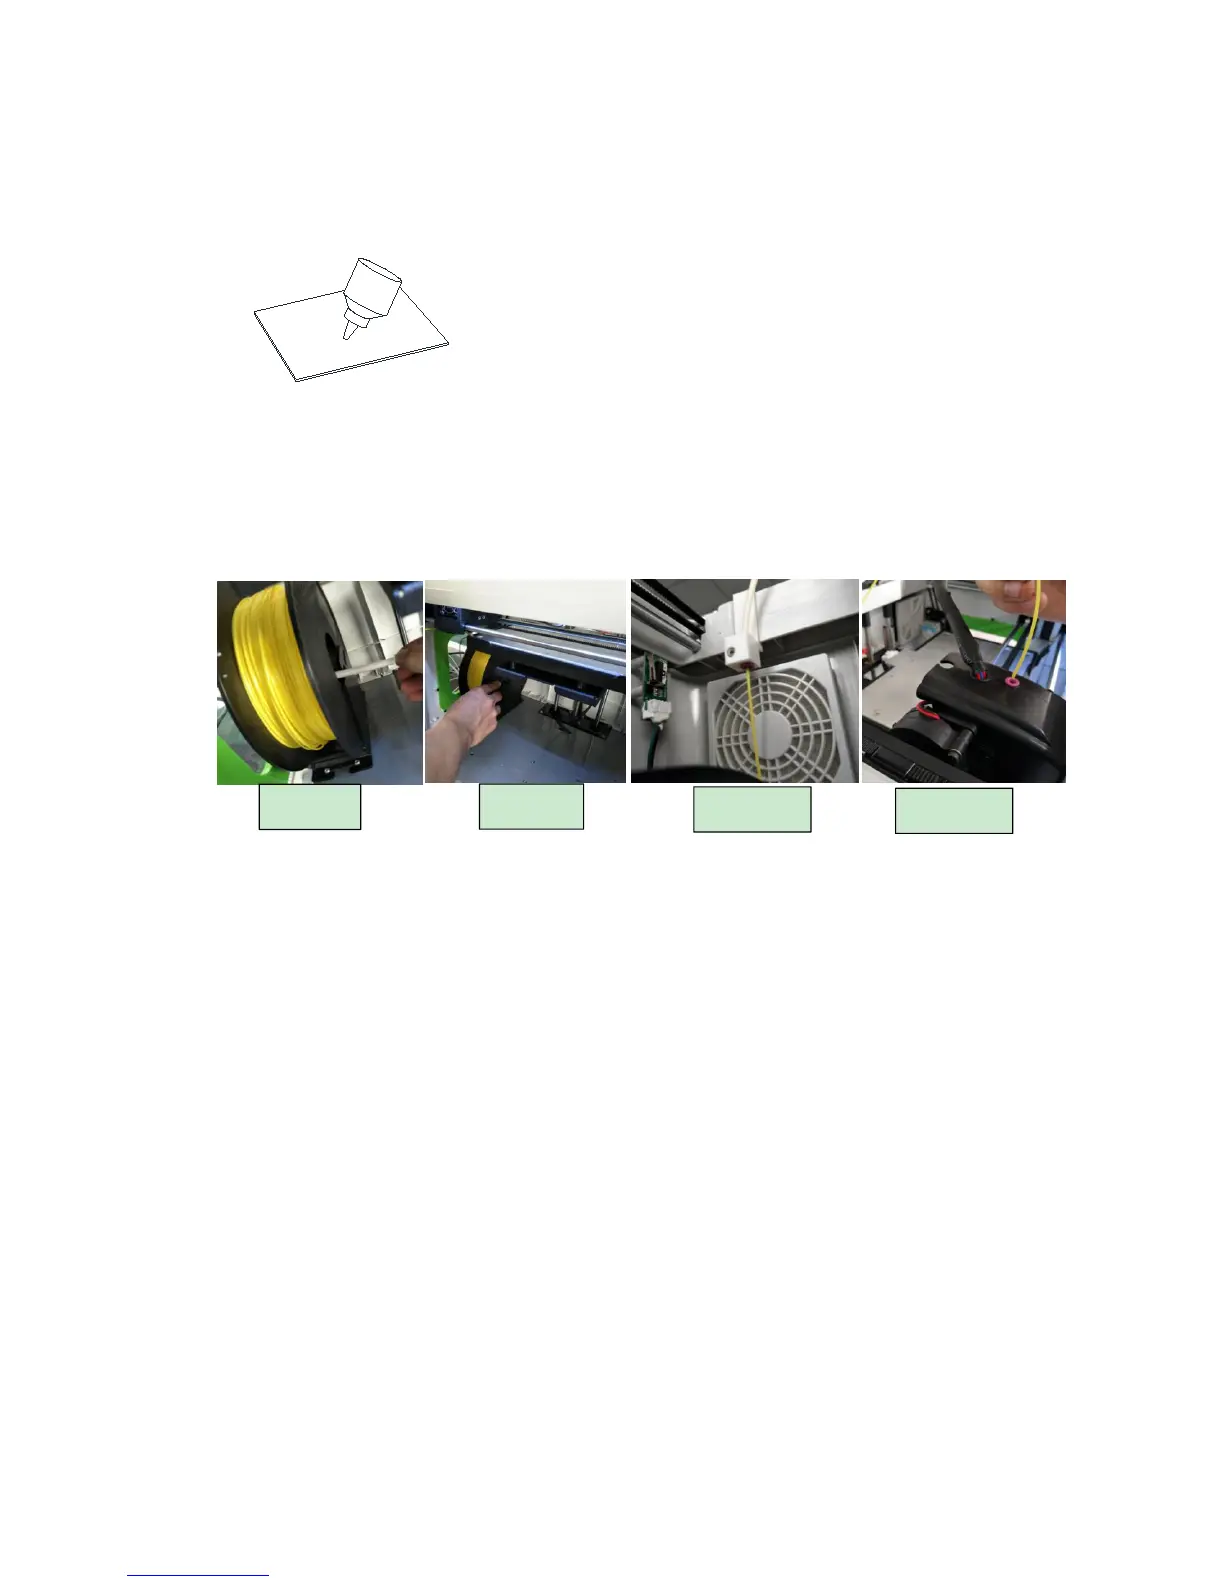
2) Consumables installation
Remove the accessory "consumables" from the packaging carton and install the filament tray
correctly on the carriage as shown in Figure 1&2, and the consumable material is drawn out from the
inside of the tray (strictly install in the direction shown. Don’t install upside down).
Trim the head of filament, then get it through the thread guide tube to the nozzle case (not really
get through the case). Then open the machine, select the preheat nozzle button, set the nozzle
temperature (PLA material around 200
℃
, ABS material around 220
℃
), until the nozzle heated to
the set temperature, and then press the nozzle assembly on the left clamping gear handle. Insert the
material into the throat forcedly, and observe the nozzle, a smooth material out shows that it is
installed successfully.
3) Adjust Printer Optical Flatness
The correct position of printing platform should be in the vertical plane with nozzle. This can
greatly reduce the print failure rate, ensure a more stable printing process, and get the better effect of
the print model. The printing platform is mechanically biased due to transportation or re-installation,
etc. If the following two conditions occur during the printing of the bottom border, the platform needs
to be leveled again.
Consumables not sticking on the platform means the platform is too low. Then it needs for
appropriate increase.
Consumables extruding not smoothly means the platform is too high. Then it needs for a
corresponding reduction.