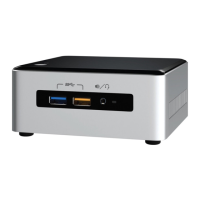
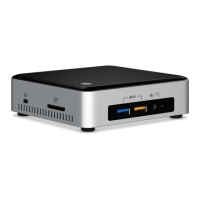
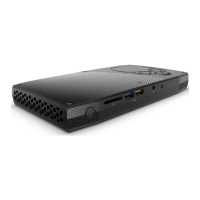
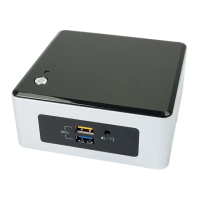
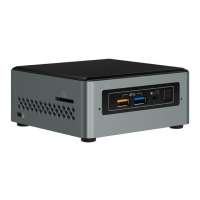
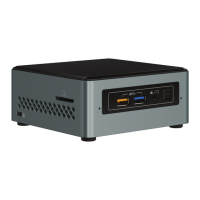
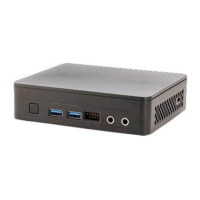
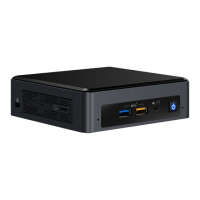
This document serves as a user guide for the Intel NUC Kit NUC6i3SYH and NUC6i5SYH, providing comprehensive instructions for installation, setup, and maintenance. The Intel NUC (Next Unit of Computing) is a small form factor PC designed for a variety of uses, from home entertainment to business applications, offering a compact yet powerful computing solution.
The guide begins with essential safety precautions and installation guidelines, emphasizing the importance of disconnecting power before performing any procedures to prevent personal injury or equipment damage. It also highlights the need for ESD (Electrostatic Discharge) protection when handling components to avoid damage. Users are advised to work at an ESD workstation with an antistatic wrist strap and a conductive foam pad, or to use an antistatic wrist strap attached to a metal part of the computer chassis. The document cautions against sharp pins, rough edges, hot components, and damaged wires during installation.
Key Installation and Setup Procedures:
The user guide details the following installation and setup steps:
- Opening the Intel NUC Chassis: To access the internal components, users must unscrew the four corner screws on the bottom cover and lift it off.
- Installing and Removing Memory (SO-DIMMs):
- Technical Specifications: The NUC Kits NUC6i3SYH and NUC6i5SYH feature two 260-pin DDR4 SO-DIMM sockets.
- Memory Requirements:
- 1.2V low voltage memory
- 2133 MHz SO-DIMMs
- Non-ECC
- Installation Steps:
- Observe precautions from the "Before You Begin" section.
- Turn off all peripheral devices, the computer, and disconnect the AC power cord.
- Align the small notch on the SO-DIMM with the key in the socket.
- Insert the bottom edge of the SO-DIMM into the socket.
- Push down on the outer edge until retaining clips snap into place, ensuring they are firmly seated.
- Removal Steps:
- Observe precautions.
- Turn off all peripheral devices, the computer, and disconnect the AC power cord.
- Remove the computer's cover.
- Gently spread the retaining clips at each end of the SO-DIMM socket; the SO-DIMM will pop out.
- Hold the SO-DIMM by the edges, lift it, and store it in an anti-static package.
- Reinstall and reconnect any removed parts.
- Replace the cover and reconnect the AC power cord.
- Usage Feature: If only one SO-DIMM is installed, it should be placed in the lower memory socket.
- Installing an M.2 SSD:
- Technical Specifications: The NUC Kits support both 80mm and 42mm M.2 SSDs.
- Installation for 80mm M.2 SSD:
- Remove the small silver screw from the 80mm metal standoff on the motherboard.
- Align the small notch on the M.2 card with the key in the connector.
- Insert the bottom edge of the M.2 card into the connector.
- Secure the card to the standoff with the small silver screw.
- Installation for 42mm M.2 SSD:
- Remove the small silver screw from the metal standoff on the motherboard.
- Move the standoff from the 80mm position to the 42mm position.
- Align the small notch on the M.2 card with the key in the connector.
- Insert the bottom edge of the M.2 card into the connector.
- Secure the card to the standoff with the small silver screw.
- Installing a 2.5" SSD or Hard Drive:
- Slide the 2.5" drive into the drive bay, ensuring SATA connectors are fully seated into the SATA daughter card connectors.
- Secure the drive into the drive bay with the two small silver screws provided.
- Set the drive bay bracket down inside the chassis.
- Closing the Chassis: After all components are installed, the chassis should be closed. Intel recommends using a screwdriver by hand to avoid over-tightening and damaging the screws.
- Attaching and Using the VESA Bracket (Optional):
- Using the four small black screws provided, attach the VESA bracket to the back of a monitor or TV.
- Attach the two slightly larger black screws to the bottom chassis cover of the Intel NUC.
- Slide the Intel NUC onto the VESA mount bracket.
- Connecting Power:
- Country-specific power plug attachments are included. Users select the appropriate attachment for their region.
- The attachment slides onto the power plug, locking into place.
- Finally, connect the AC power.
Software Installation and Drivers:
- Installing an Operating System: The guide directs users to the "Supported Operating Systems" page for a list of Intel-validated Windows* operating systems and compatible Linux versions. Further details on system requirements and installation steps are found on the "Operating System Installation" page.
- Installing Intel NUC Drivers: Users are instructed to visit the Download Center for the latest Microsoft* Windows* drivers and BIOS updates. Specific links are provided for the Intel® NUC Kit NUC6i3SYH and Intel® NUC Kit NUC6i5SYH.
- Available Drivers: Drivers are available for a wide range of features, including:
- Audio
- Bluetooth
- Chipset
- Consumer Infrared
- Graphics
- Intel® ME (Management Engine)
- Intel® Rapid Storage Technology
- Intel® Ready Mode Technology
- LAN (wired and wireless)
- NFC (Near Field Communication)
- Serial IO
- USB 3.0
Maintenance Features:
While the document primarily focuses on initial setup, the detailed instructions for installing and removing components like memory and storage drives inherently provide guidance for future upgrades or replacements, which are common maintenance tasks for small form factor PCs. The emphasis on safety precautions during these procedures also contributes to safe maintenance practices. The availability of drivers and BIOS updates from the Download Center ensures that the system can be kept up-to-date for optimal performance and security.
In summary, the Intel NUC Kit NUC6i3SYH and NUC6i5SYH User Guide is a comprehensive resource for setting up and maintaining these compact computing devices. It covers everything from hardware installation to software and driver updates, with a strong emphasis on safety and proper procedure.