EasyManua.ls Logo

Intel S5000PAL User Manual

Intel S5000PAL
1 page
Page #1 background imageLoading...
Page #1 background image
Question and Answer IconNeed help?

Do you have a question about the Intel S5000PAL and is the answer not in the manual?
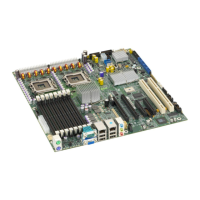
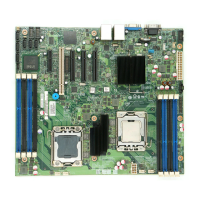
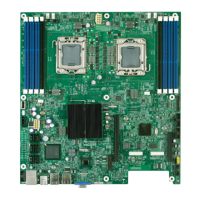
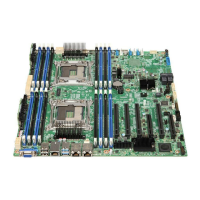
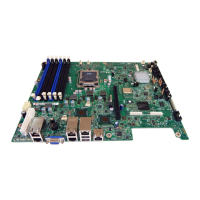
Intel S5000PAL Specifications

General IconGeneral
Product TypeServer Board
Socket TypeLGA 771
ChipsetIntel 5000P
Memory Slots8
Maximum Memory32 GB
LANDual Gigabit Ethernet
Serial Ports1
Parallel Port1
Power Connector24-pin ATX, 8-pin EPS12V
Supported CPUIntel Xeon 5000 series
Memory TypeDDR2 SDRAM
SATA6 x SATA 3.0 Gb/s
Storage ControllerIntel ICH7R
Network ControllerIntel 82563EB
Graphics ControllerATI ES1000 with 16MB memory
USB Ports6 USB 2.0 ports

Summary

Preparing the Chassis

ESD Procedures for Chassis Preparation

Observe normal ESD procedures. Place server chassis on a flat anti-static surface before integration.

Install the Server Board

Insert the Server Board

Place board into chassis, align I/O ports and mounting holes with standoffs.

Attach the Server Board

Use fasteners to attach the board to the chassis at the 7 indicated locations.

Install the Processor

Open the Socket Lever

Push lever handle down and away from socket, then pull lever to open.

Open the Load Plate

Push rear tab to lift front of load plate, then open it.

Remove Processor Protective Cover

Remove the processor from its box and take off the protective shipping cover.

Install the Processor

Orient processor to match socket notches and install.

Remove Socket Protective Cover

Grasp the socket protective cover tab and pull it away from the load plate.

Close Load Plate and Socket Lever

Push load plate closed and ensure socket lever engages tab.

Install Heat Sink(s)

Heat Sink Installation Procedure

Align heat sink fins, remove TIM film, tighten fasteners diagonally in stages.

Install Memory DIMMs

DDR2 FBDIMM Memory Identification

Identify DDR2 FBDIMMs, noting notch and socket bump alignment.

Memory Configurations and Population Order

Populate DDR2 FBDIMMs in the order A1, B1, C1, D1 and A2, B2, C2, D2.

To Install DIMMs

Open socket levers, insert DIMM aligning notch, push firmly until it snaps.

Related product manuals