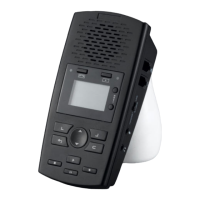
4
SET THE SD RECORDER DATE AND TIME
1. Press Soft Key 2 <Setting>
2. Use Down Arrow to select <System> - Soft Key 1 <OK>
3. Press Soft Key 2 <OK> to Select <Time>
4. Use the Up and Down arrows to change the hours – then Press <Next> to advance to minutes. Use the Up and Down arrows to
change the minutes. Press <Set> when finished.
5. Use Down Arrow to select <Date> and then press Soft Key to <OK>
6. Use the arrows and <Next> to change the month, day and year. When done, Press <Set>
7. You can use the Down Arrow to select/modify the Time and Date format.
Choose how to connect
The Call Assistant SD can connect to your telephone in 2 ways:
• Line Mode: Where the Call Assistant SD is connected directly to an analog telephone line.
• Handset Mode: Where the Call Assistant SD is connected to the curly cord (telephone handset cord) of your telephone.
This connection is used to record digital, IP, or Multi-Line telephones.
If you have a standard analog telephone that connects to a home phone line, or an analog extension behind a PBX (this includes
desktop and cordless phones), you should use the Line Mode Connection method.
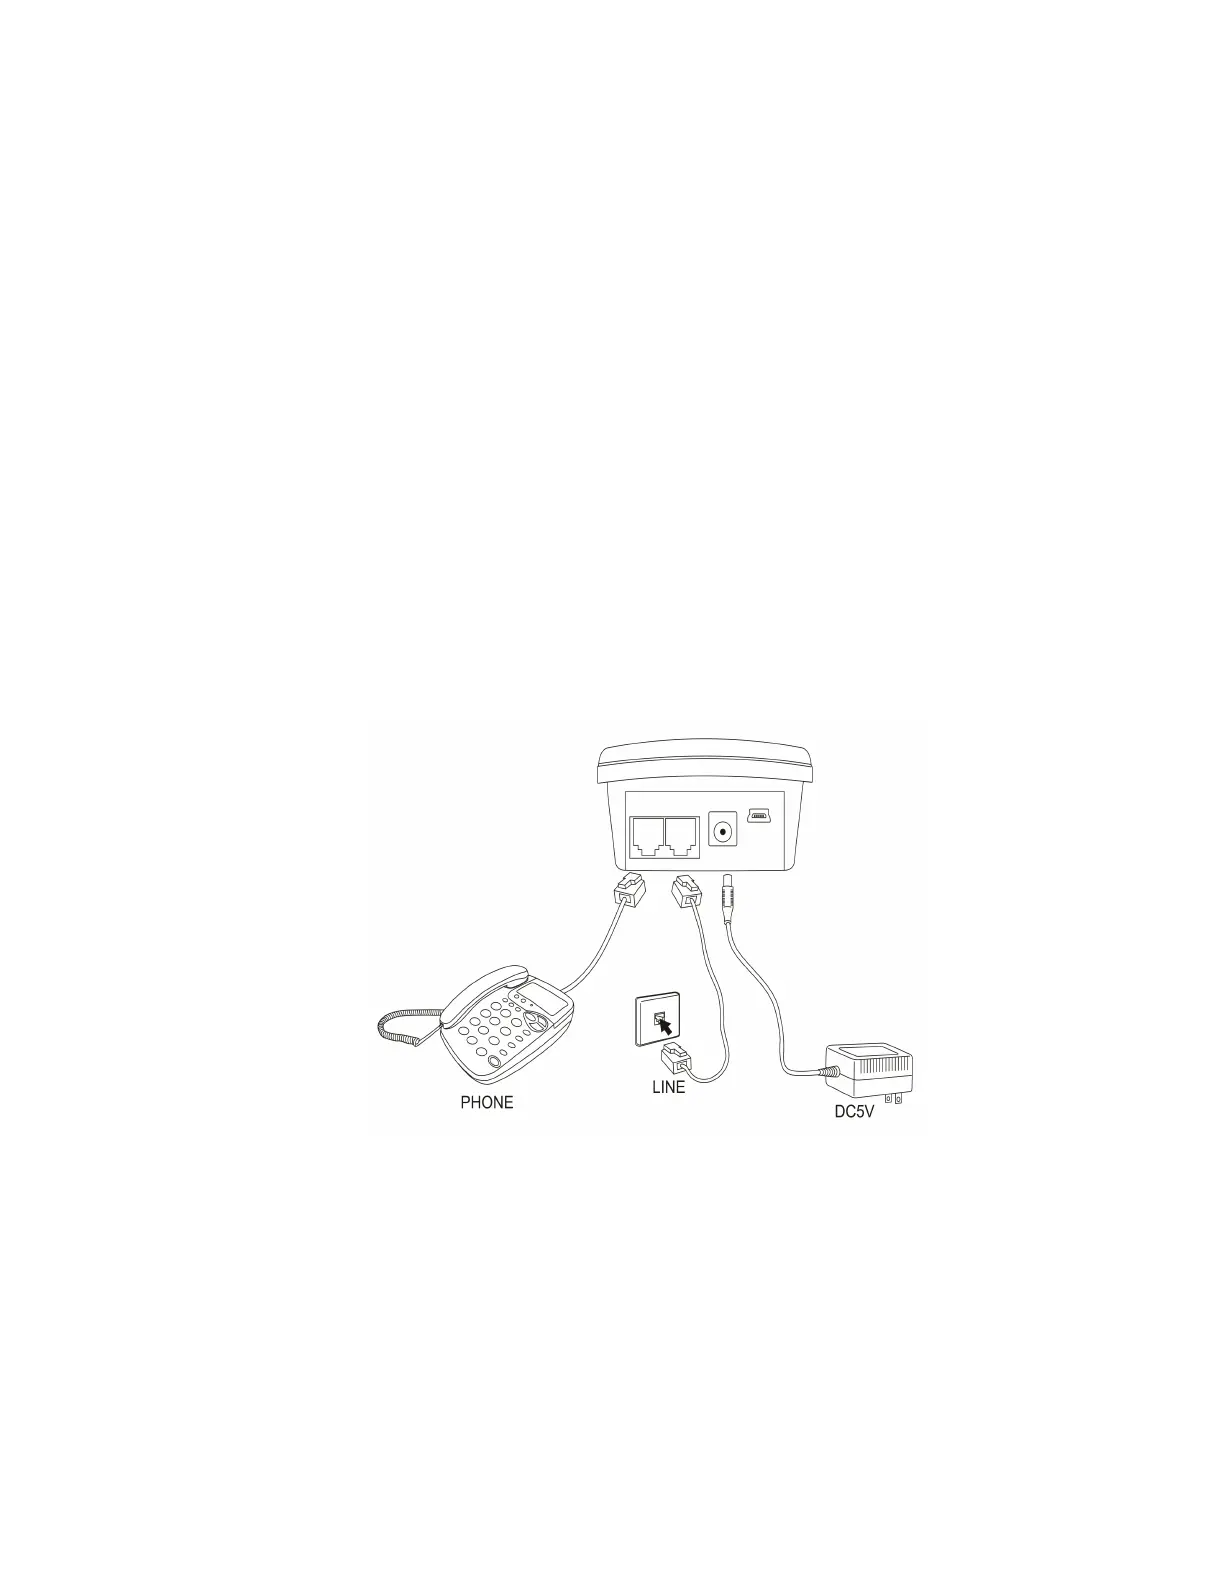
LINE MODE CONNECTION
Disconnect the telephone line cord from the base of your telephone (the other end connects to wall socket) and plug this into the Call
Assistant SD. Connect the long cord supplied between the Call Assistant SD and the socket on you phone (where you removed the line
cord). NOTE: The Call Assistant SD will record calls when connected to the phone line, it is not required that the telephone be
connected to the device.