For iOptron Internal Use Only
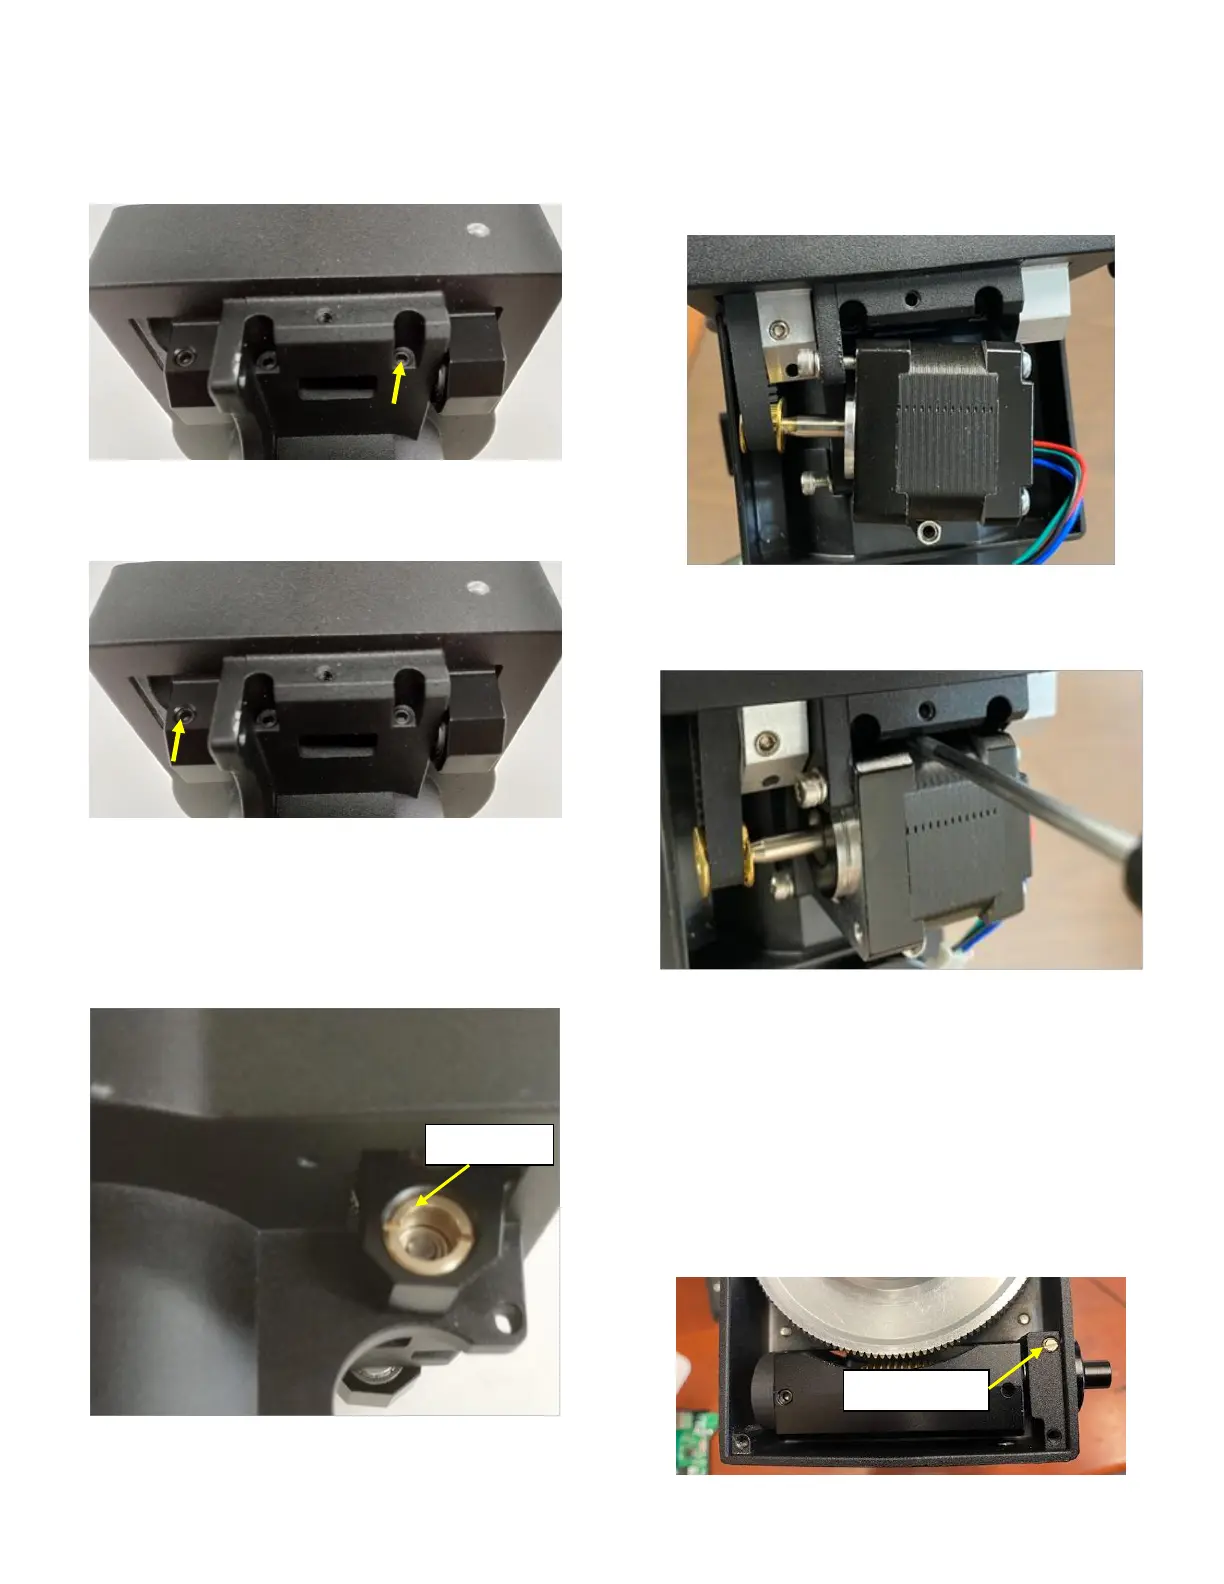
6. Check two hinge locking screws. Make sure
they are tightened.
7. Release hinge bearing end cap locking screw
half turn.
8. Turn the brass end cap clockwise all the way in
using a pair of strong tweezers or a screw
driver. Rotate the ring gear to confirm the free
play is eliminated. Then un-tighten the end cap
1/16-1/8 turn. Check the free play again.
9. Tighten the end cap set screw as in Step 7.
Check the play again.
10. Thread the belt over motor pulley and attached
the motor to the worm assembly. Tighten the
screws slightly.
11. Tension the belt while tighten the motor
mounting screws.
12. Reconnect the cable and put the cover back.
13. The worm/worm pulley lateral movement is
cause by a loose worm bearing end cap. It is
not accessible without remove the worm
assembly from the mount. Follow Step 2 to
Step 4 to remove motor cover, cable, control
board and motor.
14. Set the Gear Switch to locking position.
Carefully remove the gear switch locking pin.