2
iOptron Corp. | 6E Gill Street | Woburn, MA 01801 USA | (781) 569-0200 | www.iOptron.com
WARNING:Thisproductusesamagneticforcegearmeshingmechanism.ReadthisQSGand
fullmanualbeforeoperation.Wormsystemdamageduetouseroperationerror
willnotbecoveredbywarranty.
WARNING:NeverdisengageoradjusttheGearSwitcheswithoutholdingthemountfirmly!
Personalinjuryand/orequipmentdamagemayhappen.
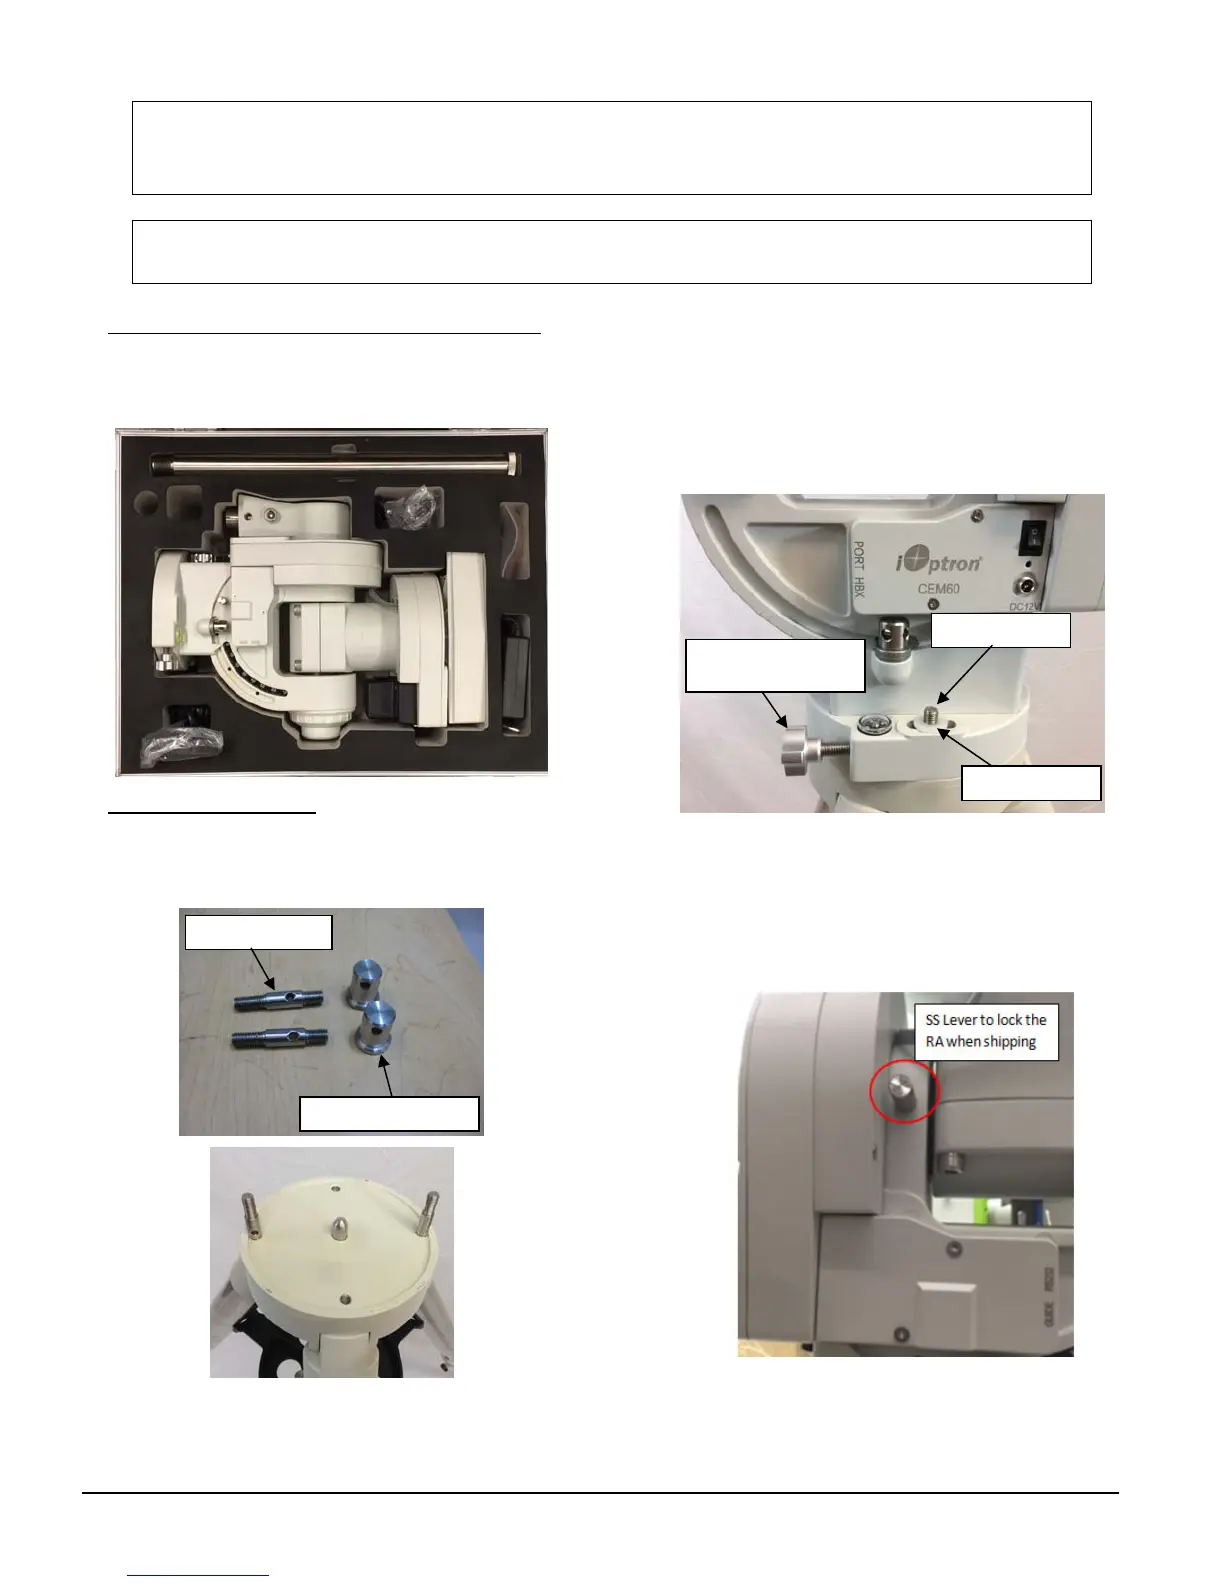
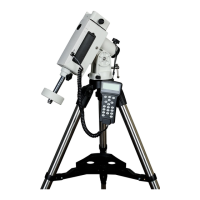
1. Removing the mount from the carrying case:The
mount is shipped with R.A. axis locked with a
stainlesssteellever.Justpullthemountoutfromthe
carryingcase.
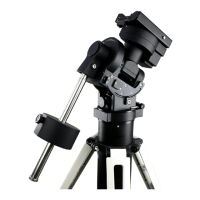
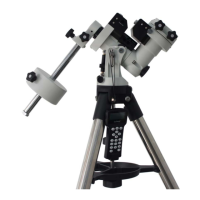
2. Attaching the Mount:Themounthasa150mm
diameter base which can be mounted onto an
optionaliOptron2”tripodorpier.Therearetwosets
ofmountingstudsandazimuthlockingnuts.
RemovethealignmentpegfromaiOptron
tripod/pierifitcomeswithone.Threadthetwostuds
ontothetripod/orpier.Usethepairofmounting
holesthatareclosertotheedge.
Backouttheazimuthadjustmentknobsonthemount
tomakeenoughroomtopreventthemountingstuds
beingblocked.Putthemountheadontothetripod,
withthemountingholesthroughthemountingstuds.
Installthewasher(optional).Puttheazimuthlocking
nutsontothemountingstuds,handtightenthem.
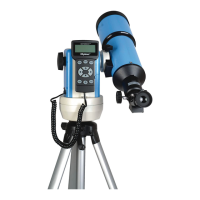
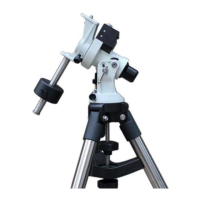
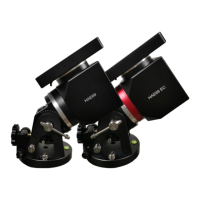
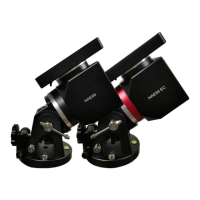
There is a stainless steel (SS) lever which is used to
locktheRAaxisduringshippingonsomelaterversion
mount,asshowninthefollowingpicture.
RemoveitfromtheRAyoketoallowthemountslew
freely in RA axis. Make sure the RA gear switch is
engaged before remove the SS lever. Use it to
Mounting stud
Azimuth adjustment
knob
Mounting studs
Azimuth locking nuts
Washe