
В
ВладимирDec 1, 2025
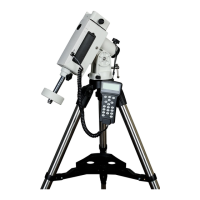
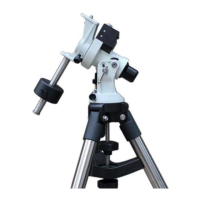
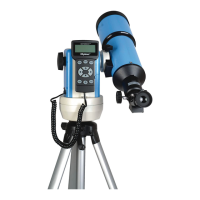
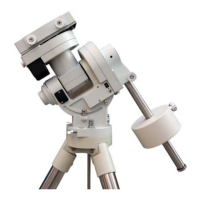
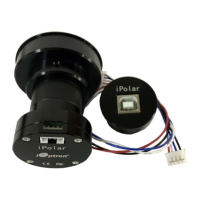
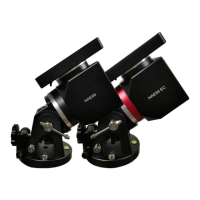
Wi-Fi-адаптер iOptron StarFi Будет работать с SmartStar E 8500-8504/
Wi-Fi-адаптер iOptron StarFi Будет работать с SmartStar E 8500-8504/
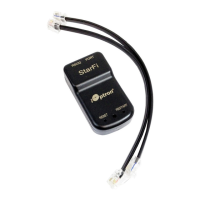
Connect StarFi to mount for power or use 12V DC source with RJ11 for SmartEQ models.
Connect StarFi to telescope mount's RS232 port using the appropriate cable.
Connect to the "StarFi" SSID via your device's Wi-Fi panel.
Connect your Tablet/Smartphone to the StarFi wireless network.
Open Wi-Fi panel, find "StarFi" SSID, and connect your device.
Launch iOptron Commander to connect mount via StarFi for ASCOM control.
The SkySafari application requires initial configuration.
Configure the mount type, such as Equatorial GoTo or Alt-Az GoTo.
Turn off Auto-Detect SkyFi, set IP Address to 10.10.100.254 and Port to 8899.
Details Windows OS compatibility and iOptron Commander/ASCOM driver requirements.
Check SkySafari from Simulation Curriculum Corp. for Mac compatibility.
Check SkySafari from Simulation Curriculum Corp. for iOS compatibility.
Check SkySafari from Simulation Curriculum Corp. for Android compatibility.
Access settings via browser at 10.10.100.254 to change SSID and enable encryption.
Use the RESET button to restore factory default settings if password is forgotten.
| Type | Wi-Fi Adapter |
|---|---|
| Operating Frequency | 2.4 GHz |
| Operating System Compatibility | iOS, Android |
| Compatibility | iOptron Mounts |
| Control | Wireless control |
| Wireless Standard | Wi-Fi 802.11b/g/n |
| Power | 5V DC |
| App Compatibility | iOptron Commander |