3
The Adapter Cable (CMR-ADP)
The Mini-receiver has an attached RJ-11 cable. Most compatible controllers have an RJ-11 port for this cable. Early models
of the MC-E “Blue” controller, however, as well as the KwikDial controllers, do NOT have RJ-11 ports. The adapter cable is for
connecting to these earlier controllers. One end of the adapter cable is a RJ-11 port, the other end is a 5-pin header that
slides onto a 5-pin connector in the controller.
This connection, either through the built-in RJ-11 cable or with the
adapter cable, is how the Receiver receives power.
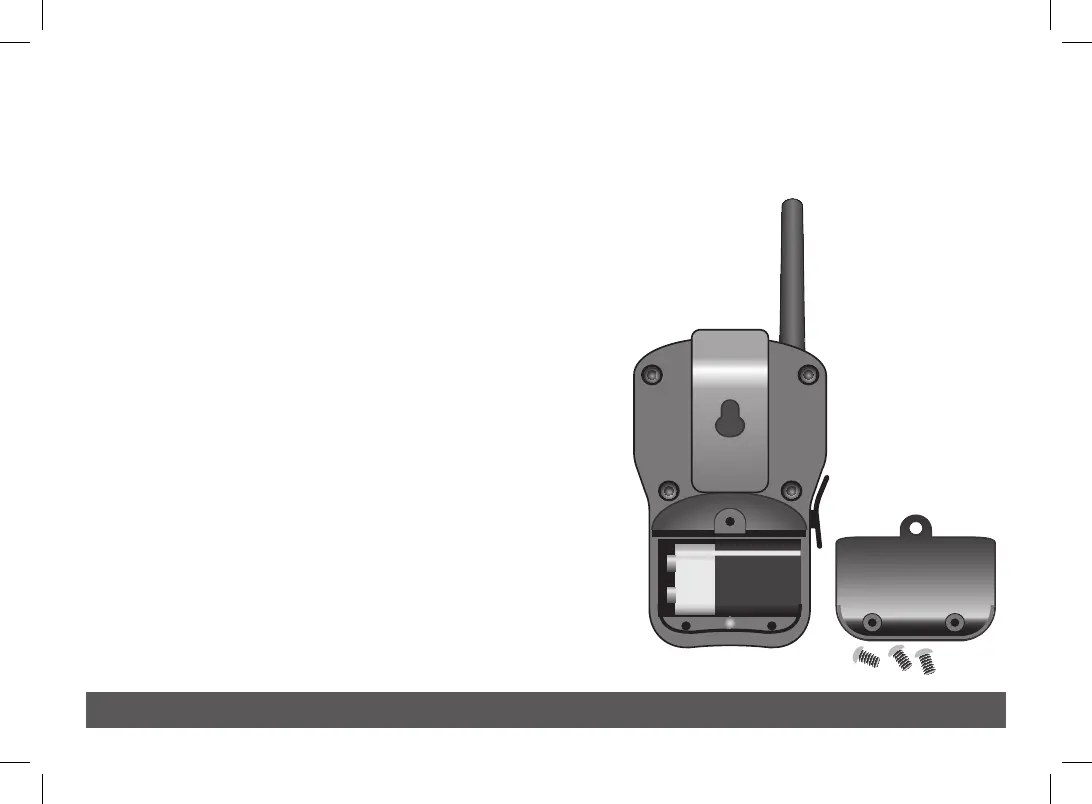
Transmitter Battery Installation
The CL-R1 Remote Transmitter receives power from a 9-volt battery
(not included). To install the battery:
1. Remove the three (3) screws from the battery cover on the back of
the Remote.
2. Remove the battery cover.
3. Snap the battery on to the battery clip and place the battery into
the compartment.
4. Reinstall the battery cover with the three screws.
 Loading...