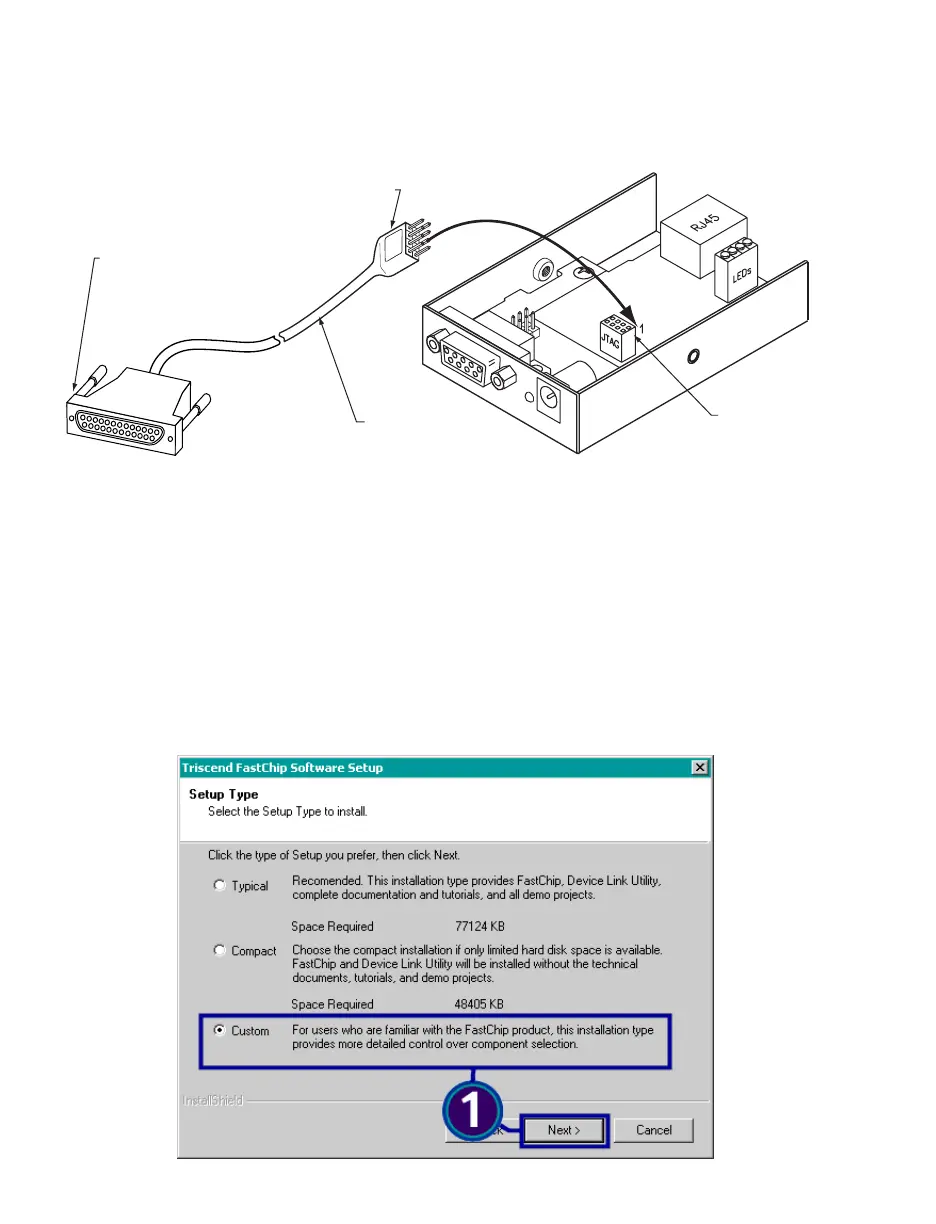
2. You now need to use the provided cable to connect the board to your PC. Connect the
DB-25 side of the cable to the parallel port on your PC. Connect the other end of the
cable, which is a 2x4-header connector to the JTAG socket connector on the board.
Make sure that pin 1 of the header connector (labeled on the cable) is connected to the
correct pin on the socket board (see Figure 2).
Figure 2 Connecting JTAG connector
3. On your C drive, create a directory called "newport" (C:\newport). You must have this
exact path in order to successfully use this program.
4. Using the Firmware Upgrade Program CD, insert the CD into your CD-ROM drive and
look for a ZIP file.
5. Unzip the file into C:\newport. You will have four files extracted in that directory.
6. Double-click on "fc240.exe" file to install a program that will give you access to the
iServer through the connected cable discussed in step 2. This installation can be
completed going through screens 1, 2, and 3 shown below.
7. When you get to "Setup Type" screen, select "Custom" and click "Next".