14626A1-01 A / 0904
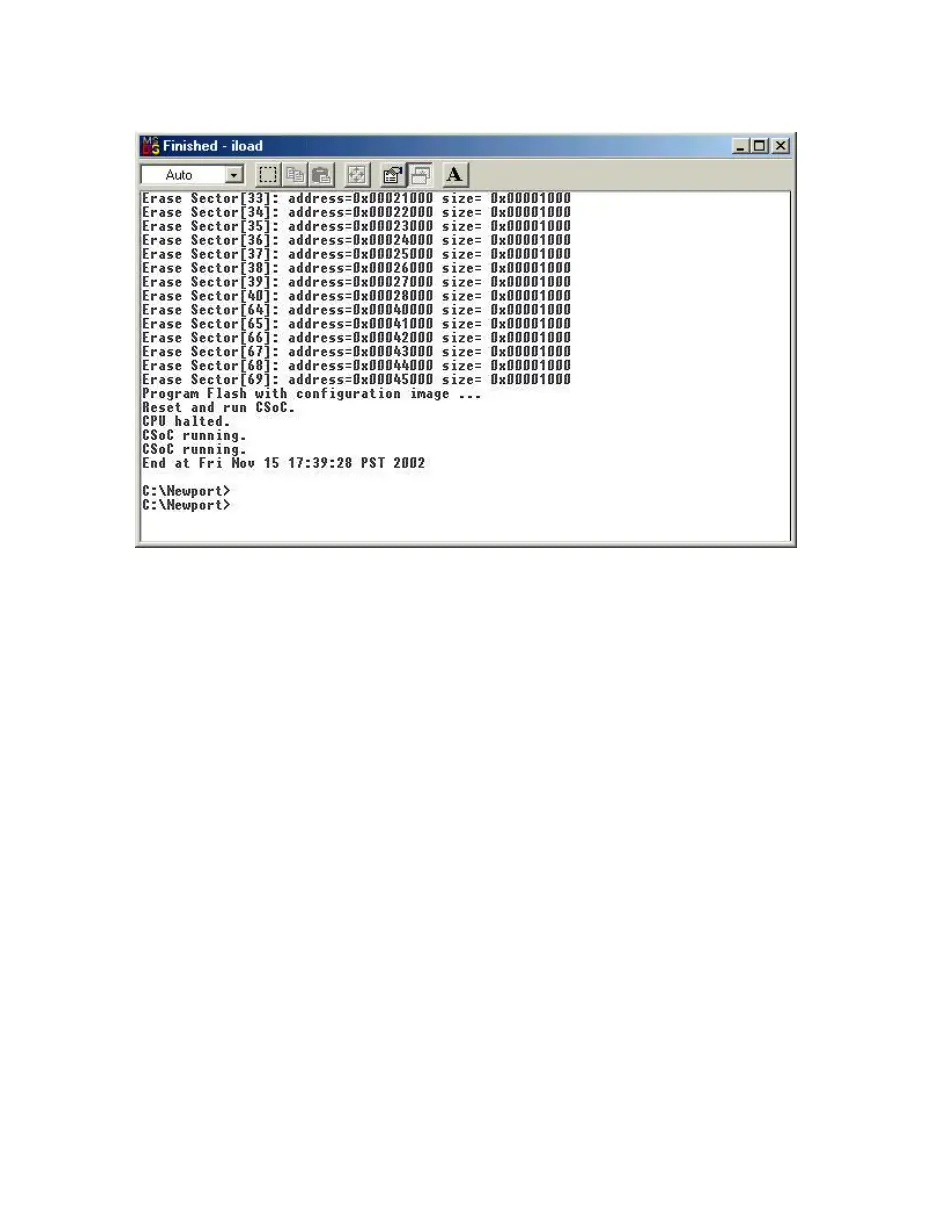
13. The following window shows the completion of firmware upgrade. Make sure not to
interrupt the process until the task is ended and the prompt is back to C:\newport.
14. You can now close the iload window. To close the link window, you need to type quit
at its prompt and then close the window. Remove the cable from the iServer JTAG
connector and place the top cover on the unit.
15. To verify the download of the new firmware, login to your iServer using a WEB
Browser and look for the firmware version on the very first screen.
16. After the firmware upgrade is completed, you need to set the iServer to factory default
using dip switch #2. Move dip switch #2 to “ON” position and reset the power on the
iServer. After the iServer is up, put the dip switch #2 back to the “OFF” position. This
will set the iServer to its factory default settings including its IP address
(128.100.101.254). Please see the product manual for details.
17. If there are more iServer units to upgrade, make sure to connect the JTAG header
according to steps 1 and 2 and then repeat steps 11 through 16.